Flat lay clothing photography: Master Tips for Stunning E-commerce Shots
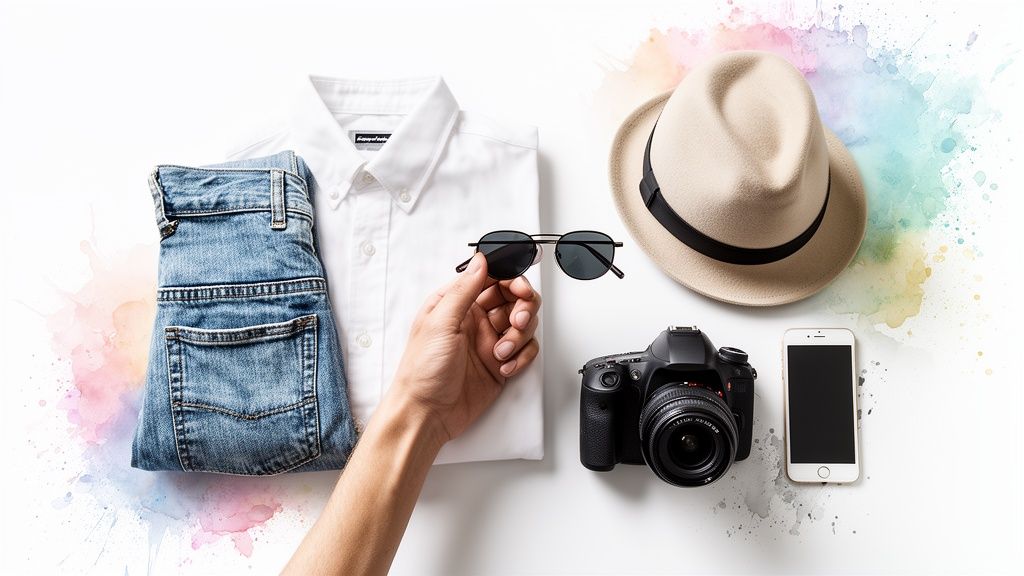
Ever wondered how some brands get those perfectly styled, eye-catching clothing shots? The secret is often flat lay photography. It's the art of arranging clothes on a flat surface and shooting them from a bird's-eye view. This style is clean, modern, and puts your products right in the spotlight, showing them off without any distortion.
It's a game-changer for really visualizing how an item looks. This technique is fantastic for seeing the style, pattern, and details of a garment clearly.
Your E-commerce Secret Weapon
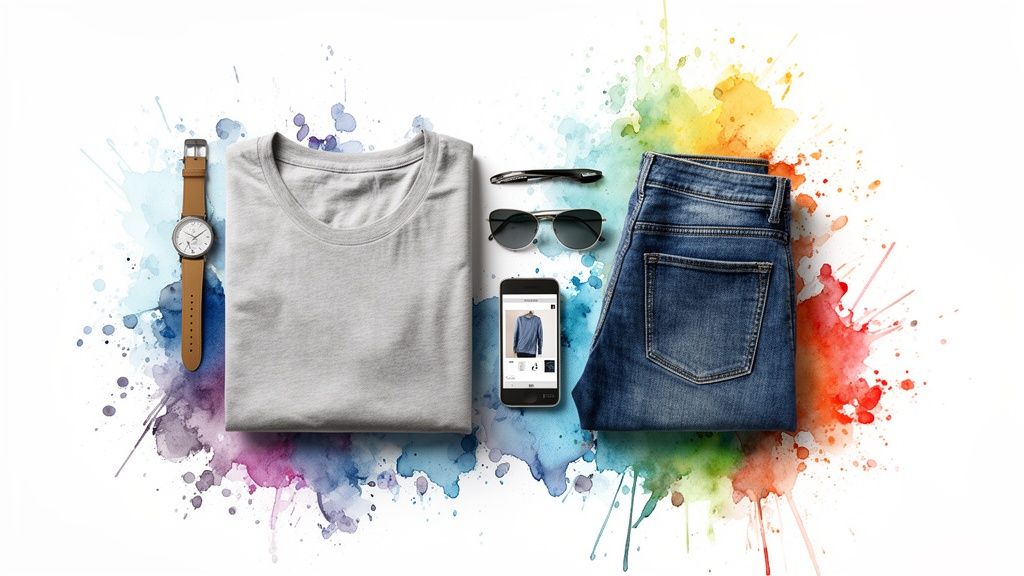
This particular style has taken over online stores and social media feeds, and for good reason. It’s a direct, uncomplicated way of presenting clothing that just clicks with how people browse and shop online today. That clean, consistent aesthetic makes your products pop, whether they're on a crowded marketplace or your own Instagram grid.
Why Flat Lays Just Work
Flat lays aren't just a trend; they are incredibly effective sales tools. By removing the model from the equation, you let the customer focus entirely on the product's design, unique pattern, and little details. It’s this directness that makes it the perfect format for visual tools like the AI virtual try-on I built, TryThisFit.
High-quality, undistorted flat lays work best, giving the app the best possible data. This allows you to preview the appearance of a style with stunning clarity.
The growth in this space has been explosive. Between April and May 2024, the use of flat-lay visuals shot up by a massive 43% across 200 of the top fashion brands. These images are also proven to boost conversions by up to 80%, showing how much shoppers crave a clear look at the product. Discover more insights on fashion photography trends.
Big Impact, Small Budget
Beyond the beautiful results, this method is also refreshingly budget-friendly. Professional model shoots can be a huge drain on time and money. A fantastic flat lay, on the other hand, can be created with just a few key pieces of gear.
This opens up the playing field, making it a brilliant strategy for everyone from major retailers to solo entrepreneurs on Vinted or Depop. Well-executed custom product images are your ace in the hole for standing out.
Gearing Up For Your First Shoot
Getting started with flat lay clothing photography is so much more approachable than people think. You don't need a high-end studio or a massive budget. In fact, you can create stunning, professional-looking photos with gear that's probably already within arm's reach.
Believe it or not, the hero of your setup can be your smartphone. The cameras on phones these days are ridiculously good. When you pair them with great lighting, they can capture images that are more than ready for your Shopify store or Instagram feed.
Now, if you're looking to level up, a DSLR or mirrorless camera is a fantastic investment. They open up a world of manual settings—think aperture, shutter speed, and ISO—that give you complete creative command. But honestly? Start with your phone. You'll be blown away by the results.
Your Essential Flat Lay Toolkit
Before we dive into the nitty-gritty of what to buy, let's look at the essential gear that will make the biggest difference in your photos, broken down by where you're at in your photography journey.
Essential Gear For Flat Lay Photography
| Equipment | Beginner (DIY) | Intermediate (Prosumer) | Key Feature |
|---|---|---|---|
| Camera | Your Smartphone | DSLR or Mirrorless Camera | The right camera gives you control over image quality and settings. |
| Tripod | Basic Tripod + DIY Arm | Tripod with Horizontal Arm | Essential for that perfectly stable, top-down shot. No blur! |
| Lighting | Natural Light from a Window | Softbox or Ring Light Kit | Provides consistent, soft light that eliminates harsh shadows. |
| Backdrop | White Poster Board / Bedsheet | Professional Vinyl/Canvas Backdrop | A clean, non-distracting surface that makes your clothing pop. |
| Accessories | Tape, Clamps, White Card | Remote Shutter, Reflector Disc | Small tools that make styling and shooting so much easier. |
The key takeaway here is that you can start small and build your kit over time. You don't need everything on day one to take incredible photos.
Let's Break Down The Must-Haves
No matter which camera you’re using, a few extra pieces of equipment are non-negotiable for that crisp, perfectly aligned, top-down perspective. Investing a small amount in these basics will radically improve your shots.
-
A Sturdy Tripod: This is your best friend in flat lay photography. Specifically, you want a tripod with an overhead or horizontal arm. This lets you position your camera directly above the clothes for that perfectly parallel, distortion-free angle.
-
Killer Lighting: Light is everything. Natural light from a big window is an amazing—and free—option, but it's not always consistent. A simple, affordable ring light or a softbox kit gives you beautiful, diffused light on demand, day or night.
-
A Simple Backdrop: Keep it simple to start. A giant sheet of white poster board from any craft store is the perfect blank canvas. Your goal is to make the clothing the star, not the background.
Why The Right Setup Is Crucial For Virtual Try-On
Taking a few extra minutes to get your gear set up properly is a massive deal, especially if the end goal is to visualize those clothes on a person. A steady, perfectly centered shot from a tripod ensures the garment's true shape and proportions are captured.

The better the input photo, the more realistic the virtual try-on. When the app sees a clear, well-lit image of a shirt from Zara or a dress from Amazon, it can do a much better job of showing how that item will look. It all comes down to giving the AI quality data.
Ready to see how your own flat lays can turn into a virtual outfit? You can give it a spin right now at trythisfit.com. If you do a lot of online shopping, you have to install the free Chrome extension—it installs in a couple of seconds.
Mastering Your Light And Camera Settings
Let’s talk about the absolute game-changer for your photos: lighting. It's what makes a product look vibrant and professional, and thankfully, you don't need a massive budget to get it right.
The best light source? Good old-fashioned natural sunlight. For that soft, dreamy look, find a big window on a day when it's just slightly overcast. The clouds act like a giant, natural softbox, diffusing the sunlight perfectly.
Whatever you do, try to avoid harsh, direct sunlight. It creates nasty shadows that hide the texture and details of the fabric. If the sun is too intense, just hang a thin white sheet over the window. It's a simple hack that works every time.
Taming Artificial Light
Of course, you can't always count on perfect weather. This is where artificial lighting becomes your best friend for getting consistent results.
A simple one-light setup using a softbox is a fantastic place to start. Just position it at about a 45-degree angle to your flat lay. This will give you a soft, dimensional light that looks amazing without creating harsh shadows.
To really nail that classic, shadow-free flat lay look, it's worth checking out a beginner's guide to flat lighting photography. It'll give you solid foundational techniques to take the guesswork out of your setup.
Here’s a quick visual of the kind of simple setup that gets the job done.
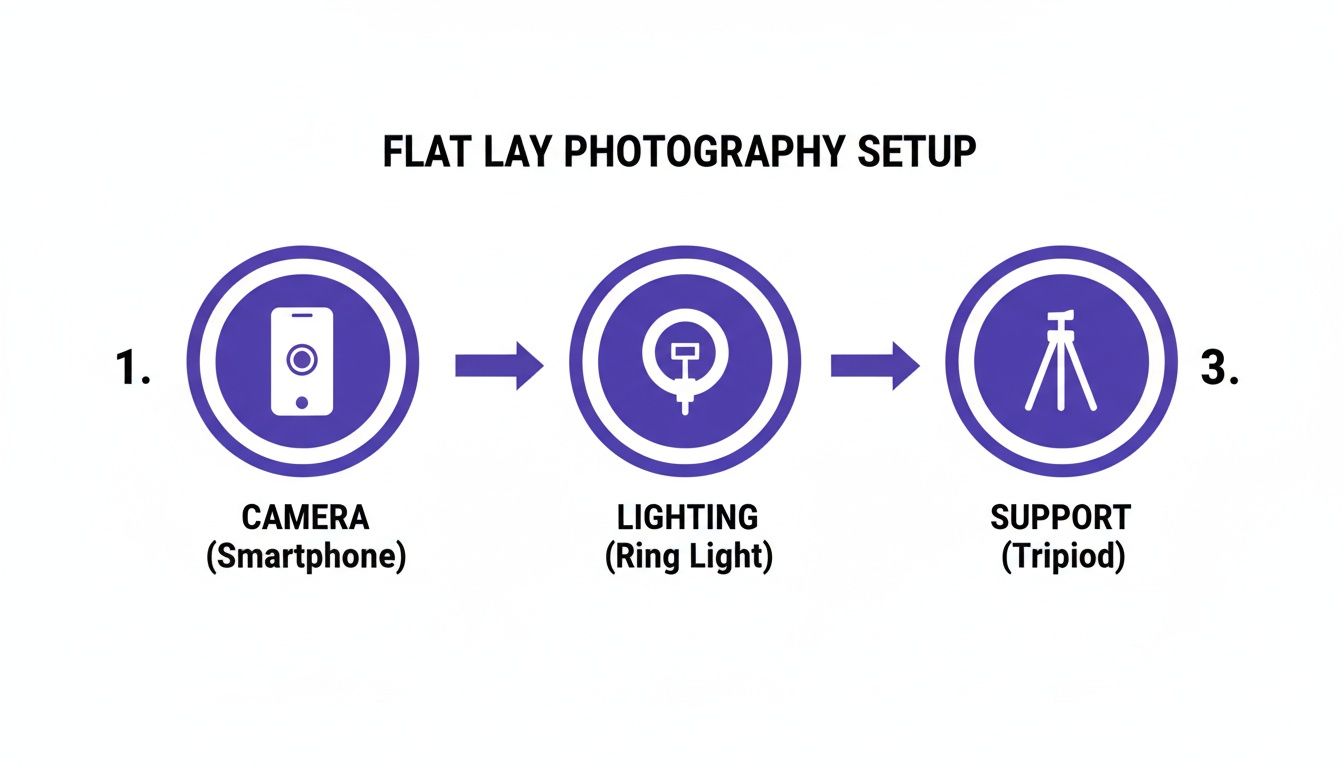
As you can see, you don't need a ton of gear. A solid camera, good lighting, and something to keep it stable are the pillars of a great flat lay.
Dialing In Your Camera Settings
Once your lighting is looking good, it's time to tweak a few camera settings. Whether you're using a DSLR or your phone's pro mode, these are the three settings that matter most.
-
Aperture (F-stop): To get every part of your clothing sharp and in focus, you’ll want a narrower aperture. I've found that a setting between f/8 and f/11 on a DSLR is the sweet spot.
-
ISO: Think of this as your camera's sensitivity to light. Your goal is to keep it as low as you can—ideally ISO 100 or 200—to prevent any ugly grain or "noise" in your photos.
-
Shutter Speed: Since your camera should be on a tripod, you don’t have to worry about shaky hands blurring the shot. A shutter speed around 1/125s is a safe bet for a super sharp image.
Getting these settings right is a huge step towards creating clean, accurate images. For a deeper dive, you can find more tips in my full guide on how to photograph clothes.
The whole point is to capture a photo that's bright, sharp, and true to color. This not only builds trust with your customers but also gives my AI the best possible image to accurately show you how a style will look.
How To Style Garments Like A Pro
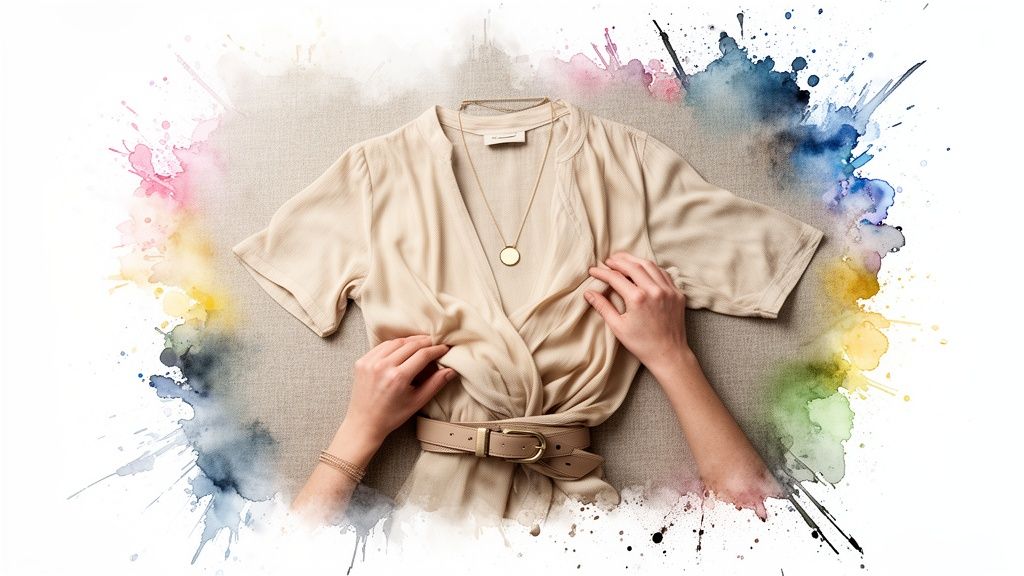
This is where the real magic happens! Styling is 90% of the battle, and the photo itself is just the final 10%.
Before you even touch your camera, your number one job is to make the clothing look pristine. Get out your steamer or iron and banish every last wrinkle. This one step will instantly elevate your shot from amateur to professional.
Preparing The Main Attraction
Once your piece is wrinkle-free, it's time to bring it to life. Don't just lay a shirt down flat! Think about how it would drape on a person. I love to give sleeves a gentle "S" curve to imply movement or pinch the waist of a dress to show off its shape.
The whole point is to give the garment personality and help the customer visualize the style. It’s these subtle tweaks that make all the difference.
Creating A Balanced Composition
Composition is how you arrange everything in the shot. One of the best principles is the rule of thirds. Imagine your frame has a tic-tac-toe grid over it. By placing your main garment along those lines, you create a far more dynamic photo.
Also, don't be afraid of empty space! Let your product breathe. Cramming too much into the frame can feel chaotic. White space helps keep the focus where it belongs—on the awesome piece of clothing you’re selling.
A clean, well-composed shot is exactly what makes virtual try-on technology sing. My app gives the most accurate results with clear, beautifully styled images. It's why the flat lay clothing photography on sites like Zara and H&M works so well with the extension. You can see for yourself—install the free TryThisFit Chrome extension in seconds, right-click on one of their product images, and instantly preview the style.
Telling A Story With Props
Think of props as the supporting cast for your star garment. They’re there to add context and vibe, but they should never steal the show. The goal is to choose items that feel like they belong and help tell a story.
- Shooting a cozy sweater? Try adding a steaming mug of coffee or a good book.
- Styling a summer dress? A pair of sunglasses or a simple straw hat can set the scene.
- Featuring activewear? A sleek water bottle or headphones will complete the look.
These little additions help your customer imagine themselves in that exact scenario. It’s an aspirational feeling that drives massive engagement. Well-styled flat lays often pull in an average engagement rate of 0.6%—double the norm for many other post types! You can dig into more flat lay engagement statistics to see just how powerful this is.
When you nail these styling techniques, you're crafting an experience that connects with shoppers. For more ideas, my guide on using complementary colors in fashion is a great place to start.
Putting the Finishing Touch on Your Photos
<iframe width="100%" style="aspect-ratio: 16 / 9;" src="https://www.youtube.com/embed/BLSmAdyr-Rc" frameborder="0" allow="autoplay; encrypted-media" allowfullscreen></iframe>Alright, you've taken some fantastic shots! Post-processing is my secret for getting that bright, clean vibe that makes people stop scrolling.
You don’t need to be a Photoshop wizard. I do most of my editing right from my phone! Apps like Lightroom Mobile or Snapseed are ridiculously powerful and easy to use. The goal is to enhance the beautiful photo you already took, not completely change it.
My Go-To Editing Workflow
I follow these same few steps for almost every flat lay I edit. It’s quick, easy, and the results speak for themselves.
-
Nail the White Balance First: This is my non-negotiable first move! It’s the key to making sure your colors look true-to-life. A white t-shirt should look genuinely white, not tinged with yellow.
-
Tweak Brightness & Contrast: Next, I gently bump up the exposure until the image feels light and airy. Then, I add just a touch of contrast to make the colors pop.
-
Sharpen Up the Details: My last step is to add a little sharpening. This is what makes the weave of a sweater or the texture of denim look incredibly crisp and high-end.
The Final Polish
Once those core edits are locked in, I do one final check. I’ll zoom in and use a spot removal tool to zap any distracting bits of dust or lint.
Then, I'll crop the photo for its final destination, whether it's an Instagram square or a Pinterest pin. This makes sure your amazing flat lay is the star, no matter where it's seen.
Taking a few extra minutes to edit provides the best possible input for my app. A clean, bright, and accurately colored photo is what allows you to visualize the style with stunning clarity at trythisfit.com.
This focus on the small stuff helps customers really see how an item looks. Ready to elevate your style discovery? Install the Chrome extension in 5 seconds and start trying on outfits right from your browser.
Still Have Questions About Flat Lay Photography? Let's Clear Them Up
Getting started with flat lay clothing photography is exciting, but a few questions always pop up. Let's dive into some of the most common ones so you can start creating incredible shots.
What’s the Best Background for Flat Lay Clothing Photography?
Honestly, the best background is one that lets your clothing be the hero. Think simple and non-distracting.
Neutral backdrops are your best friend here. Things like white, light gray, or beige poster boards are perfect because they make the garment’s colors pop. A clean wooden floor or a simple, ironed bedsheet can also look fantastic.
The goal is to complement the style, not overpower it.
How Do I Get Rid of Those Annoying Shadows?
Ah, the shadow problem! Shadows are almost always the result of a direct, harsh light source. The secret weapon to kill them is diffused light.
If you're shooting next to a window, hang a thin white sheet over it. This instantly transforms harsh glare into a beautiful, soft glow.
Using artificial lights like a softbox? Position it at a 45-degree angle to your setup. And make sure you aren't standing between your light source and the clothes!
Can I Really Take Professional Flat Lays with Just My Phone?
Yes, 100% yes! Modern smartphone cameras are absolute powerhouses. The secret isn't about having a fancy DSLR; it's all about how you use the gear you've got.
The non-negotiable tool is a tripod with an overhead arm. This keeps your phone perfectly steady and parallel to the ground.
Always tap your phone's screen to set the focus right on the garment. Once you've taken the shot, use a fantastic free app like Lightroom Mobile to make small, impactful tweaks to brightness and sharpness.
Why Are Flat Lays the Secret Sauce for a Virtual Try-On?
Flat lay photos are the gold standard for my AI virtual try-on because they show the garment's true, unadulterated shape and pattern. A model's pose can stretch or hide parts of the clothing. A flat lay gives the AI a clear, complete, and honest view to work with.
This is exactly why I designed the TryThisFit app and extension to work so beautifully with the kind of clean product shots you see on sites like Zara, H&M, and secondhand marketplaces like Vinted. The AI can accurately map the item onto your photo because it has a perfect, unobstructed view of the clothing's design. The result? A much more realistic preview of how it will look on you.
It's the key to seeing how an item's style truly appears. You can see this magic in action right now with the free Chrome extension I built. It installs in a couple of seconds, and then you can just right-click any product image to visualize the style on yourself.
Ready to stop guessing and start visualizing? See how your favorite styles look on you in seconds with TryThisFit. Install the free Chrome extension now and completely change how you shop online.
Try Virtual Try-On Now
See how clothes look on you before you buy - works with any online store
Get Started Free