Shop Vac Extension Hose for Gutter Cleaning: Safe Methods
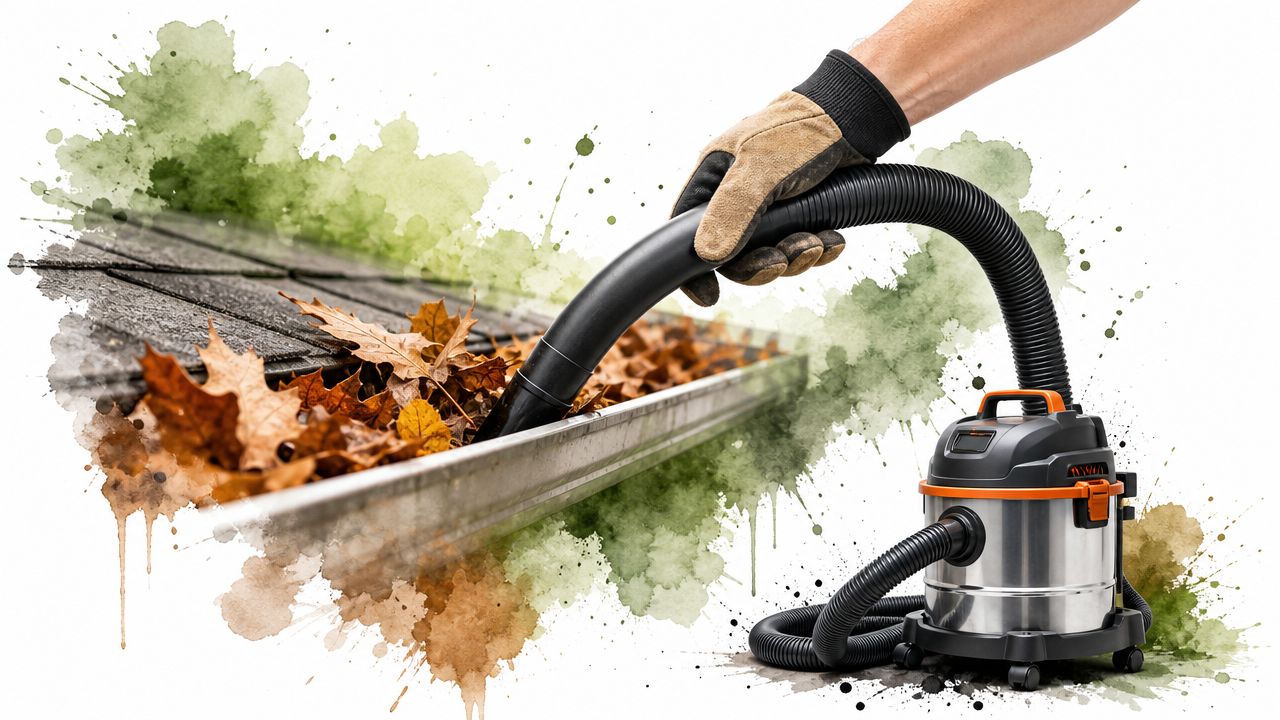
Gutter cleaning usually turns into the same bad routine. You drag out a ladder, lean sideways a little too far, climb down, move the ladder a few feet, and repeat until your shoulders are cooked and the job still isn't done.
A shop vac extension hose for gutter cleaning changes that. The primary benefit isn't convenience alone. It's that you can stay on the ground, work in a controlled way, and pull debris out instead of flinging it all over the siding and flower beds.
But this only works if the setup still has enough suction at the gutter. That's where frustration often sets in. They add a long, skinny extension, lift it overhead, and end up with a weak system that can't pull anything heavier than dry dust. Length, hose diameter, bends, and weight all matter. Get those wrong and the vac becomes noisy dead weight.
Why You Need a Smarter Gutter Cleaning Method
The problem isn't just that ladders are annoying. It's that gutter cleaning pushes people into awkward positions. You're reaching over the roof edge, trying not to dent the gutter, and guessing where the clog starts because you can't see much from the side.
A ground-based vacuum setup is smarter because it removes the worst part of the job. You keep both feet on solid ground and move along the house instead of climbing up and down every few minutes. For a lot of homes, that's the difference between putting the job off and getting it done.
Where the usual advice falls short
Most guides stop at "buy an attachment" or "use some PVC." That isn't enough. A hose that reaches the gutter but kills airflow doesn't solve anything.
The reason people struggle with this method is simple. Reach and suction fight each other. The longer the path, the more resistance the vacuum has to overcome. Add narrow pipe, loose connections, or too many turns, and pickup drops fast.
Practical rule: A long extension only helps if the vac can still move enough air at the nozzle to lift leaves, grit, and damp sludge.
That's why some setups feel surprisingly strong and others feel useless. The good ones keep the hose path as open and direct as possible. The bad ones chase height first and ignore what the airflow has to do to get there.
What a workable setup needs
A solid gutter vacuum rig does three things well:
- Reaches the gutter from the ground: You need enough length to access the run without stretching or tilting the wand at a bad angle.
- Preserves airflow: Wider hose and fewer restrictions matter more than fancy accessories.
- Stays manageable overhead: If the extension is too heavy or floppy, you'll fight the tool more than the debris.
If you keep those three priorities in order, you can clean a lot of gutter systems safely and efficiently without turning the project into a trial-and-error mess.
Choosing Your Gutter Cleaning Extension Hose
Choose the hose first, not the attachment shape. If the air path is wrong, the fanciest gutter hook in the world will still leave you standing under a clogged gutter with a weak vac.
The decision is not just kit versus DIY. It is how much suction your machine can still deliver after air travels up the hose, through the bends, and out the nozzle. That is where a lot of ground-cleaning setups fail. They reach the gutter, but they do not move enough air at the tip to lift anything heavier than dry dust.
A stock shop vac hose is short, so people add length. That part is obvious. The part that gets missed is that every extra foot and every reduction in diameter adds resistance. The vac motor may sound strong down at the drum, but what matters is pickup at the nozzle. You can lose that fast with a long, narrow extension. A DIY build example using common hose and pipe sizes is shown in this gutter-vac extension example.
Kit or DIY
A pre-made kit usually gives you a cleaner air path, better-fitting joints, and a nozzle shaped for gutter work. That saves time and usually cuts down on small leaks that bleed off suction. It also tends to be easier to control overhead because the parts were made to work together.
DIY still makes sense in plenty of cases. It costs less, you can build for the exact height of your eaves, and replacement parts are easy to find. The catch is that homemade setups go wrong in predictable ways. The pipe is too narrow, the bends are too sharp, the joints leak, or the whole thing gets so heavy and front-loaded that it becomes awkward to hold steady.
| Attribute | Pre-Made Gutter Kit | DIY PVC/Hose Extension |
|---|---|---|
| Reach approach | Purpose-built hose and wand system | Added hose sections, PVC, or central vac tubing |
| Typical advantage | Better fit, faster setup, cleaner nozzle shape | Lower cost and easier length customization |
| Main weakness | Higher upfront cost | Easy to lose suction through small pipe, leaks, or bad fittings |
| Best for | Homeowners who want a ready-to-use setup | Homeowners willing to test and tune the build |
| Airflow outlook | Usually stronger if the path stays wide and joints stay tight | Depends on diameter, bend count, and seal quality |
Diameter matters more than is often assumed
If you only keep one rule in mind, use the widest practical hose your vacuum can support.
That is not marketing talk. It is basic airflow. A larger hose gives the vacuum an easier path to move air over a long run. A smaller hose increases friction and makes clogs more likely, especially once you start pulling stringy leaves, seed pods, or damp sludge. Narrow pipe can work for light, dry debris, but it gives up margin fast.
The common mistake is reducing a large shop vac port down to a much smaller tube just to make the wand lighter. It will feel lighter. It will also pull worse. On a short bench test, that may not seem obvious. Fifteen or twenty feet up, with a bend at the top, it becomes obvious very quickly.
A good gutter setup is not the one that reaches highest. It is the one that still has useful pull at the nozzle.
How to choose the length
Buy or build only enough extension to reach the gutter comfortably from the ground. Extra hose sounds helpful, but unused length drags performance down and makes the wand harder to control.
For a one-story house, a modest extension often works better than a very long flexible hose. On taller eaves, longer reach may be necessary, but that is when diameter and joint quality matter even more. If the hose is long, floppy, and reduced down too much, the setup becomes weak and tiring at the same time.
Rigid sections help with control. Flexible hose helps with movement. The better setups usually mix the two, with flexible hose where you need mobility and rigid wand sections near the top where you need direction.
Spend based on performance, not just convenience
Price usually reflects how much fitting and trial-and-error you are buying yourself.
A kit costs more because the pieces are matched and the nozzle is already shaped for the job. DIY parts are cheaper, but cheap parts can get expensive if you end up rebuilding the setup after the first use because the airflow is poor or the wand is too awkward to handle. That trade-off matters more than the receipt total.
The right buy is the one that keeps a wide, reasonably short, well-sealed path from the vac to the gutter. Get that right, and a shop vac can clean from the ground efficiently. Get it wrong, and you end up with a tall extension that looks useful but does almost nothing.
Preparing Your Shop Vac and Workspace
A strong setup can still fail if the vac is half clogged before you start. Prep is what keeps a gutter job from turning into repeated stops, mystery suction loss, and a wet drum full of sludge you didn't plan for.
Get the vacuum ready first
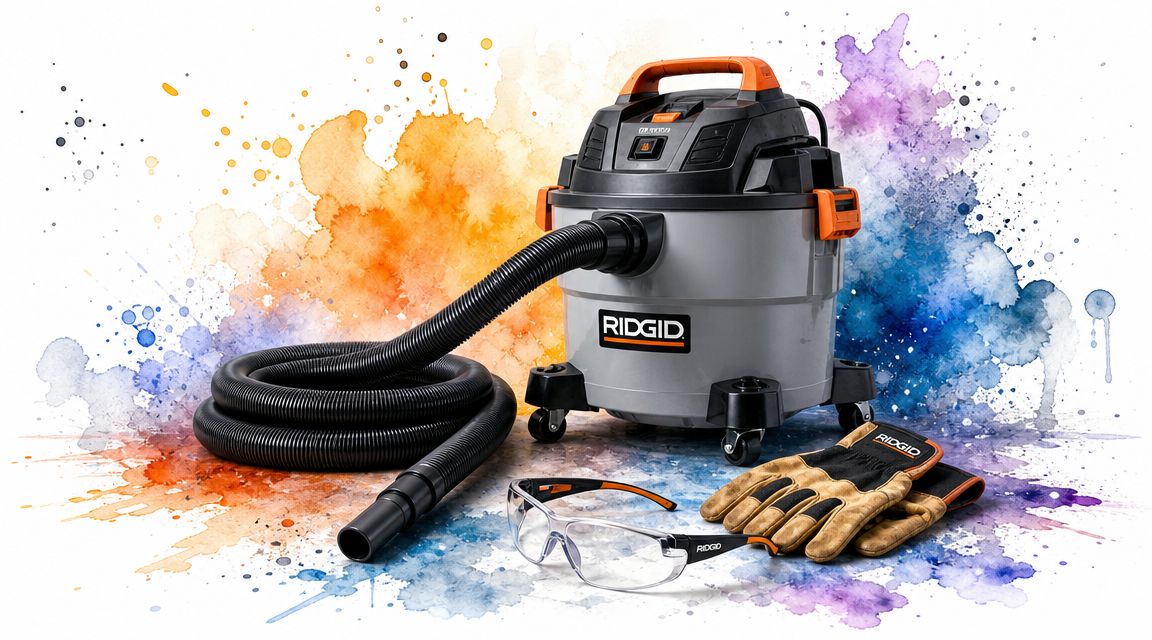
Start with the machine itself. Empty the drum. Check the filter. Make sure the hose connection at the vac body is tight and not split.
If you're pulling damp material, expect the tank to fill with heavy debris fast. A partly full drum adds weight and can make the vac harder to drag along the house, so start clean instead of telling yourself you'll empty it later.
Clear the work zone
The ground path matters more than people expect. You're moving sideways while holding a long extension overhead, so anything underfoot becomes a hazard.
Do a quick pass around the house and remove what can snag your boots or the hose:
- Garden obstacles: Move potted plants, hoses, yard toys, and loose tools.
- Trip points: Watch for edging, roots, uneven pavers, and low retaining walls.
- Cord path: Keep the power cord behind you and away from the wand so you don't wrap yourself while moving.
If the ground isn't clear, the safest no-ladder method can still become clumsy in a hurry.
Wear the right gear
Gutters dump dust, granules, twigs, and black muck without warning. Some of it falls straight back at your face when the nozzle dislodges a packed section.
At minimum, wear these:
- Safety glasses: Protect your eyes from grit and falling debris.
- Work gloves: Improve grip on smooth pipe and protect your hands when clearing clogs.
- Hearing protection if your vac is loud: Long runs with a shop vac can get tiring fast.
Check conditions before you start
Don't rush into wet-weather cleaning if footing is poor or the outlet area is damp. Ground-based cleaning is safer than ladder work, but electricity, slick grass, and a long top-heavy extension can still combine into a bad setup.
A calm, dry window is easier on your arms and easier on the machine. It also makes it simpler to tell whether the vac is pulling debris well or just dragging wet sludge through the line.
The Ground-Based Gutter Cleaning Process
You feel the difference right away when the setup is correct. The wand stays manageable, the vac note stays steady, and debris starts moving instead of just rattling around in the gutter. If the tool feels weak from the start, the problem is often airflow loss through too much hose, too many tight bends, or a diameter mismatch that chokes the system before it ever reaches the gutter.
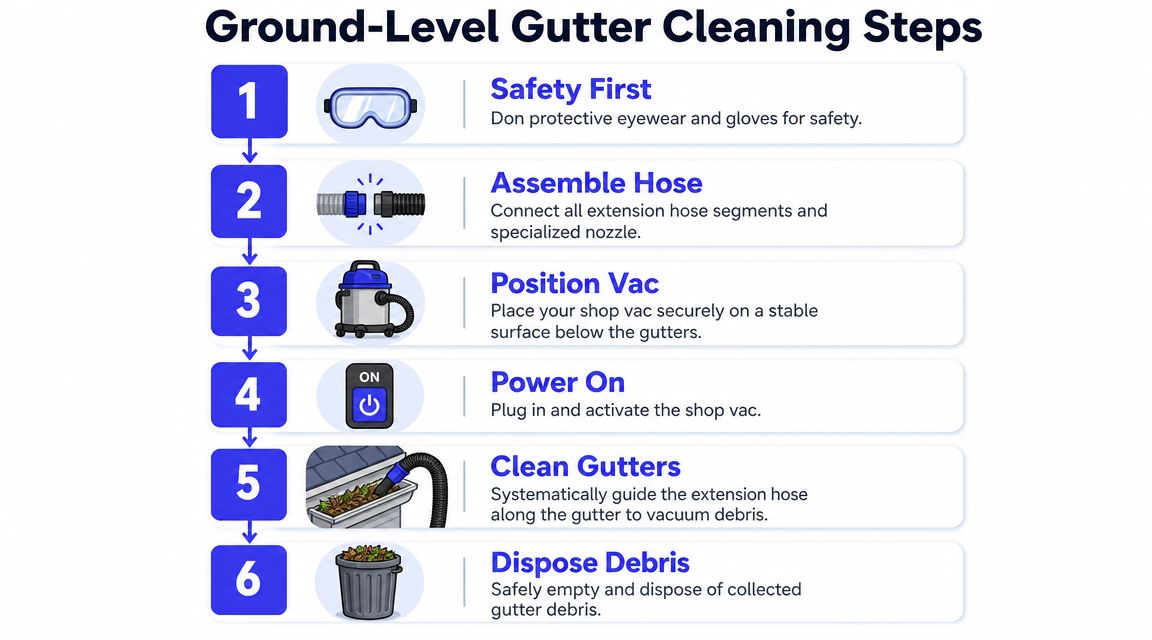
Build the full assembly on the ground first. Secure any joints that like to twist loose, then raise the wand as one piece so you are not fighting couplers over your head.
Start at an easy section
Pick a straight run with light buildup for the first pass. Set the curved end over the front edge, then lower the intake into the gutter channel with a controlled motion. That keeps the nozzle off hangers and helps you feel how the wand balances before you deal with corners or packed debris.
Turn the vac on and listen. A healthy pull has a consistent tone. If the pitch jumps sharply or the hose suddenly goes quiet, one of two things is usually happening. The nozzle has sealed against wet sludge, or the extension is starting to plug at the bend or first connection.
To see the motion in context, this walkthrough is useful:
<iframe width="100%" style="aspect-ratio: 16 / 9;" src="https://www.youtube.com/embed/-cRUheSAXM4" frameborder="0" allow="autoplay; encrypted-media" allowfullscreen></iframe>Work in short sections so suction stays effective
Long, sweeping passes look efficient from the ground, but they usually waste suction. The farther you push debris ahead of the nozzle, the more likely you are to scatter dry material or pack wet material into a clog. Short passes let the vacuum do actual lifting instead of turning the nozzle into a rake.
Use this rhythm:
- Place the nozzle in the gutter channel: Aim at the debris pile, not across the top lip.
- Pause over heavy spots: Give suction time to pull material free.
- Move a short distance: Keep the wand angle steady so airflow stays consistent.
- Lift over brackets or spikes: Clear the obstacle, then set the nozzle back into the channel.
That slow rhythm matters more on long extensions. Every extra foot of hose adds resistance, so wasted motion at the nozzle shows up as weak pickup at the far end.
Adjust your pace to the debris type
Dry leaves usually come out cleanly if the nozzle stays slightly ahead of the pile. Move too fast and you just shove them down the run. Wet buildup behaves differently. It sticks to the gutter floor, seals against the nozzle, and exposes weak suction fast.
If the line suddenly feels dead, stop right there. Check the top bend first, then the first joint below it. In real use, a lot of apparent suction loss is a partial clog that started with wet muck or shingle grit collecting at a restriction.
Wet sludge is the honest test. If the hose is too narrow, too long, or full of sharp turns, performance falls off fast.
Handle corners and downspouts carefully
Corners, outlet drops, and the area around the downspout opening usually hold the heaviest material. Approach those spots with the nozzle slightly above the blockage first. Break the pile apart in stages instead of burying the intake straight into it.
That approach protects airflow. A full plug at the nozzle or elbow can turn a usable setup into a useless one in seconds, especially on a long extension where suction is already reduced by distance.
Reposition before control gets sloppy
Move the vac and reset as soon as the wand angle gets awkward. Cleaning from the ground is safer than climbing a ladder, but only if you keep the tool under control and stay within a comfortable reach.
A clean section has a clear feel. The wand glides easier, the sound steadies, and the nozzle stops dragging through resistance. Once you hear and feel that change, shift over and repeat instead of scrubbing the same stretch with a weakening setup.
DIY Hose Modifications and Pro Tips
A lot of DIY gutter vac builds fail for one reason. The hose and fittings choke airflow before the debris ever reaches the drum. From the ground, that shows up as a tool that technically reaches the gutter but has no real pickup once you add height, bends, and wet muck.
Use rigid sections where they help most
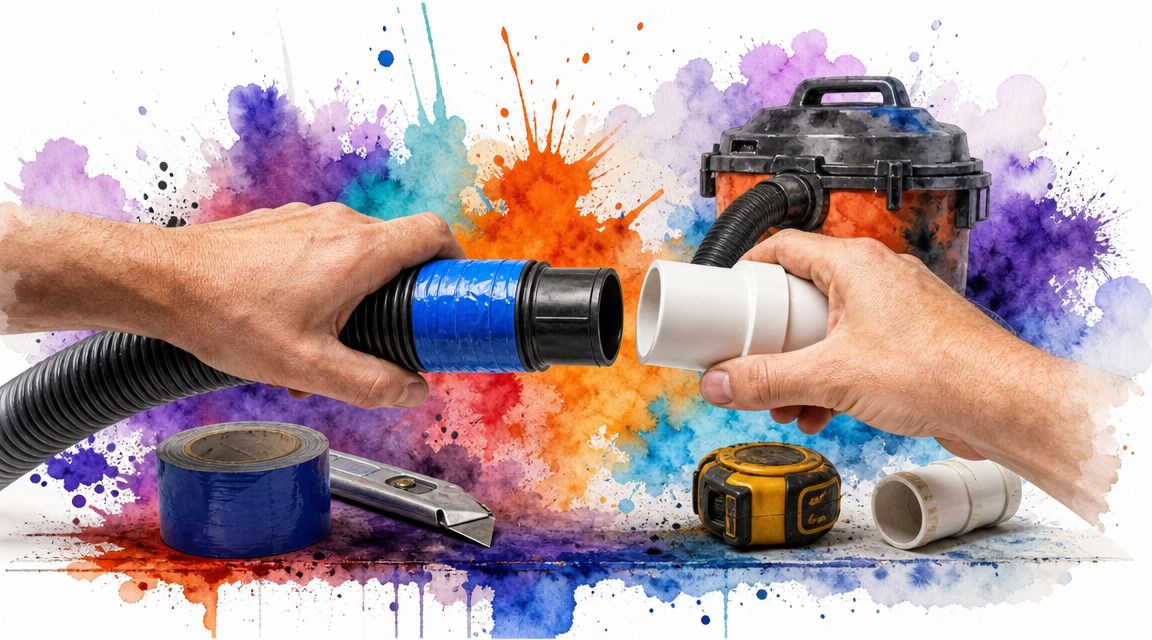
Rigid pipe makes sense on the upright section because it holds shape and wastes less effort than a long flexible hose whipping around overhead. Keep the flexible hose near the vac, where it helps with movement and absorbs some strain at the connection.
Diameter matters just as much as material. A narrow extension can feel fine in dry leaves, then fall flat in packed sludge because friction climbs fast as the passage gets smaller and the run gets longer. That is why lighter, wider pipe usually beats heavy, narrow pipe on a gutter setup, even if both can be adapted to the same vac.
Schedule 20 PVC is a common DIY choice because it cuts weight without turning the wand into a wet noodle. Schedule 40 still has a place on short sections or areas that take abuse, but using it for the whole build often creates a top-heavy tool that wears you out before the job is done.
Build the nozzle for control, not just reach
The top end decides whether the system keeps flowing or plugs up. A gentle curved section lets the intake ride inside the gutter trough instead of jamming straight into compacted debris or scraping the front lip.
Keep the opening large enough to pass soggy clumps and shingle grit together. If you neck the nozzle down too far, suction speed goes up at the tip, but usable airflow drops and clogging gets more likely. That trade-off fools a lot of DIY builders. The tool feels aggressive for a second, then stops moving material once the opening seals against wet buildup.
Good nozzle habits:
- Use a broad sweep instead of a tight elbow at the top.
- Mark the nozzle orientation with bright tape so you can tell its position from the ground.
- Round or smooth the intake edge so it glides over hangers and doesn't catch debris.
- Test the end on wet leaves on the ground before lifting it overhead.
Seal joints, but don't overbuild the run
Small leaks matter more on a long extension than people expect. Every loose coupler pulls in outside air, and that lost vacuum shows up at the nozzle where you need it most. Tape, friction-fit adapters, or simple mechanical fasteners can help, as long as you can still take the system apart for clogs.
Too many adapters create another problem. Each step-down, sharp shoulder, or sloppy transition adds resistance and gives debris a place to hang up. I would rather see one clean adapter and a shorter run than a stack of mismatched fittings that technically connect.
What works in the field
The best homemade setups usually share a few traits:
- The main reach stays as short as the job allows.
- The hose and wand diameter stay consistent for most of the run.
- The top bend is smooth and open.
- The lower section is light enough to control with two hands from the ground.
That combination preserves airflow and keeps the wand manageable.
What doesn't work well
The worst DIY mistake is chasing reach with undersized pipe. Long, skinny extensions lose too much suction to friction, then a wet clump finishes the job and blocks the line. The second mistake is piling on couplers, reducers, and sharp elbows because they were easy to find in the garage.
Heavy parts can ruin a build too. If the wand is exhausting to lift, you will start fighting the tool instead of guiding it. A shorter, lighter setup with better airflow will usually clean faster than a longer rig with weak pickup.
Common Pitfalls and Post-Cleaning Care
Most failed gutter-vac jobs come down to a few predictable mistakes. The extension is too long and too narrow. The operator keeps working after the hose starts clogging. The drum gets heavy and overfilled, then suction fades and the whole setup feels worse by the minute.
Watch for the warning signs early. If pickup suddenly drops, check the curve, the joints, and the tank before blaming the motor. If the wand feels unmanageable, shorten or simplify it instead of muscling through.
After the job, empty the drum right away. Clean out the hose and let damp parts dry before storage so they don't stink or cake up with residue. Brush or replace the filter if it's loaded with fine grit. Store rigid sections where they won't warp and flexible hose where it won't get crushed.
The best setup is the one that's still ready to work next season.
If you're shopping for clothes after finishing the house projects, TryThisFit lets you see how clothing looks on you before you buy. You can try outfits in seconds on the main try-on page, review saved looks in your try-on history, or install the free Chrome extension that adds a right-click try-on feature on sites like Zara, H&M, Shein, Vinted, Depop, and Amazon. Flat-lay clothing photos work best for the most accurate style preview, no account is needed, and it installs in a couple of seconds.
Try Virtual Try-On Now
See how clothes look on you before you buy - works with any online store
Get Started Free