Add Suit to Photo Online Free: Professional Looks with AI
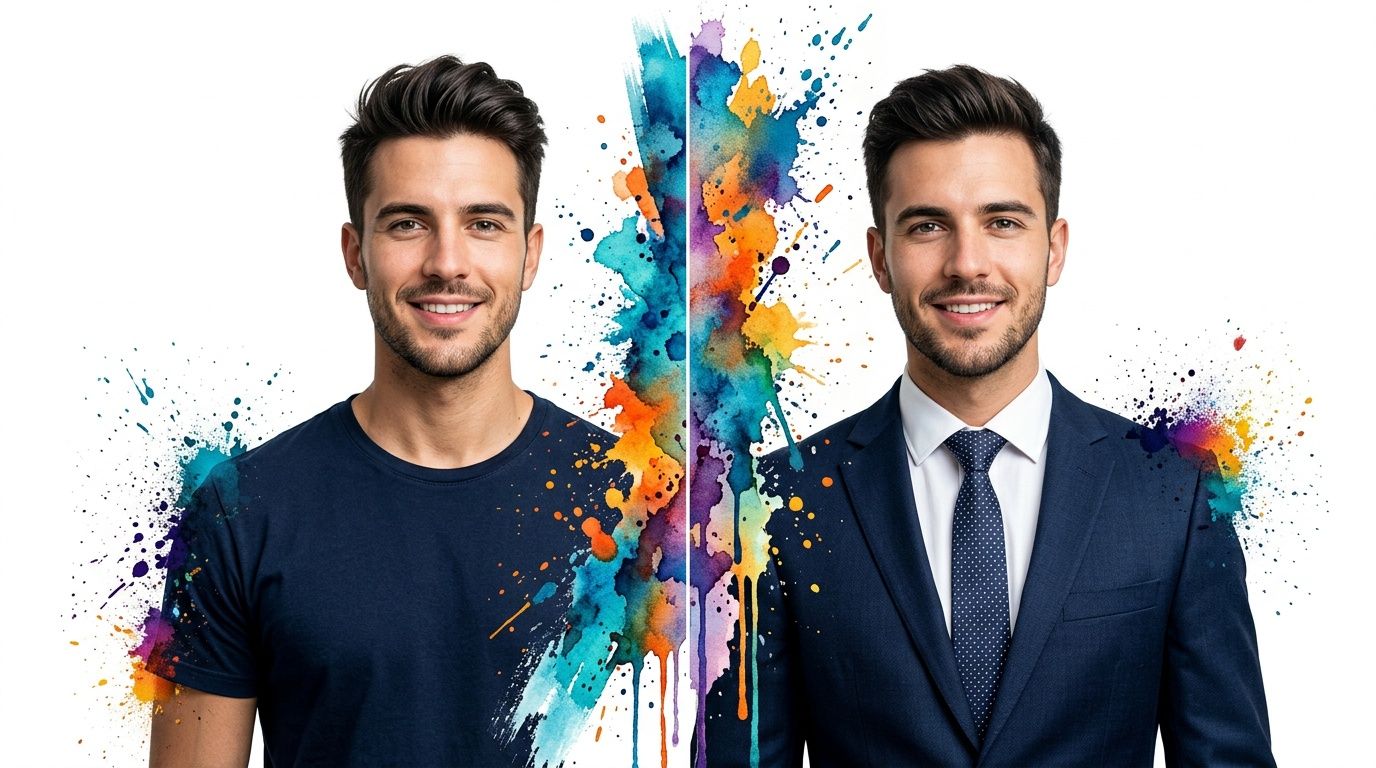
You get the email. Interview next week, conference badge already printed, LinkedIn profile suddenly feels ancient. Then you look at your photo and realize it's a dim selfie, a cropped party shot, or something that never looked polished in the first place.
That's when “I just need a quick professional photo” turns into a mini crisis. The good news is that adding a suit to a photo online for free has gone from gimmick to something people widely use to preview a polished look in seconds.
The Sudden Need for a Professional Look
A lot of people don't want a full photoshoot. They want one solid image that looks sharp enough for LinkedIn, a resume, a speaker bio, or a company directory. That's where AI try-on tools feel like magic. You upload a clear portrait, swap in a suit look, and suddenly the whole vibe changes.
This isn't a niche trend anymore. The virtual try-on market reached USD 15.18 billion in 2025 and is projected to reach USD 48.10 billion by 2030, with a CAGR of 25.95%. That growth tracks with a simple reality. People want to see how clothing looks on their own image before they commit.
Why this feels urgent
A professional headshot used to mean borrowing a blazer, fixing the room lighting, and hoping the camera angle didn't ruin everything. Now the faster path is often digital. You can start with a decent portrait and preview the appearance of a more polished outfit almost instantly.
Practical rule: A great suit edit doesn't need a perfect studio portrait. It needs a clear face, visible shoulders, and lighting that doesn't fight the photo.
That matters because users aren't trying to create fashion art. They're trying to solve a practical problem fast. They need something that looks clean, current, and believable.
What people actually want
Usually it's one of these:
- A quick LinkedIn upgrade so the profile finally matches the role they want.
- An interview-ready image for company portals, recruiter outreach, or personal branding.
- A polished social profile that looks more intentional than the last vacation crop.
If that's where you are, a dedicated free online suit photo tool is the fastest place to start. The best part is that this isn't about pretending the clothes are physically on you. It's about seeing how the style, color, and shape read on your photo before you use it anywhere public.
Your Instant Makeover with the TryThisFit App
Some tools make this process feel harder than it should be. You hit a signup wall, get stuck choosing from vague templates, or end up with a generic “business outfit” pasted over your body. The smoother experience is simple. Upload your photo, upload the suit image you want to preview, and let the app handle the transformation in seconds.
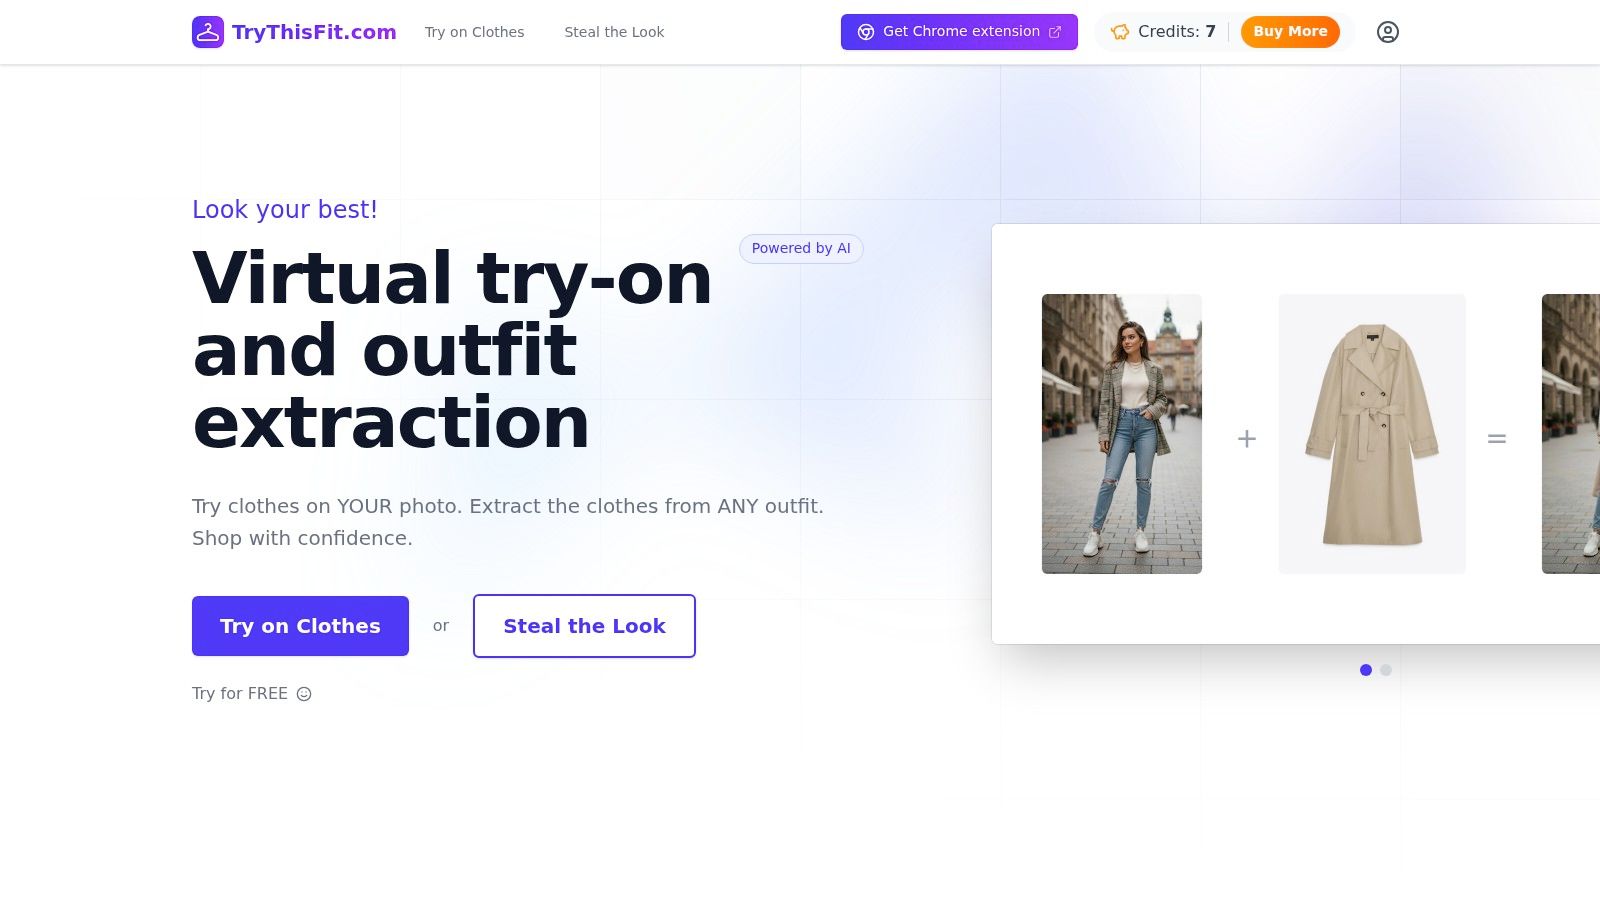
The big aha moment comes when the result doesn't look like a sticker. It looks like a style preview that belongs on your photo. That's the difference between a novelty effect and something you'd use.
The fastest way to do it
The cleanest workflow is:
-
Choose a clear portrait
Front-facing works best. Keep your face visible, shoulders unobstructed, and the background simple. -
Pick the suit image
A flat-lay product photo usually gives the best visual result because the garment shape is easier for the system to interpret. -
Generate the preview
The app maps the clothing onto your photo so you can see how the look comes together without manual editing. -
Compare versions
Try a dark blazer, a lighter suit, or a sharper lapel shape and see which style feels more like you.
That flat-lay point matters more than is immediately apparent. Virtual try-on AI systems achieve the highest accuracy in style preview when processing flat-lay product photos, which are the dominant image format on major retail sites like Zara and H&M, because this orientation eliminates perspective distortion and provides a consistent 2D input for the neural network to map clothing geometry onto the user's body model
Why flat-lay images beat random product shots
Retail photos come in a few flavors. Model photos look stylish, but they're harder to repurpose because the clothing is already shaped by someone else's pose. Flat-lay photos are cleaner. They show the garment itself.
That's why they're so useful for someone trying to add suit to photo online free and get a realistic style preview instead of a vague approximation.
The best result usually starts with the least dramatic product image.
If you want to test it yourself, start on the main try-on page. No accounts needed. Upload your photo, add the item, and see the look in seconds.
A quick visual walkthrough
Sometimes it's easier to watch the transformation happen than read about it. This demo gives a feel for how quickly a clothing preview can go from product image to personal style check.
<iframe width="100%" style="aspect-ratio: 16 / 9;" src="https://www.youtube.com/embed/ARN4xSc-4hI" frameborder="0" allow="autoplay; encrypted-media" allowfullscreen></iframe>The fun part is how many situations this covers. Professional headshots are the obvious one, but it's also useful for deciding between two blazer styles, checking a secondhand jacket before buying, or even previewing a Halloween costume before you commit to a whole look.
And if you're polishing more than a still image, tools that create studio-quality videos can complement the same workflow nicely when you want a sharper visual presence across profiles and content.
Unlock Shopping Superpowers with the Chrome Extension
You spot a suit jacket on a shopping site and know within two seconds that it might be the one. The usual problem comes right after that. You can see it on the model, but you still cannot see it on you.
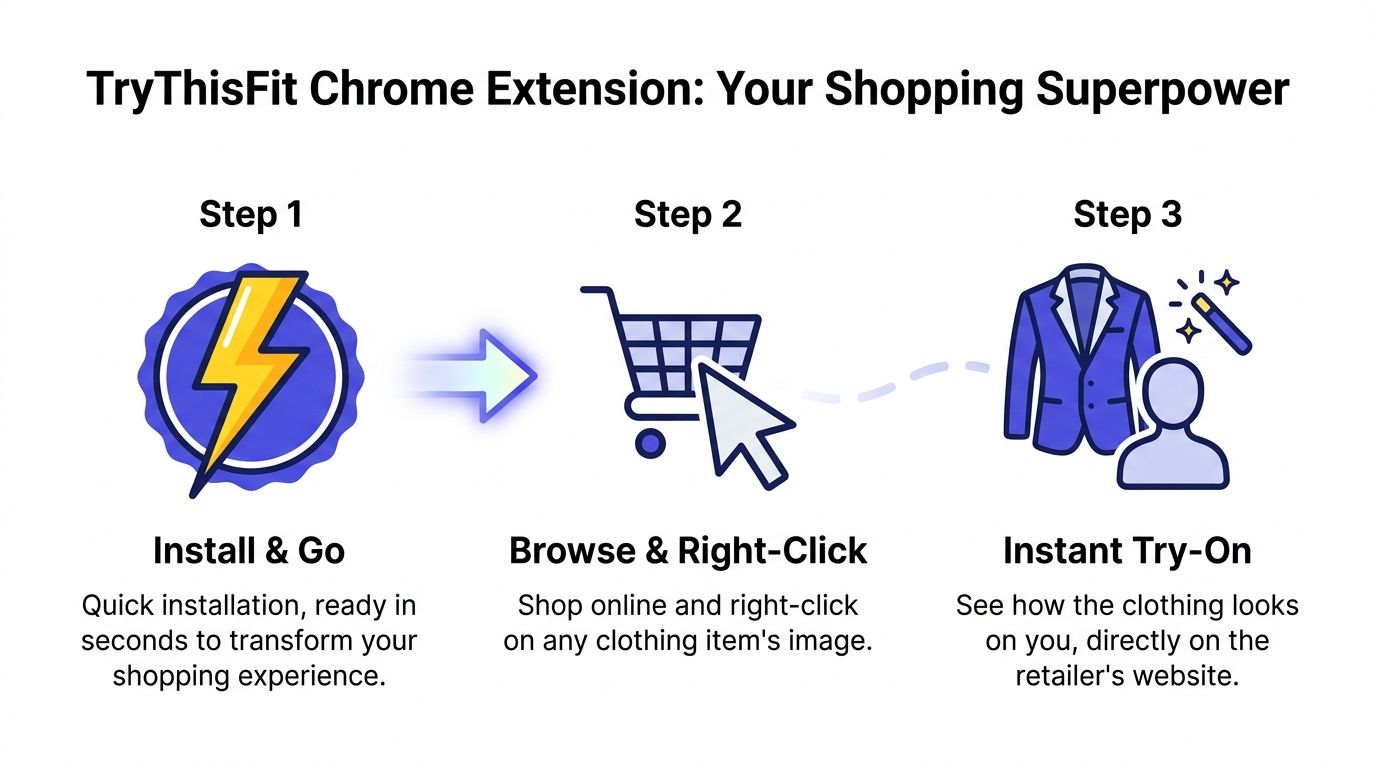
The Chrome extension fixes that gap. Instead of downloading product photos, renaming files, and bouncing between tabs, you can stay on the store page and send the item straight into your try-on flow. Generic suit apps usually paste a business outfit onto your photo. TryThisFit does something much more useful. It helps you go from a real product listing to your own visual preview while you are still deciding whether to buy.
That speed changes how shopping feels.
You might be browsing Zara for a cleaner blazer, checking H&M for a softer cut, comparing Amazon fashion picks, or hunting through Shein, Vinted, and Depop for a secondhand find that will disappear by tomorrow. Right-click the product photo, send it over, and see whether the style works on your own image before you waste time guessing.
If you want the strongest result from a store photo, this guide on choosing better clothing photos for virtual try-on helps a lot, especially when a product page gives you multiple image angles.
Why the extension matters
The key benefit is context. You are not testing a random suit template. You are testing the exact blazer, jacket, or formal set that caught your eye on the shopping page.
That makes a big difference in a few situations:
-
Secondhand shopping
Vinted and Depop move fast. A quick preview helps you decide before a one-off piece disappears. -
Comparing similar styles
Two navy blazers can look almost identical on a retailer site and completely different on your own photo. Shoulder shape, lapel width, and overall structure show up faster when you test both. -
Staying in flow while you browse
The right-click workflow keeps the momentum. You do not have to stop shopping just to start editing.
I built this kind of flow because the old process was annoying. Save image. Upload image. Go back to the store. Repeat. Once you can preview a suit directly from the page where you found it, the whole experience feels closer to trying clothes on than doing file management.
It is also surprisingly useful for eventwear and costume pieces. Formal jackets, themed blazers, and bold statement looks are hard to judge from product pages alone. A fast preview shows whether the vibe works on your face, posture, and photo style while you are still in buying mode.
Get a Picture-Perfect Result Every Time
The output starts with the input. If your portrait is cluttered, shadowy, or cropped too tightly, even a good try-on system has less to work with. A clean source photo gives the clothing a much better chance to look natural.
The same goes for the clothing image. The strongest results usually come from specific product photos, especially flat-lay shots, because they preserve the garment's shape without another model's pose getting in the way.
The photo setup that works
Use a portrait where your face is visible, your body is facing forward, and your shoulders are easy to read. Good lighting matters more than expensive equipment. Soft daylight or evenly lit indoor light beats dramatic shadows every time.
For the clothing image, pick the cleanest version available. If the store offers both model shots and flat-lays, use the flat-lay first.
- Best portrait choice means front-facing, well-lit, and simple in the background.
- Best clothing choice means a flat-lay or clean product image with the item fully visible.
- Best expectation is style preview, not sizing prediction.
Why generic suit apps often disappoint
A lot of free tools are built to generate a generic business look. That can be fine for a quick avatar-style edit, but it misses the actual shopping problem. You didn't fall in love with “some navy blazer.” You found a specific one.
That gap is bigger than it sounds. The flat-lay to real-person blind spot matters because 40% of online shoppers browse flat-lay clothing photos and want to visualize those specific garments on their own body, and 65% of fashion returns stem from fit or style mismatch due to the inability to preview real-body visualization.
If you want better inputs before you start, this guide on photos for clothes try-ons helps you choose images that produce cleaner previews.
Clean portrait in. Better style preview out.
How TryThisFit Compares to Other Free Tools
Not all “add suit to photo online free” tools are solving the same problem. Some are image editors for making a polished headshot. Others are style preview tools that help you decide what to wear or what to buy. If you mix those up, the results feel disappointing even when the software is doing exactly what it was designed to do.
Generic suit editors often start from a preset wardrobe. You upload your photo, pick from a few business styles, and the system generates a professional-looking result. That's useful when you just need a quick formal look.
The real difference
The stronger shopping workflow starts with the actual item image from a store. That means the tool isn't inventing a random blazer. It's helping you preview the appearance of the specific jacket you found on Zara, H&M, Amazon, Shein, Vinted, or Depop.
That's a completely different use case.
Advanced AI suit editors use 3D body-mapping to detect posture and shoulder width, wrapping the suit digitally instead of applying a flat sticker, which improves realism and alignment with the user's natural body structure. But even with that improvement, many editors still stop at generic suit generation rather than connecting a real shopping image to your own photo.
TryThisFit vs. Generic Suit Generators
| Feature | TryThisFit | Generic Suit Editors (e.g., Fotor) |
|---|---|---|
| Primary goal | Preview how a real store item looks on your photo | Generate a polished suit look from preset styles |
| Best use case | Online shopping, secondhand browsing, style comparison | Quick professional headshots |
| Product source | Real clothing images from shopping sites | Template-based or generated suits |
| Best input clothing image | Flat-lay product photos | Usually no product image needed |
| Shopping workflow | Works directly while browsing with a Chrome extension | Usually separate from store browsing |
| Result style | Specific item appearance preview | Generic businesswear effect |
Which one should you use
Use a generic editor if you need a fast formal portrait and don't care which suit style appears.
Use TryThisFit if the whole point is the item itself. That's the better fit for shopping, comparing styles, secondhand finds, and those moments when you want to know if that exact jacket has the right energy on your photo.
Your New Look is Ready What To Do Next
You found a suit image that looks great on a store page, then you saw it on your own photo and the decision got much easier. That is the moment to save the result and treat it like a real shortlist.
Keep the versions that changed your mind. A charcoal jacket may read sharper on your face than navy. A slimmer lapel may suit your proportions better than a wider one. If you are comparing a retail listing with a secondhand find, saved previews give you something concrete to return to instead of relying on memory across a dozen tabs.
This is the part generic suit-sticker apps usually miss. They can give you a polished formal look, but they do not help much when you want to compare the exact suit you spotted online. TryThisFit is stronger here because the preview stays tied to the actual item you were considering, which makes the next step feel practical, not just fun.
Use the saved looks to make a calmer decision later. Revisit them before you buy, send them to a friend for a second opinion, or pick the one that works best for a profile photo update.
A virtual suit preview will not tell you how the fabric feels or whether the sizing runs small. It does something more immediate. It helps you see whether a specific suit has the right tone, shape, and presence on you before you spend money or settle for a look that was never quite right.
Try Virtual Try-On Now
See how clothes look on you before you buy - works with any online store
Get Started Free