Change Clothes Color Online Free: A Visual Guide
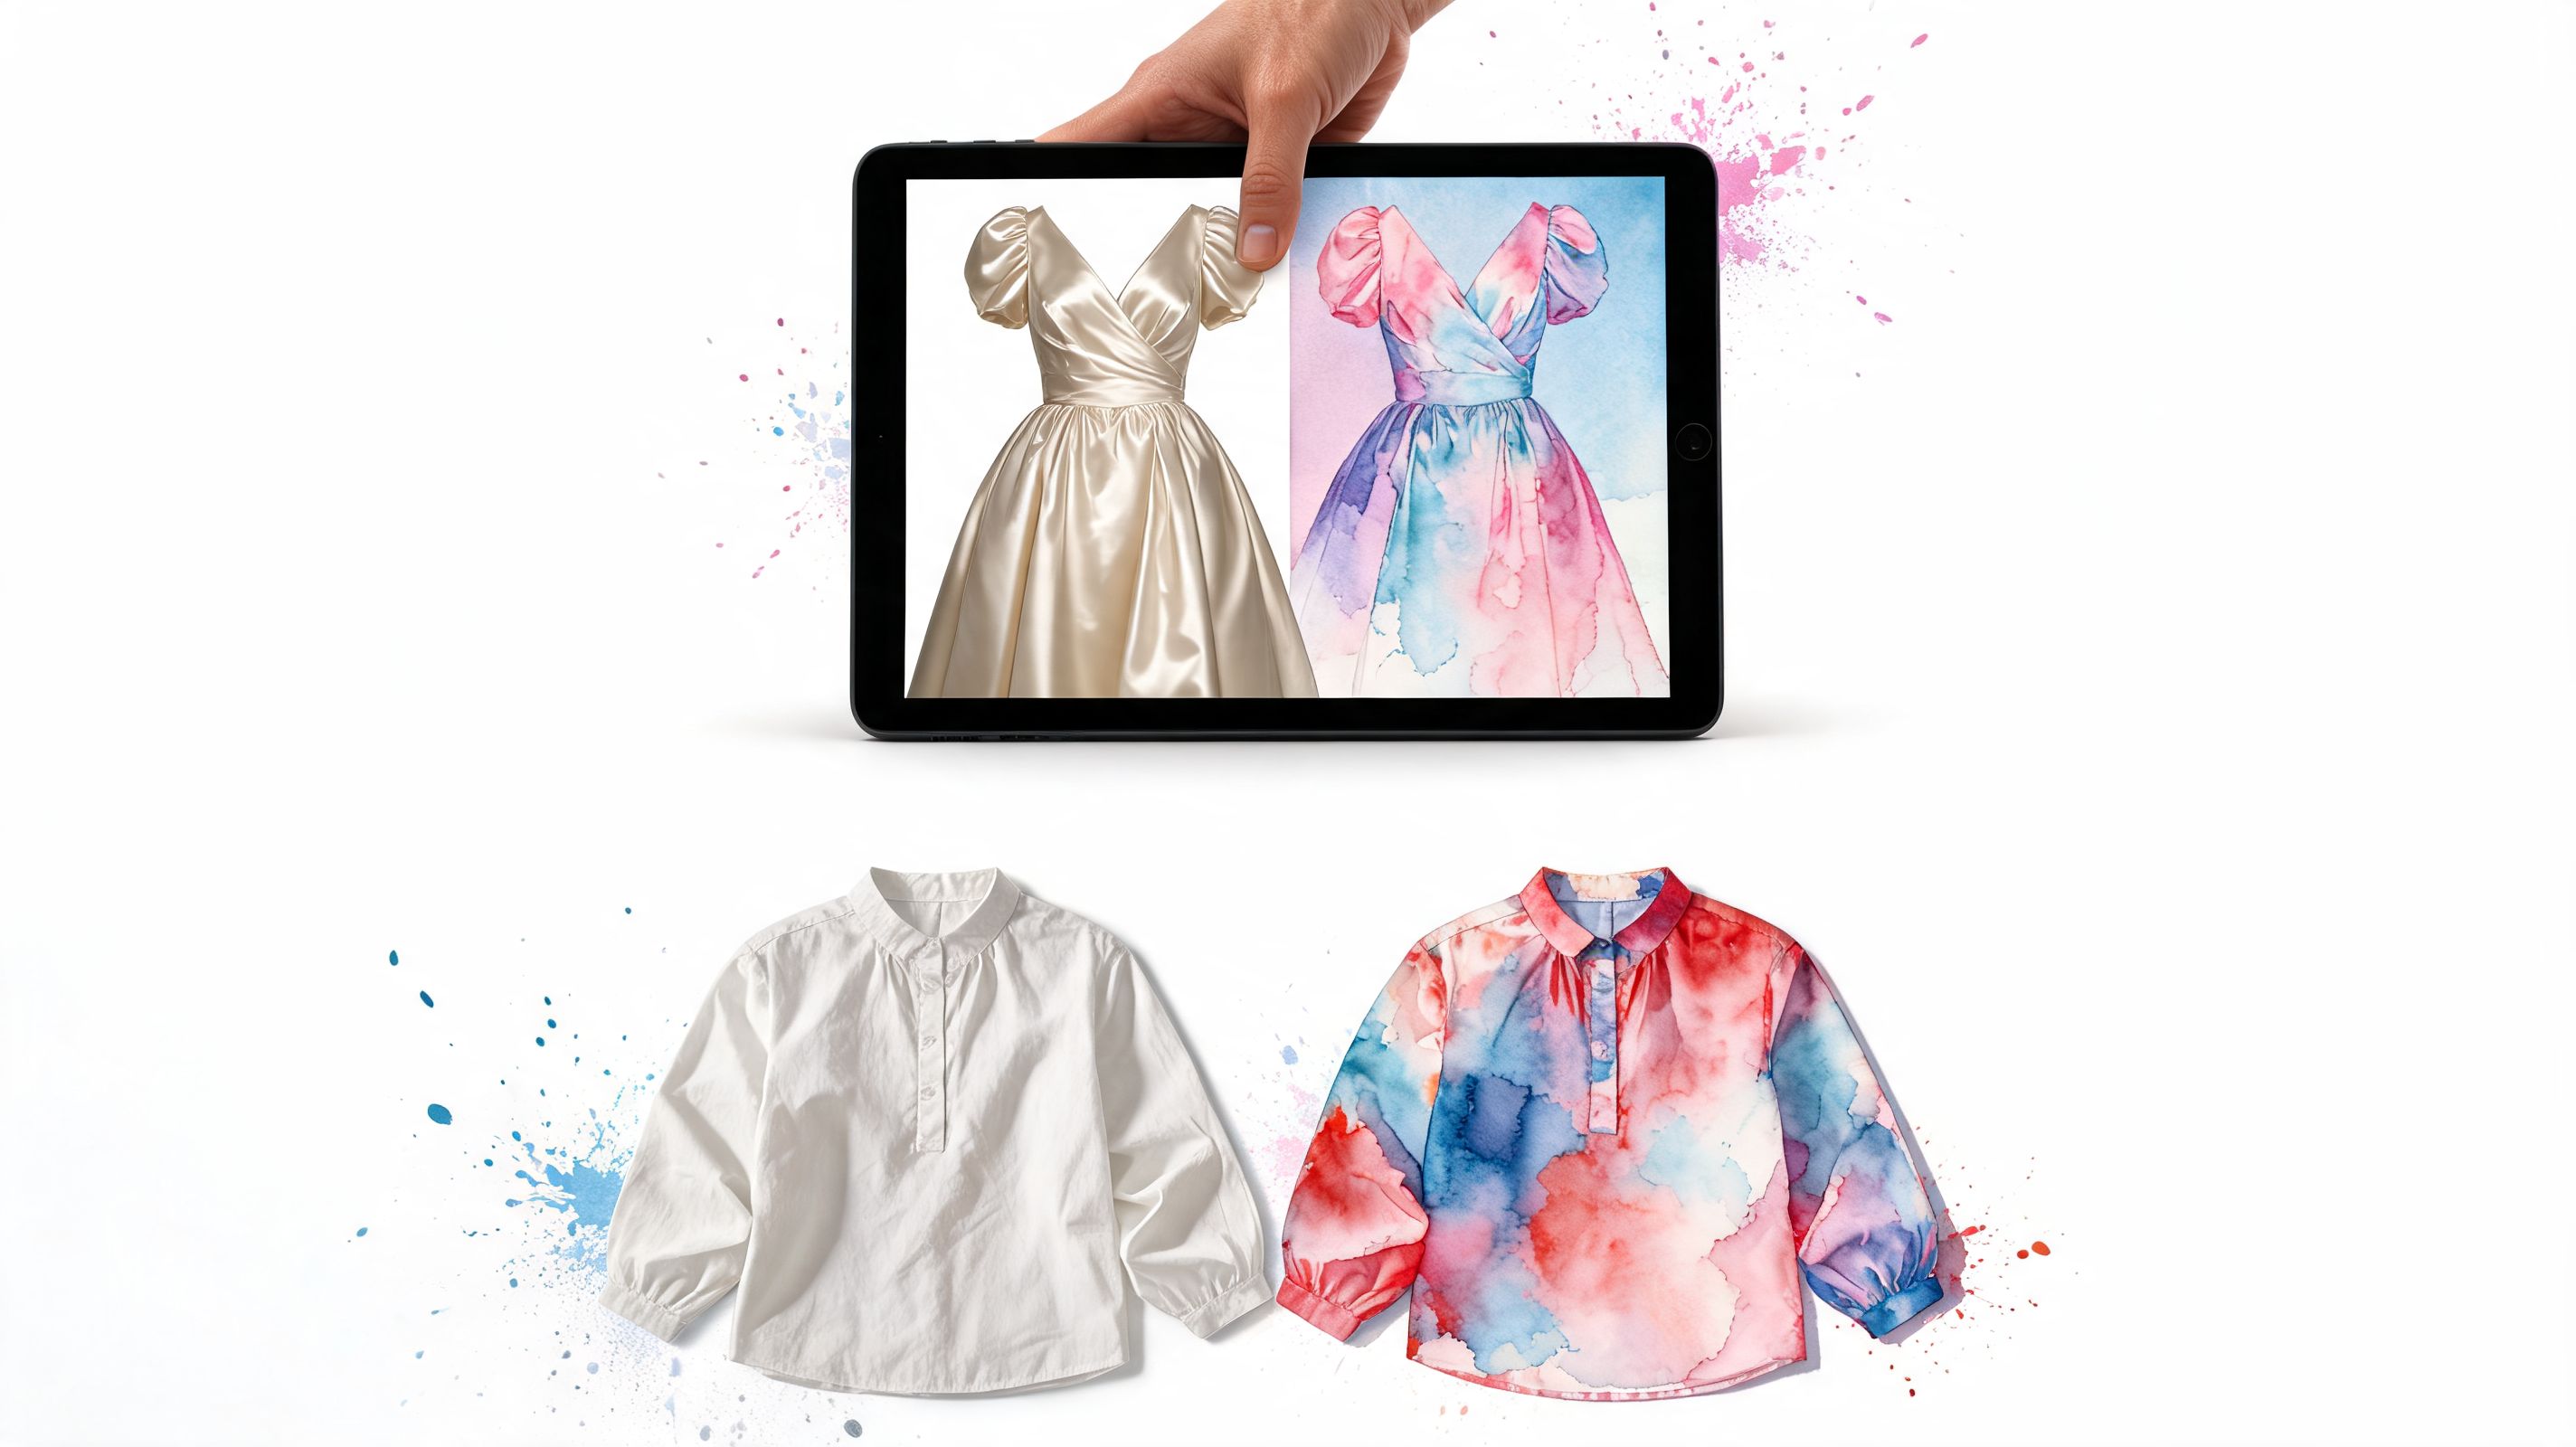
You know that annoying moment when you find a jacket, dress, or knit online and think, “I'd buy this immediately if it came in a better color”? That's the exact shopping problem shoppers still treat like a dead end.
It isn't. If you want to change clothes color online free, you can do it in minutes, and it's become one of the smartest ways to shop without guessing. You stop relying on tiny swatches, weird product lighting, and your imagination. You start seeing the actual vibe before you spend money.
Visualize New Looks Before You Buy
The best use of a free clothes color changer isn't editing for fun. It's shopping smarter.
A lot of online fashion disappointment comes down to color. The cut looks right. The styling looks right. Then the only version left is mustard instead of black, pale blue instead of olive, or a red that feels way louder than it did on the product page.
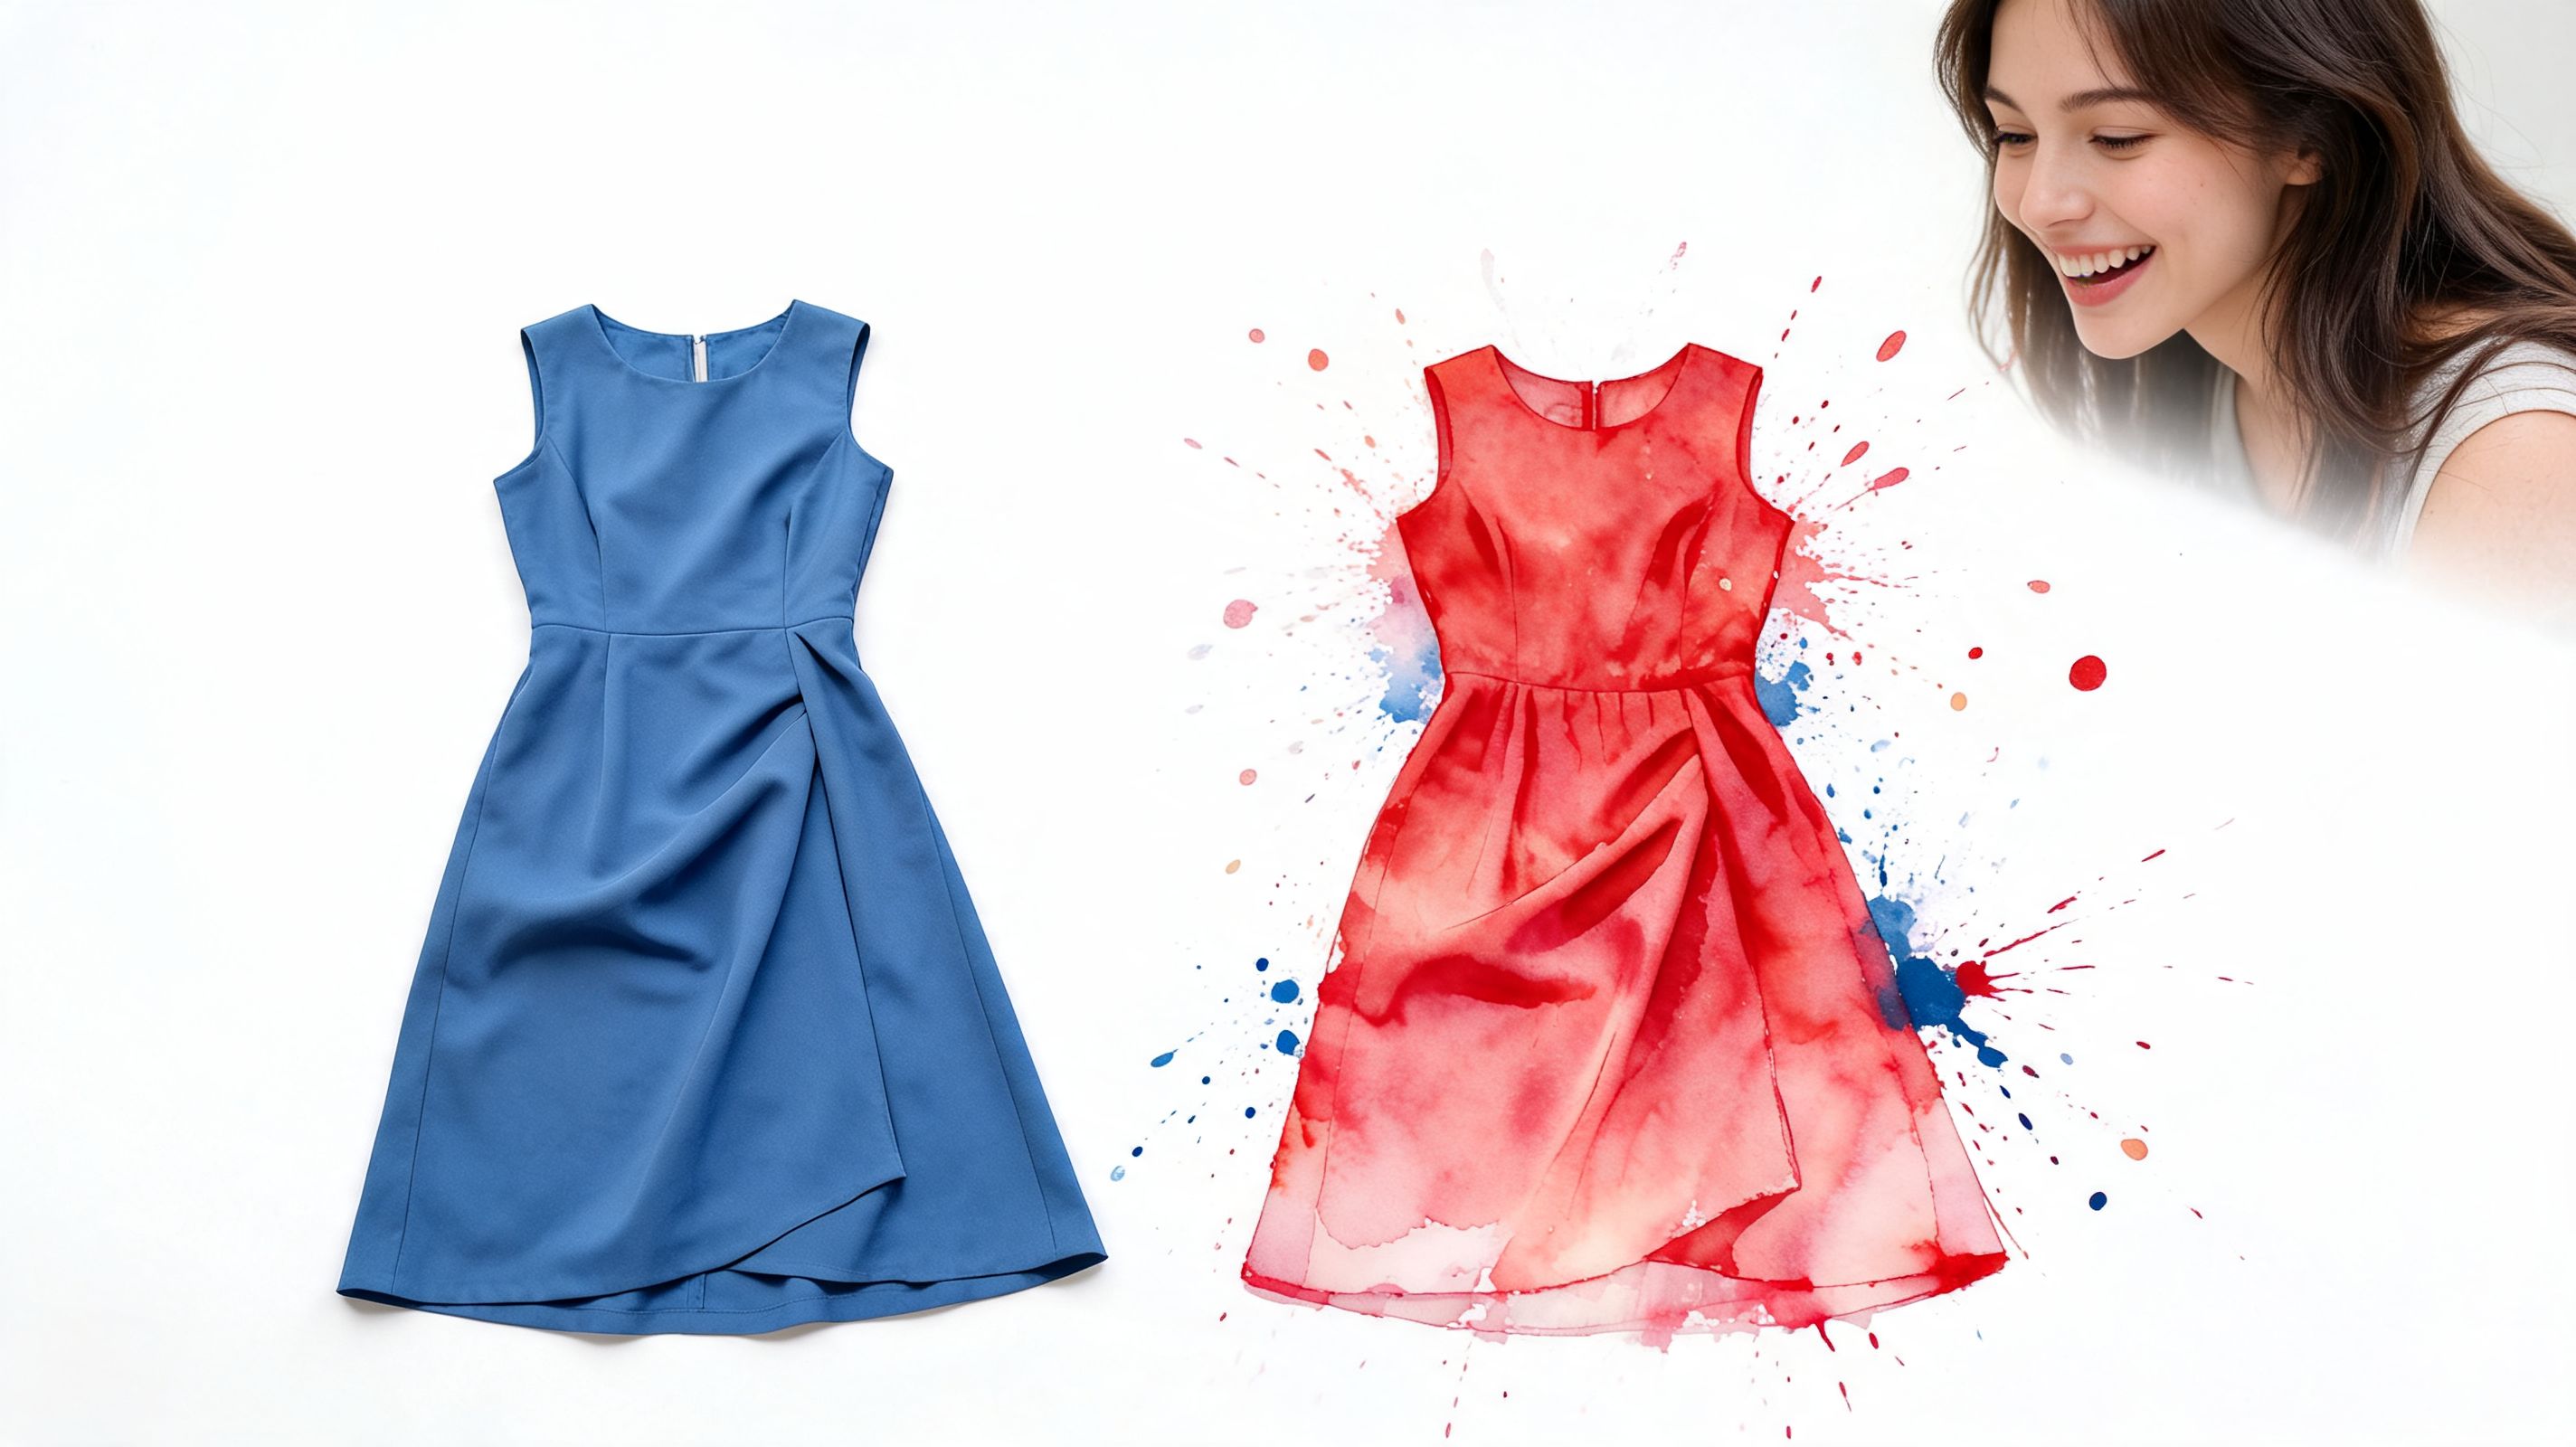
That's why this matters now more than ever. The global e-commerce fashion market is projected to exceed $1.2 trillion by 2027, while online apparel return rates average 24 to 30%, and 41% of shoppers cite poor color visualization as a key problem according to Fotor's overview of AI clothes color tools.
Why this matters in real shopping
You don't need perfect styling instincts to use this well. You just need a practical question:
- Buying for an event and wondering if the dress should be deeper green instead of pastel.
- Shopping secondhand and trying to decide if a strong color is the only reason you're hesitating.
- Building outfits and checking whether a coat feels polished in camel, charcoal, or cream.
- Looking at basics and realizing the same item could work if the color felt more like you.
Practical rule: If you like the shape but not the shade, don't reject the item yet. Preview the color first.
The fun part
This isn't just about reducing bad buys. It's also quite fun.
Color changing lets you play stylist with your own cart. That plain slip dress can suddenly feel wedding-guest ready. A basic hoodie can look cleaner in a colder neutral. A vintage find can go from “maybe” to “yes” the second you picture it in a richer tone.
That's the essential shift. You're no longer asking whether the product page is convincing. You're asking whether the look works for your style.
Using General Online Photo Editors
General online photo editors are the easiest entry point if you want to test a color quickly. Upload a photo, mark the clothing area, pick a new shade, and export the result. For a fast mockup, that's fine.
The problem is that most of these tools weren't built for fashion decisions. They were built for image editing.
What general editors do well
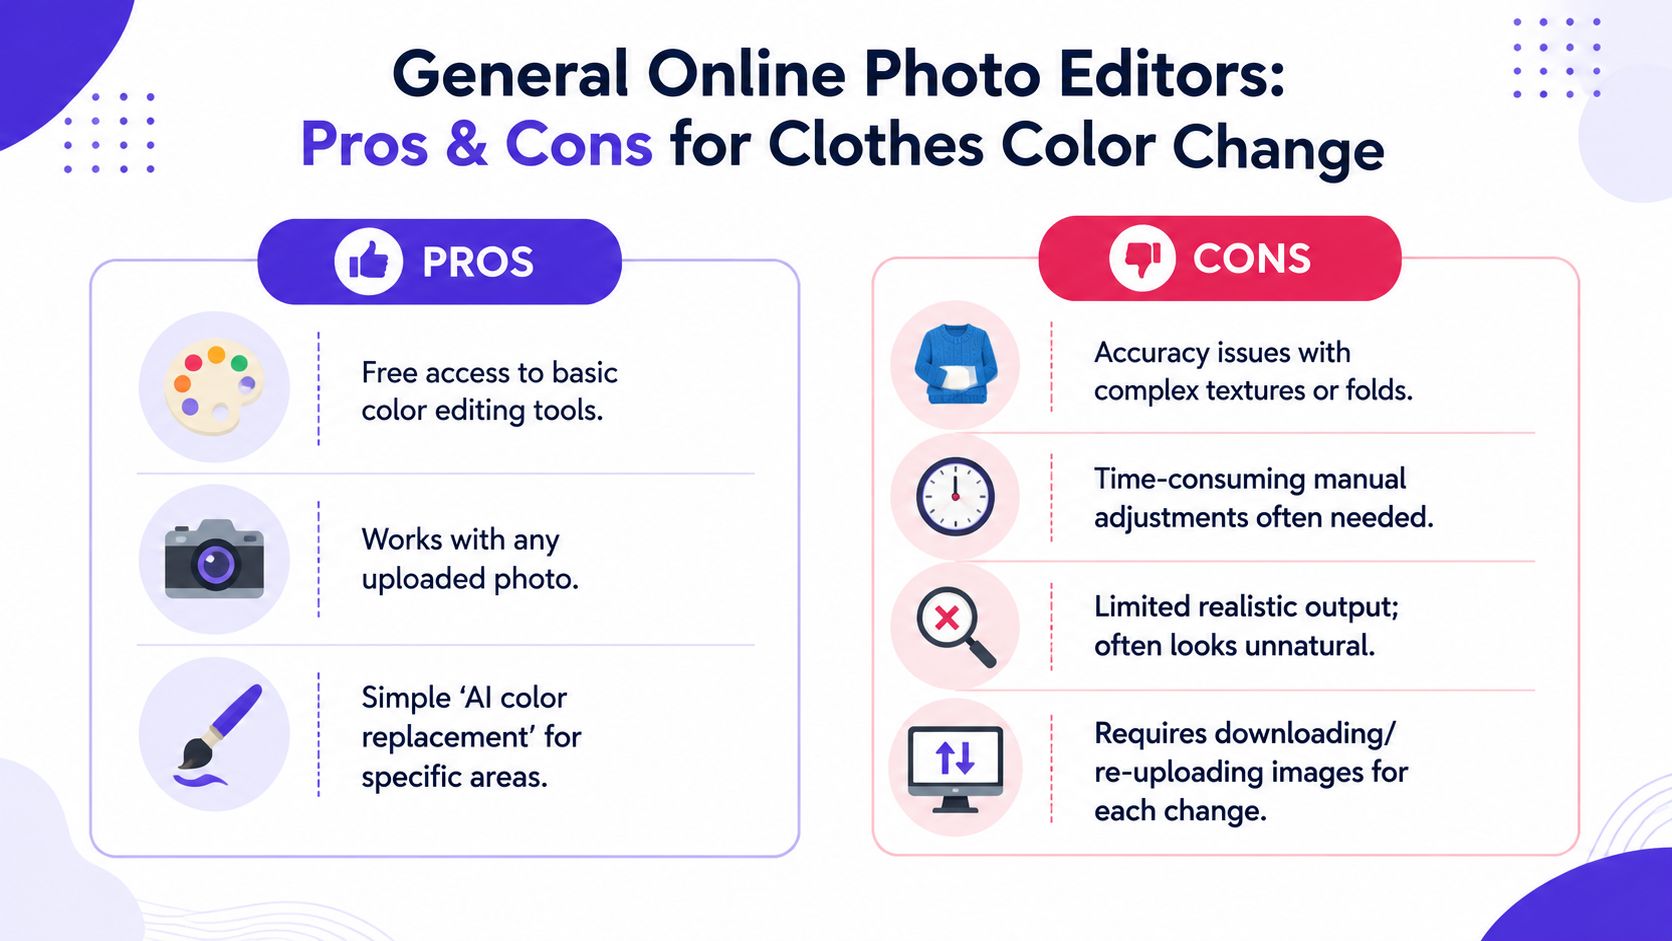
There's a reason these tools are popular. They're accessible and simple.
- Quick testing: You can see whether burgundy feels better than rust without opening heavy design software.
- Any uploaded image: Product shots, mirror selfies, flat lays, resale listings. Most editors accept all of them.
- Low commitment: You don't need to learn much before getting a result.
If you've ever used room mockup tools before, the same logic applies here. People often compare free room planning tools for a rough visual before committing to a design choice. Clothing color previews work the same way. A rough preview can still help you make a better decision.
Where they fall apart
Clothes aren't flat blocks of color. Fabric has folds, shadows, sheen, texture, and edges that matter.
According to this breakdown of HSL-based recoloring methods, advanced tools that work in HSL preserve 89 to 94% of original detail, while basic RGB swaps can make garments look flat and artificial. That's exactly why cheap recolors often make satin look plastic or denim look painted over.
A recolor that ignores shadows may technically change the garment, but it won't help you trust the result.
The usual workflow
For a general editor, the process usually looks like this:
-
Upload the image
A clean product shot works best. -
Select the garment area
Some editors do this automatically. Others need brush cleanup. -
Choose the replacement color
Bold shifts are fun, but they often reveal bad masking fast. -
Correct the weird parts
Sleeves, collars, seams, and folds usually need another pass. -
Download and compare
Then repeat the whole process if you want a second or third color.
That repetition is the annoying part. If you're curious about manual editing methods, this guide on how to change dress color in Photoshop is useful, but it also shows why so many shoppers want something faster.
My take
Use general photo editors for rough experimentation. Don't use them as your final reality check before buying.
If the result looks even slightly fake, your brain knows it. And once the preview feels fake, it stops being useful for an actual shopping decision.
A Smarter Way to Visualize Styles with TryThisFit
You find a jacket online, love the cut, hate the color, and still can't tell whether the better shade would suit you. That's the central shopping problem. You don't need another edited product shot. You need to see the style on your own body before you spend money.
The upgrade with TryThisFit is simple. It turns color testing into a buying decision tool. Instead of asking whether a store photo looks better in camel or olive, you get to check whether the whole look works with your face, your proportions, and the clothes you already wear.
Why seeing it on yourself changes everything
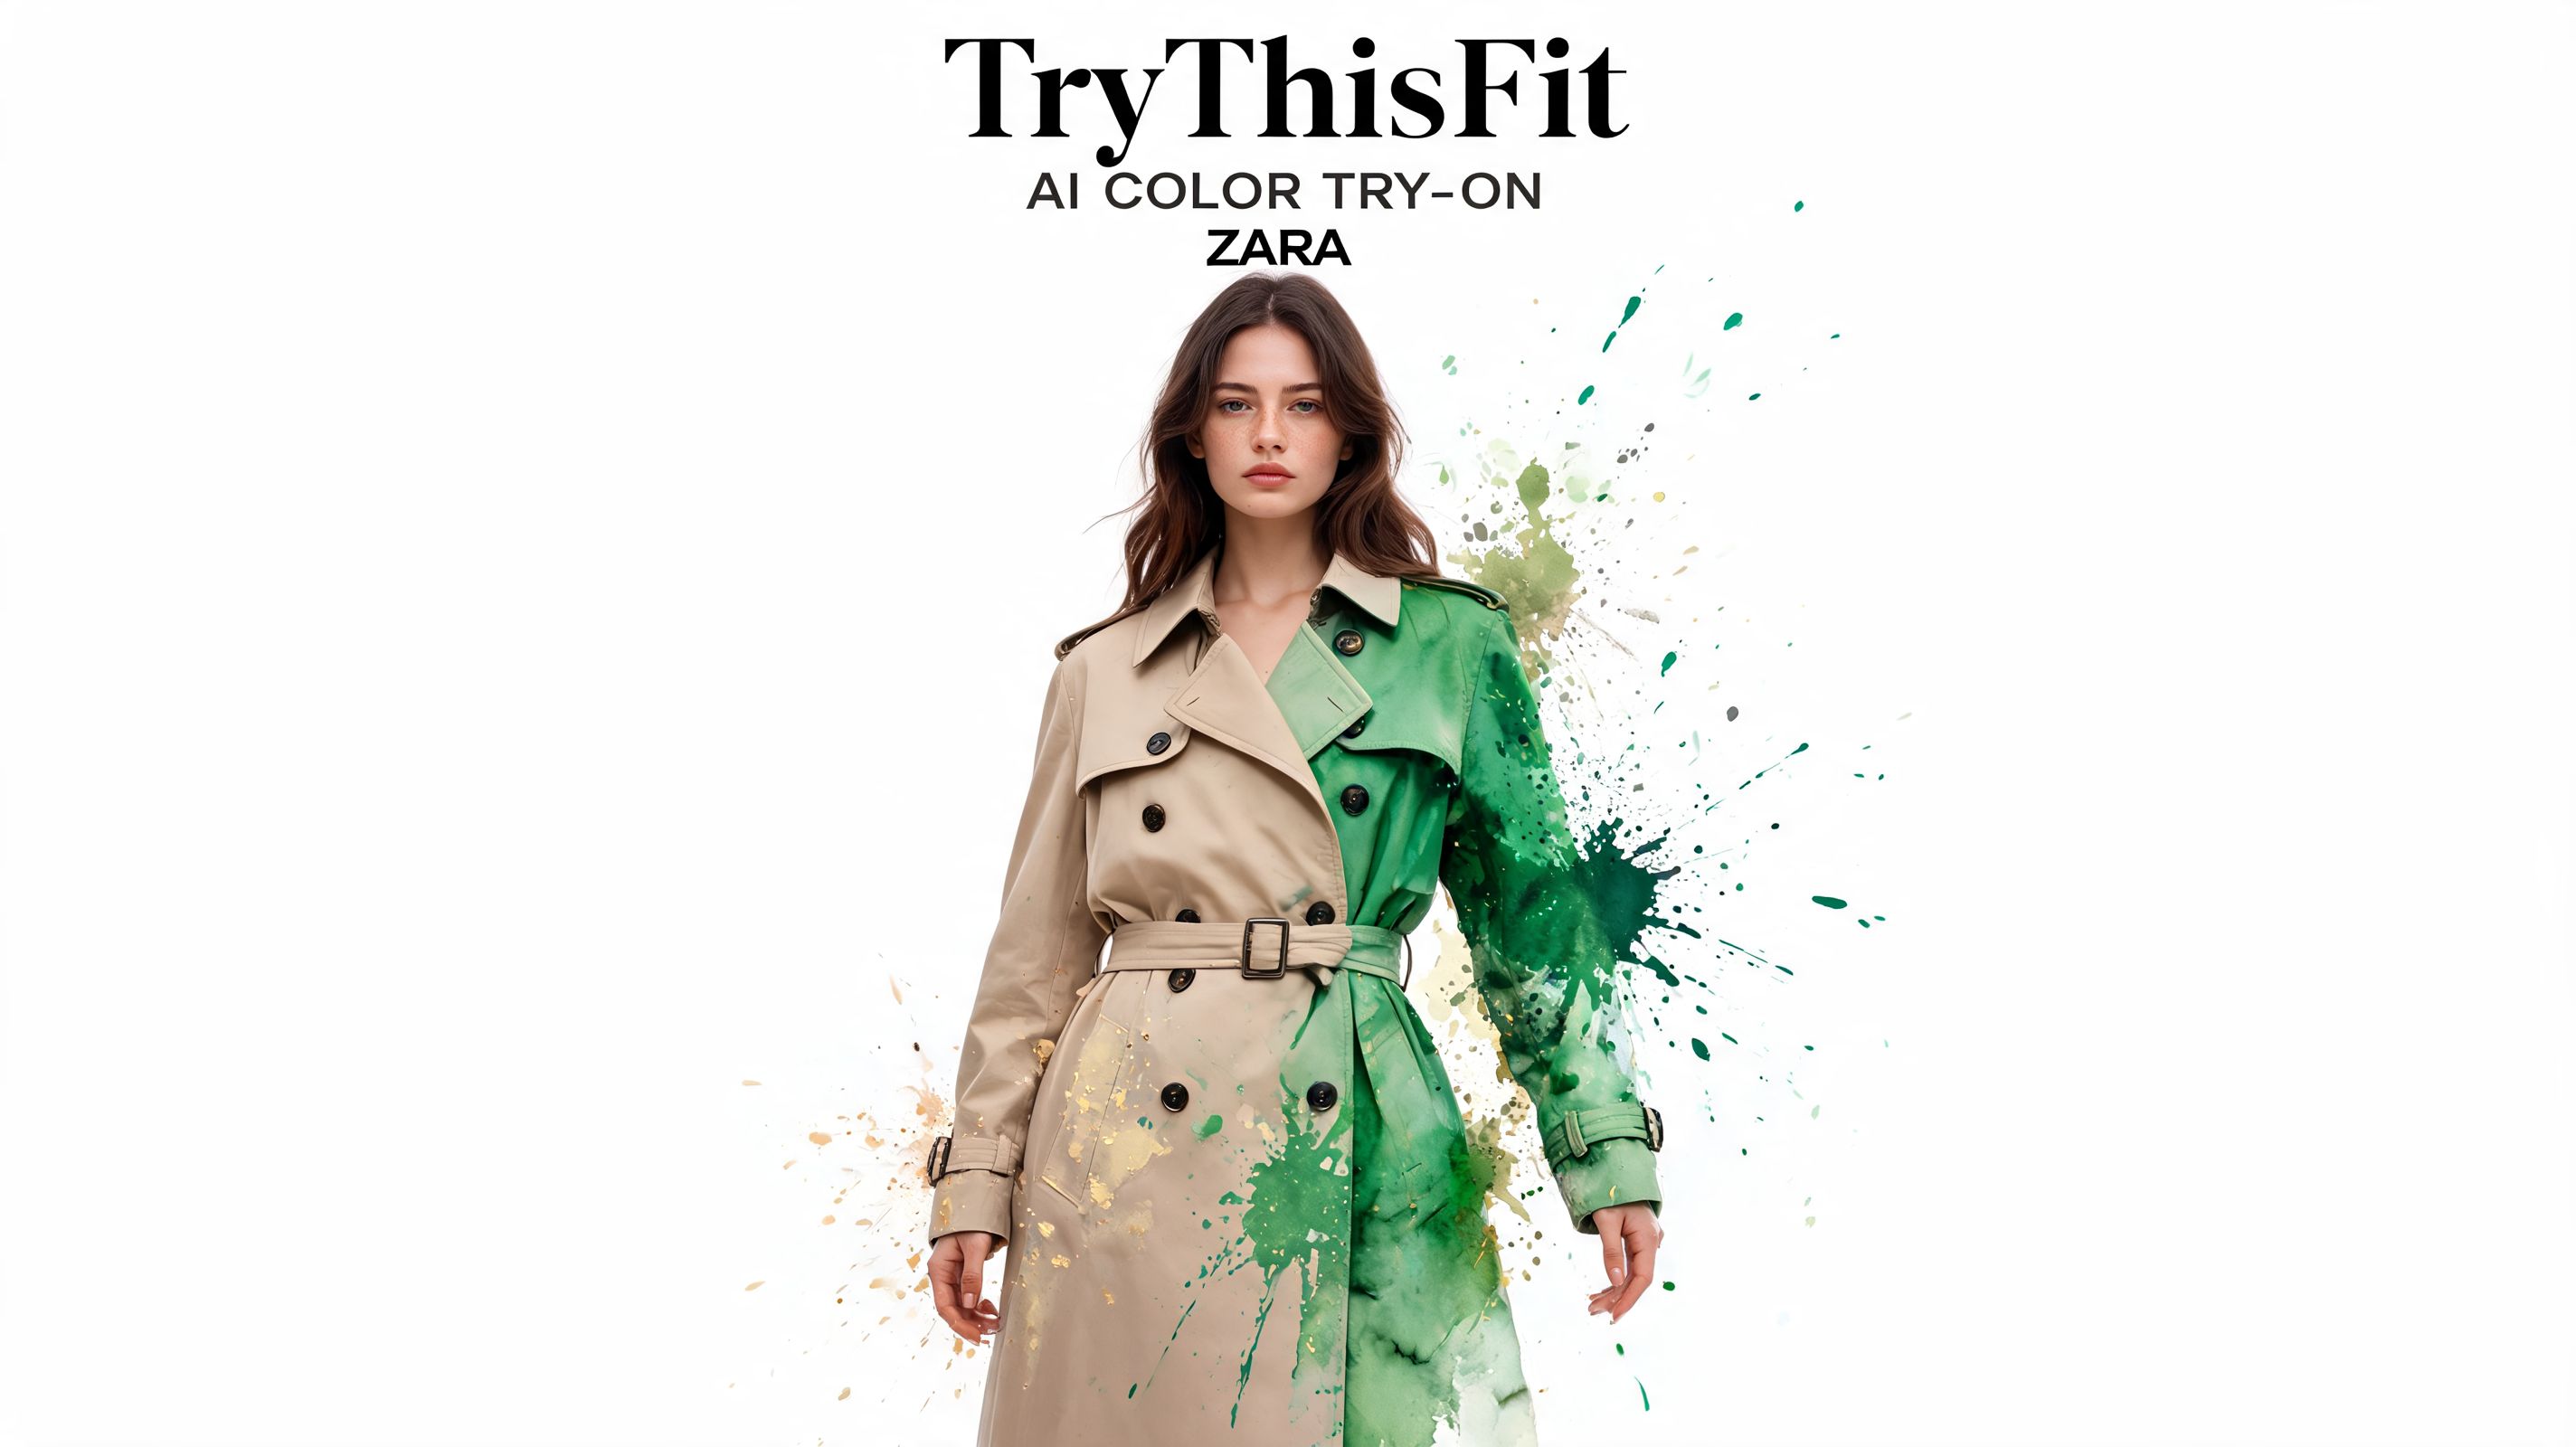
A trench coat on a retailer's model is styled to sell. Your preview should be styled to decide.
That difference matters more than people admit. A lighter shade can flatten your features. A darker one can sharpen the whole outfit. A trendy color can look amazing on a campaign page and completely wrong once it's on you, in your proportions, with your usual hair, makeup, and shoes.

Purpose-built fashion tools beat generic editors because they answer the question that matters. Would you wear this, not just click on it?
Shopping gets faster when the preview feels believable. Analysts at McKinsey found that AI-driven personalization in fashion can improve conversion rates, which fits the same pattern online shoppers already know from experience. Clearer previews reduce hesitation, and hesitation is what stalls a purchase.
If a preview helps you decide with confidence, it has already done more than a basic recolor.
A short demo makes the difference obvious.
<iframe width="100%" style="aspect-ratio: 16 / 9;" src="https://www.youtube.com/embed/swSp8ksR2Q0" frameborder="0" allow="autoplay; encrypted-media" allowfullscreen></iframe>Best use cases
TryThisFit is the better choice when you want speed, privacy, and a result that stays tied to the shopping moment instead of turning into a side editing project. If you want a quick explanation of the browser-based setup, this guide to how a Chrome extension works fills in the basics.
It works especially well when you're:
- Comparing retailer colors that sound close in the product title but look completely different in practice
- Shopping secondhand where one listing photo has to do all the work
- Planning costumes or themed outfits and wanting bold color without guessing
- Testing trend shades before deciding whether they feel stylish on you or just loud on the screen
Use color change as part of your shopping workflow, not as a novelty edit. That's the smarter move.
Master the Instant Try-On Chrome Extension
You're on a product page, the cut is right, the price is decent, and the color is the only thing holding you back. That is the moment a browser-based try-on tool earns its spot in your shopping routine.
The smartest setup happens right where you shop. No screenshot pile. No downloads. No dragging files into a generic editor that treats fashion like any other image.
If you shop on Zara, H&M, Shein, Vinted, Depop, or Amazon fashion listings, use a browser tool that lets you right-click a clothing image and preview it on yourself in seconds. That speed matters because it keeps your decision tied to the actual product page, price, sizing, and color options instead of turning the whole process into extra work.
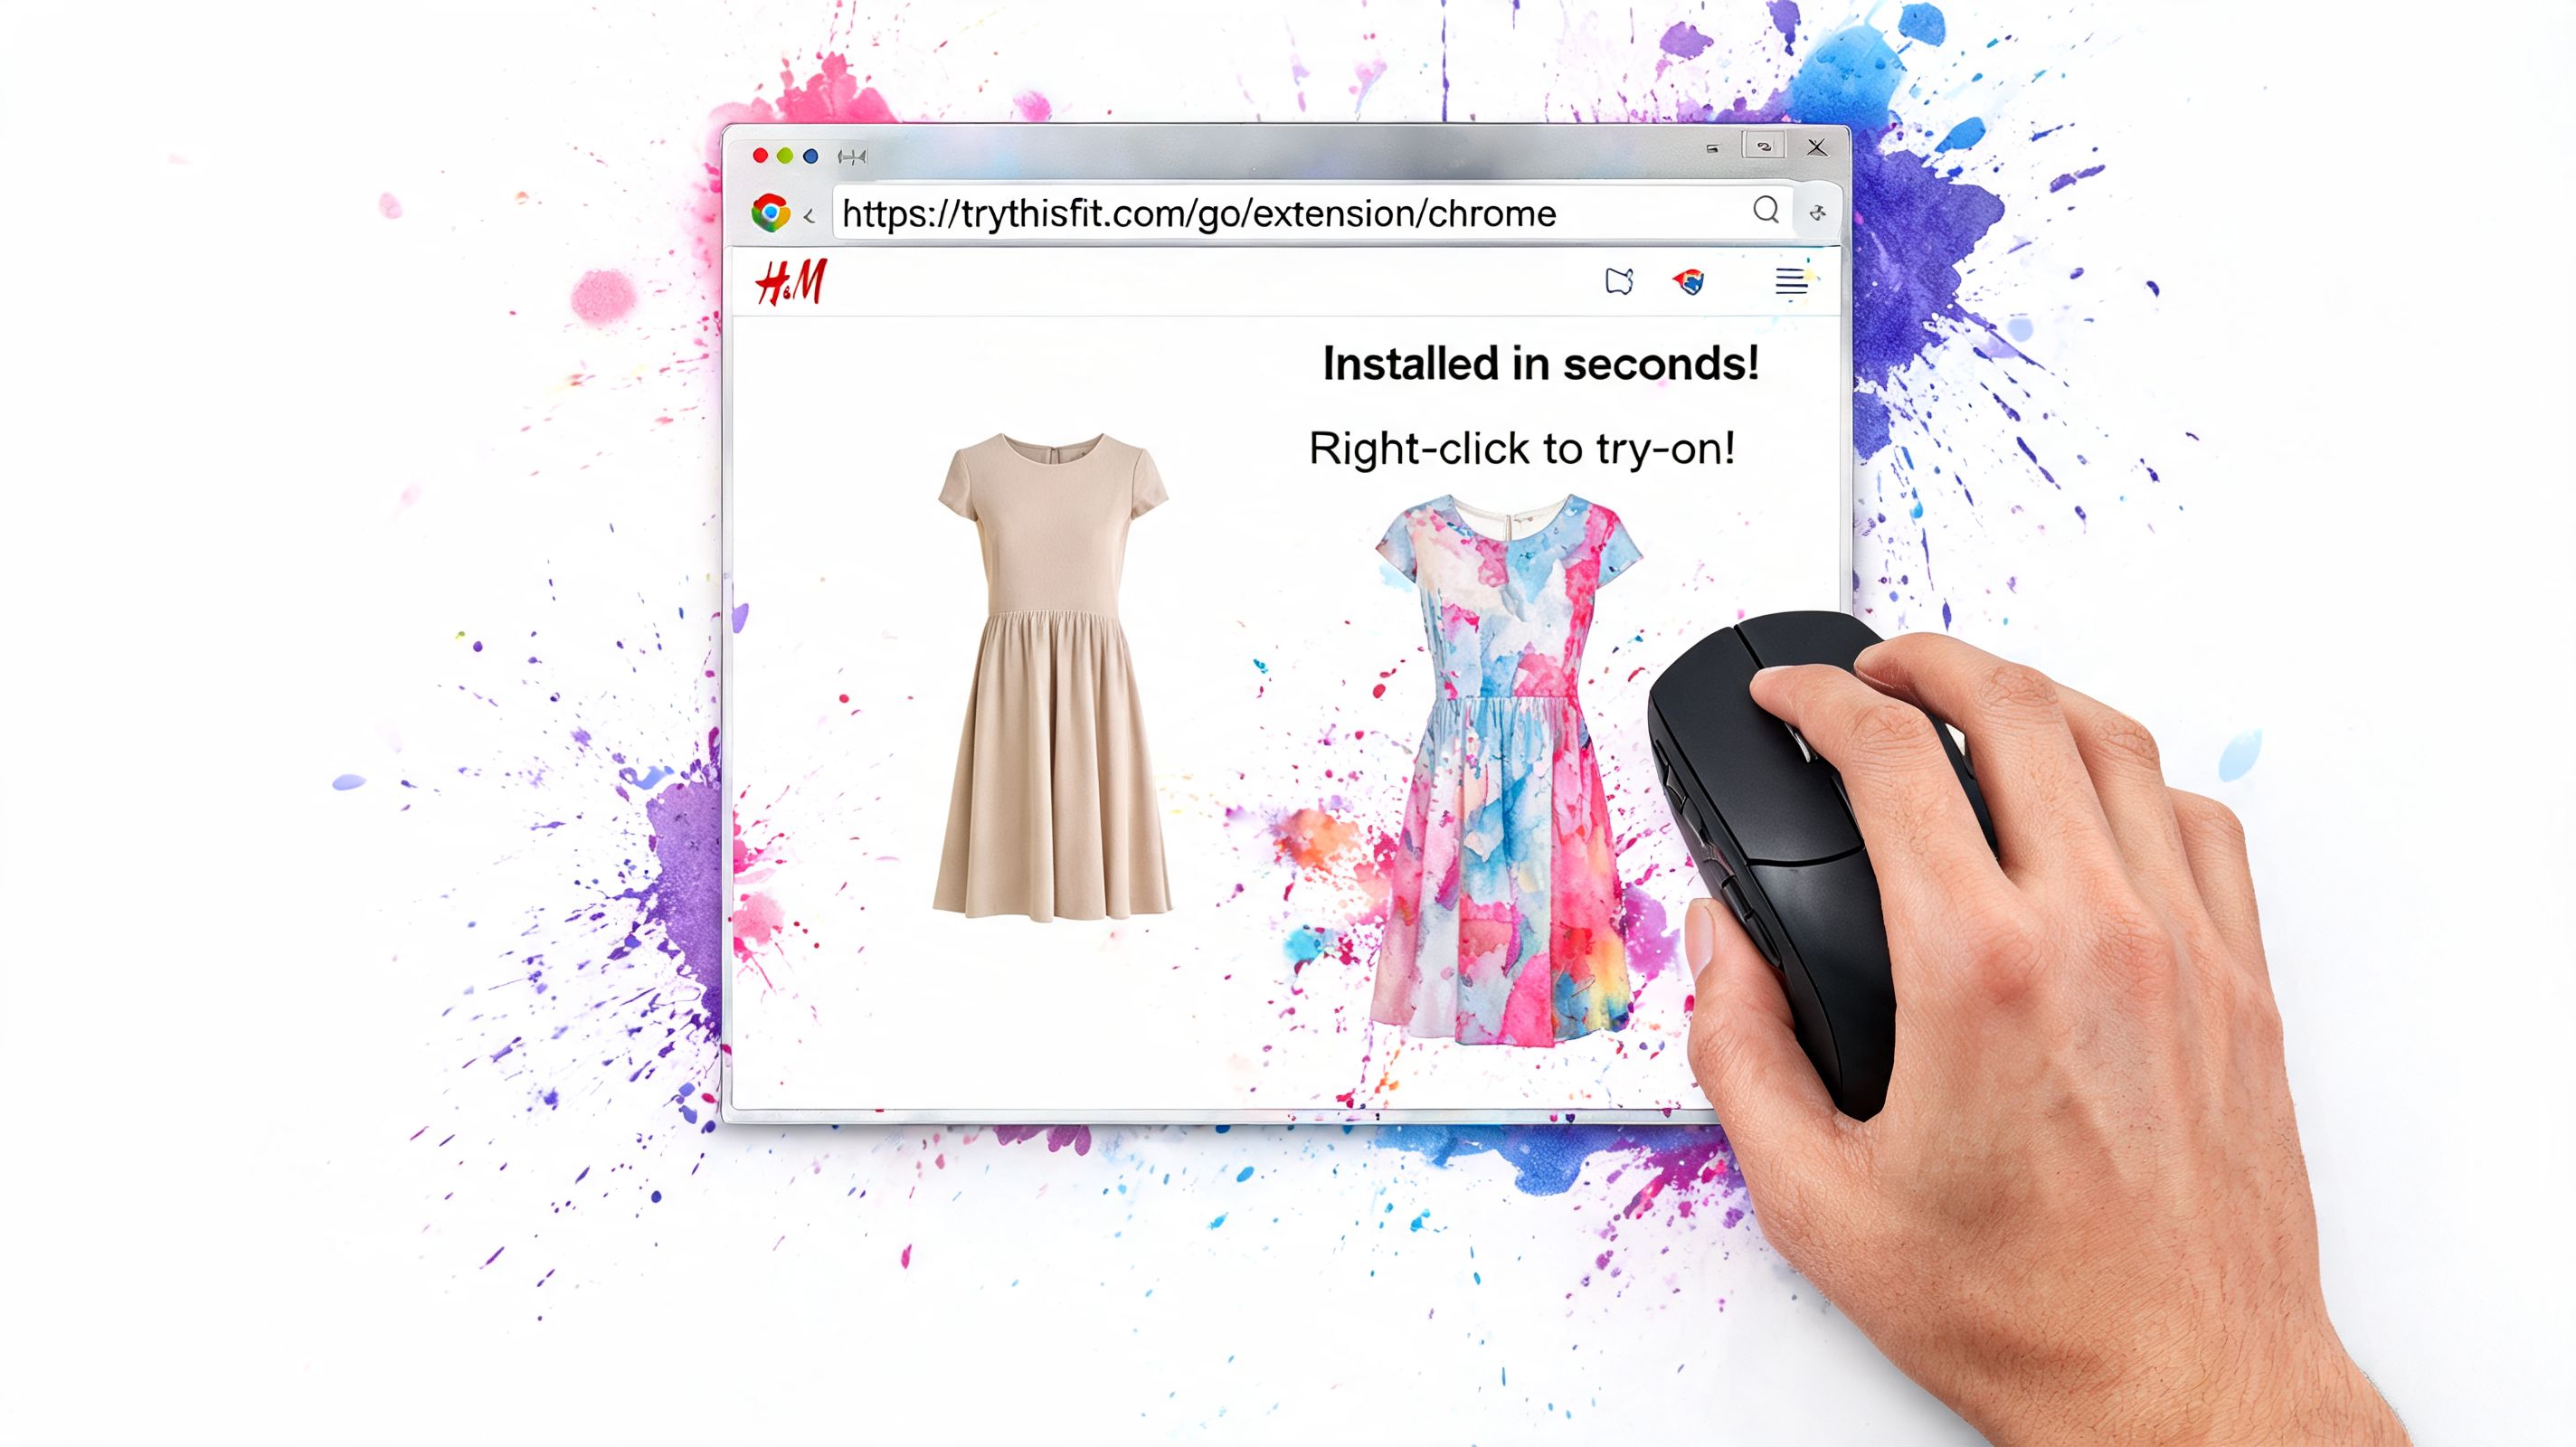
Why the browser workflow wins
Generic photo editors make you leave the shopping page. TryThisFit keeps the preview inside the buying moment, which is exactly where color decisions should happen.
Here's the faster workflow:
- Install the extension
- Open a product page on any clothing site
- Right-click the item image you want to test
- Generate a try-on preview on your own photo
- Compare several options quickly while the tab is still open
If you want the quick version of how these tools run in your browser, this guide on how Chrome extensions work explains it clearly.
That last point is the key advantage. You are not just changing a shirt from black to red. You are checking whether that exact shade works with your skin tone, your proportions, and the rest of your style before you spend money.
Why shoppers should care about privacy
A lot of free fashion tools ask you to upload personal photos and leave you guessing about what happens next. That is a bad trade.
TryThisFit makes more sense for real shopping because it is fast, private, and built for visualizing clothes on you, not for sending you into a side quest with editing tools. If you sell online too, clean source images help a lot, and these product photography best practices for Shopify explain why clearer clothing photos usually produce better previews.
My advice is simple. If a tool slows you down or makes you uneasy about your images, skip it. Use the option that lets you test color choices quickly, stay focused on the item you're about to buy, and see the result where it matters most. On you.
Best Practices for Photorealistic Previews
Good previews start with good input. If the source image is messy, the result usually is too.
The single best tip is using flat-lay clothing photos whenever possible. A flat lay gives the system a clear view of the item shape, edges, and fabric without the distractions of body pose, twisted seams, or complicated backgrounds.
Use the cleanest possible clothing image
According to CapCut's guide to AI clothing detection, AI clothing tools hit 92 to 98% accuracy on solid-colored garments from clear photos, but can drop to 70 to 75% when clothing overlaps with a similar-colored background or when the image quality is poor. That's why clean flat lays win so often.
Use this checklist before you generate anything:
- Pick contrast: A dark top on a pale background is easier to isolate than a beige top on a beige bedspread.
- Keep the whole garment visible: Cropped hems and hidden sleeves make the preview less reliable.
- Choose higher quality images: Blurry resale photos create fuzzy edges and awkward texture handling.
- Start with solids when possible: Patterns can work, but simple garments usually give cleaner results.
Your own photo matters too
For personal style previews, your photo should be straightforward. Face forward, use even lighting, and keep the background simple. You want the preview to focus on the clothing, not fight a dark mirror selfie or a cluttered room.
If you need help choosing a better source image, this guide to taking a strong full body picture is worth a look. And if you sell or list clothes online, these product photography best practices for Shopify are useful even outside Shopify because the same image basics improve try-on results too.
Better source photos don't make the process fancier. They make the preview more believable.
My recommendation
Don't start with the hardest possible item. Test a clean flat-lay sweater, jacket, or dress first.
Once you see how much better the output looks with a clean image, you won't go back to random screenshots and dim bedroom photos unless you absolutely have to.
Common Questions About Changing Clothes Color
Can patterned clothes work
Yes, but solids are easier. Simple colors usually produce the cleanest previews because the tool can separate the garment color from the rest of the image more confidently. If you're testing plaid, florals, or graphic prints, expect more variation.
Is it safe to upload a personal photo
That depends on the tool. Some free tools are vague about retention and data handling, which is why privacy-conscious shoppers should pay attention before uploading anything personal. If a tool offers a no-account workflow and lets you manage prior results through a page like saved try-on history, that's a much better sign.
How do I compare multiple colors or items fast
Stay on the shopping page and test several images in one session. That's especially useful on Zara, H&M, Shein, Vinted, Depop, and Amazon because you can compare appearance quickly without rebuilding the process every time.
What kind of photo gives the best result
Flat lays are usually the safest bet for clothing images. For your own photo, use a clear front-facing shot with decent light and a simple background.
If you're tired of guessing from product photos, try TryThisFit. It lets you preview how clothing looks on you in seconds, no account needed, and the free Chrome extension makes it ridiculously easy to test items while you shop.
Try Virtual Try-On Now
See how clothes look on you before you buy - works with any online store
Get Started Free