Capture Stunning Formal Clothes Pictures
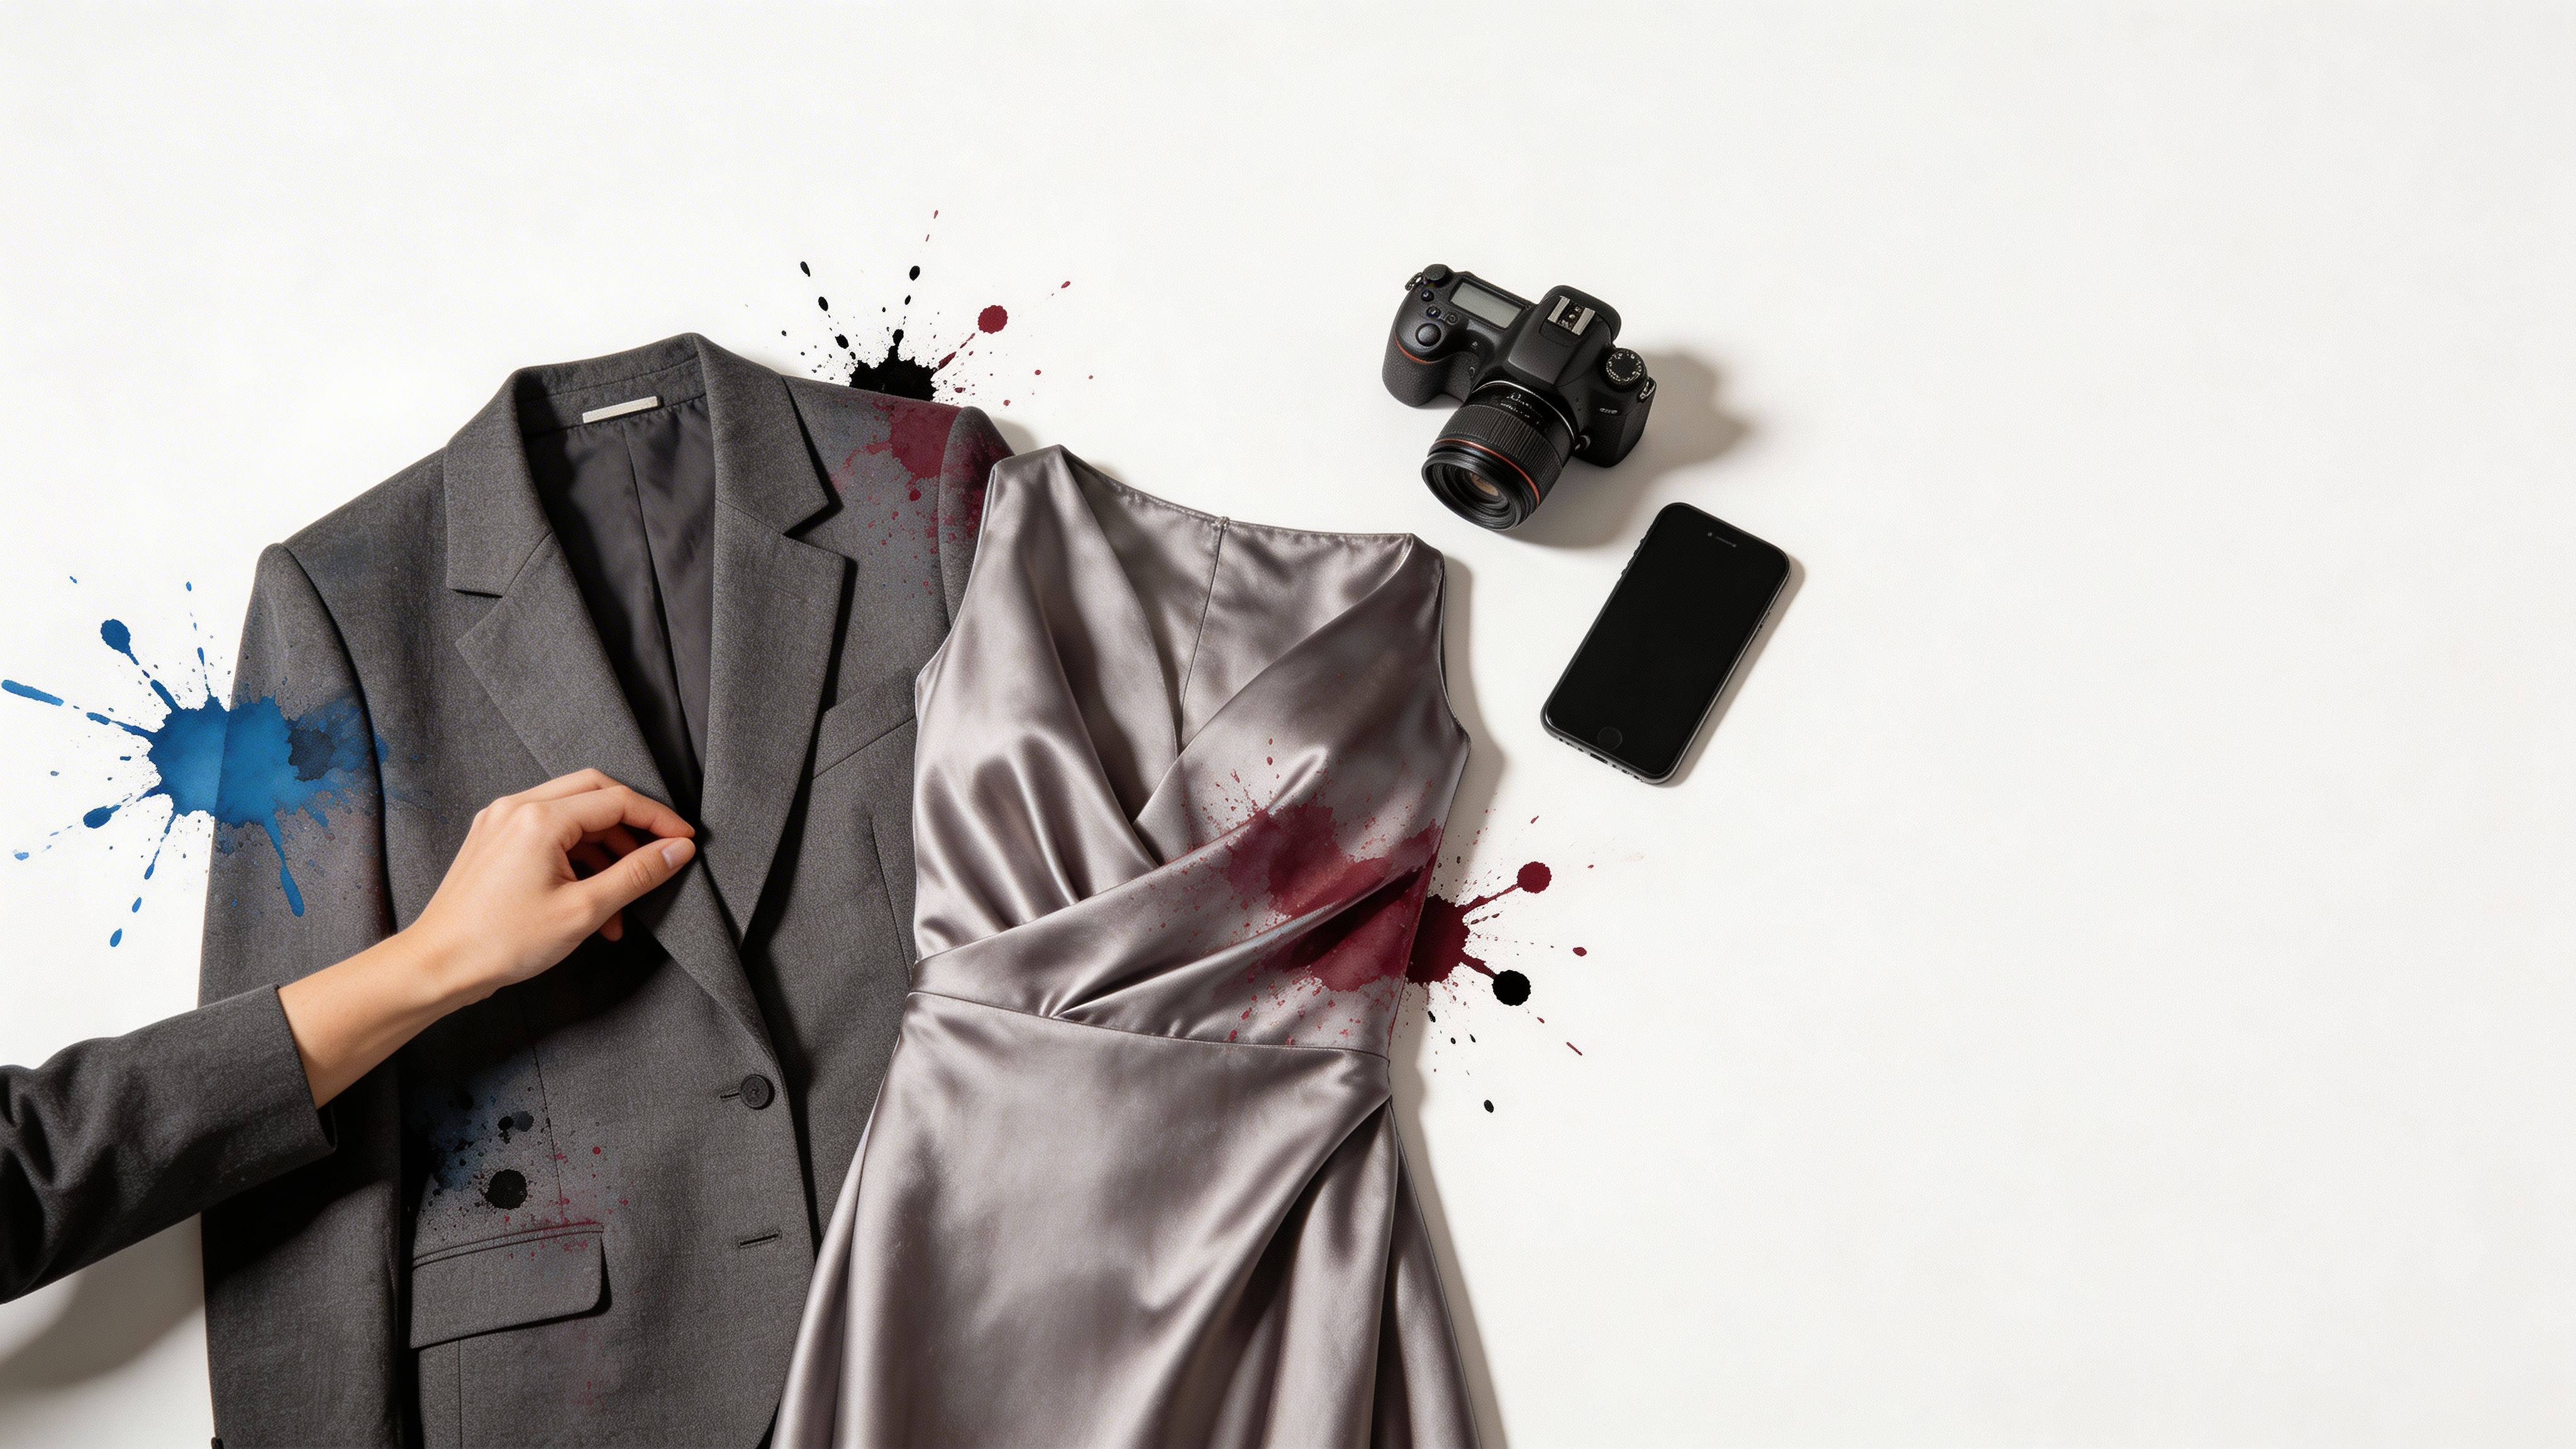
You’ve probably done this before. You find a beautiful suit, a satin dress, or a sharp blazer online, zoom in three times, then still hesitate because the photo doesn’t tell you enough.
That hesitation has nothing to do with the garment itself. It comes from the picture.
Formal wear is less forgiving than casual wear. A T-shirt can survive a mediocre photo. A tuxedo jacket, evening gown, or well-cut blazer can’t. The cut, fabric, structure, and finish all need to read clearly, or the piece loses its impact.
The good news is that you don’t need a studio, expensive lights, or a full camera kit to make strong formal clothes pictures. A phone, a window, a clean background, and a few photographer habits will get you much farther than many anticipate.
Why Your Formal Clothes Pictures Matter More Than Ever
Formalwear already carries emotional weight. People buy it for weddings, interviews, parties, ceremonies, and big professional moments. If the photo feels flat, unclear, or untrustworthy, the garment feels riskier too.
Formal clothes signal confidence
There’s a reason formal pieces still stand out on screen. A study summarized by Ascots & Chapels notes that people wearing formal clothing achieved significantly higher profits in negotiation scenarios, and 66% of men report feeling more confident when wearing a suit.
That doesn’t mean every product photo needs to feel stiff or corporate. It means the image needs to protect what formalwear already does well. It should communicate polish, structure, and presence.
Practical rule: If your photo makes a formal garment look ordinary, the problem is usually lighting, styling, or wrinkling. Not the garment.
Online buyers judge the picture first
In person, someone can touch the fabric, inspect the lapel, or watch how a skirt falls. Online, the image has to do all that work alone.
I’ve seen simple black blazers look premium in one setup and cheap in another. The difference usually comes down to three things:
- Shape: Can the viewer understand the silhouette quickly?
- Surface: Do they see texture, sheen, and construction?
- Trust: Does the photo feel clean enough to suggest the seller is careful?
That’s why formal clothes pictures matter so much for resale listings, rental catalogs, boutique sites, and personal wardrobe archives. The image becomes the garment’s voice.
Great photos reduce uncertainty
When someone shops for formalwear, they’re not just asking, “Is this nice?” They’re asking, “Will this look right for the occasion?”
A strong picture answers that faster. It helps someone imagine the style in a real setting, whether that’s a wedding guest outfit, a work event blazer, or a secondhand prom dress.
Bad photos create friction. Good ones create momentum.
Preparing Your Garments and Staging Area
Most weak clothing photos are ruined before the camera comes out.
A phone can capture sharp detail. That’s exactly why wrinkles, lint, hanger dents, dust, and loose threads become obvious so fast. Formal wear needs prep because tailoring and fabric finish are part of what makes it valuable.
Start with the garment, not the camera
According to Gallup’s workplace attire reporting, 41% of U.S. workers wear business casual, which makes formalwear visually distinctive the moment it appears. If you’re photographing something more polished than everyday office clothes, the image needs to preserve that difference.
Use this pre-shoot checklist:
- Steam first: Jackets, dresses, trousers, and shirts all photograph better after steaming. Ironing works too, but steam is often safer for delicate formal fabrics.
- Lint-roll everything: Dark suits and velvet pieces collect lint that phones love to exaggerate.
- Check edges: Look at cuffs, lapels, hems, collars, and underarms for loose threads or folded seams.
- Shape the garment: Button the jacket, align the placket, smooth the skirt panels, and straighten straps.
- Inspect hardware: Zippers, hooks, buckles, cuff links, and decorative buttons should sit neatly.
If the piece has been in storage for a while, professional cleaning can save time and improve the result. For heavily wrinkled or delicate garments, dry cleaning services can be worth it before you shoot.
Clean fabric photographs as expensive. Dusty fabric photographs as neglected.
Build a simple stage at home
You don’t need a studio sweep or continuous background paper. You need a controlled space with fewer distractions.
A good home setup usually looks like this:
| Element | What works | What to avoid |
|---|---|---|
| Background | White sheet, light gray board, clean wood floor | Busy rugs, patterned bedding, cluttered floors |
| Light | Window light from the side or near the top | Overhead yellow bulbs only |
| Floor area | Enough room to step above the garment | Tight corners that force crooked angles |
| Nearby objects | Minimal and intentional | Bags, shoes, laundry baskets, cables |
Keep the background quiet
Formal clothes pictures work best when the garment is the main event. Neutral backgrounds help viewers read shape and color quickly.
White is clean, but light gray is easier with black garments because it preserves edge contrast. Cream can work for navy or charcoal, but it may tint whites and pastels in your photo.
Prep the scene like a product photographer
Before taking the first frame, pause and scan the whole setup.
Ask these three questions:
- Is anything pulling attention away from the garment?
- Does the fabric look smooth and intentional?
- Would I trust this listing if I saw it online?
That quick check catches most problems early.
Mastering the Flat-Lay for Perfect Virtual Try-Ons
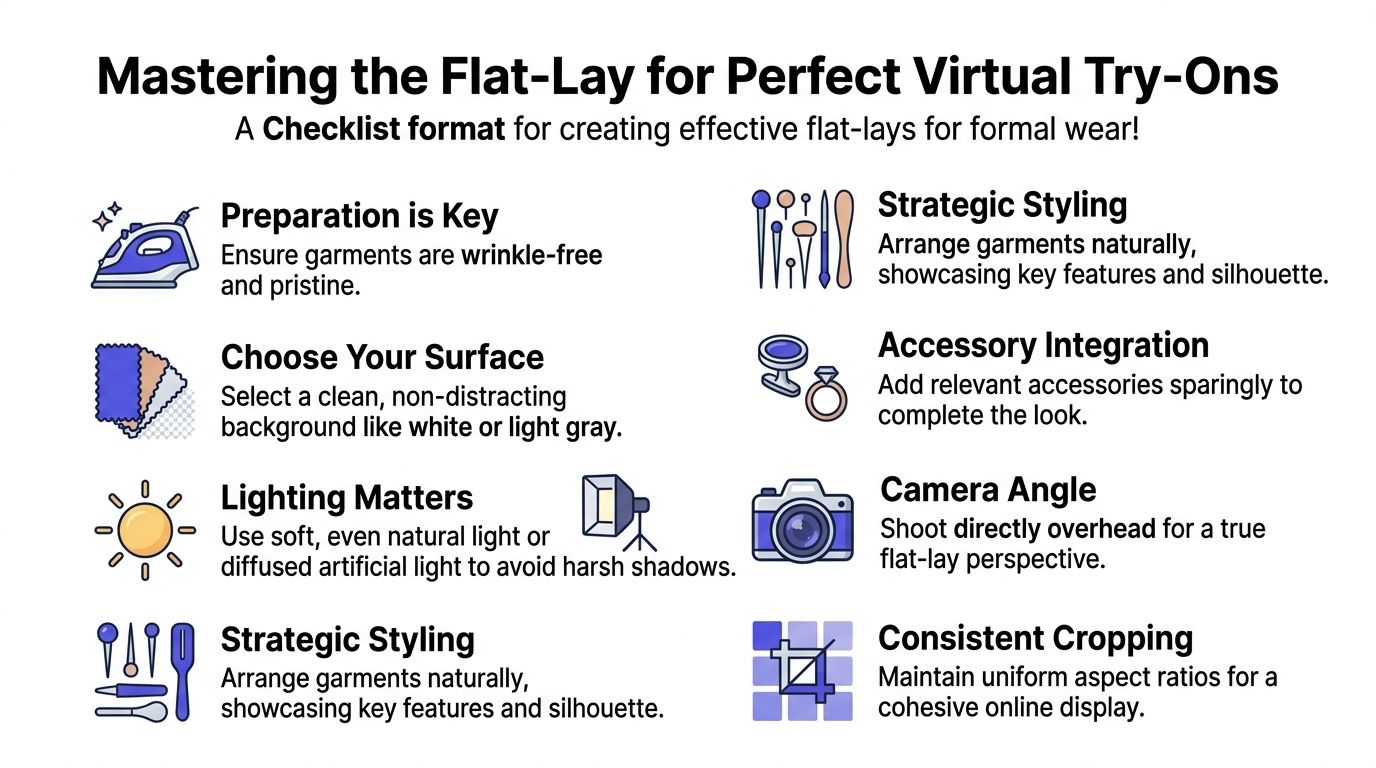
If you want the most useful, versatile, and consistent formal clothes pictures with a phone, flat-lays win.
They’re fast to shoot, easy to repeat, and much more forgiving than on-model photos. They also show structure clearly when you style them well.
Why flat-lays work so well
For virtual styling tools, clean images matter. The fashion parsing research summarized in this clothing parsing paper explains that image systems need to isolate garments from the photo, and complex on-model shots can reduce recognition accuracy by 20% to 40% because of body distortion, layering, and occlusion.
That’s why flat-lays are so effective. They reduce visual noise.
A blazer laid flat shows the shoulder line, lapel, sleeve length, and body proportion more clearly than a badly posed mirror selfie. A dress photographed overhead is easier to read than one twisted on a hanger.
For a deeper walkthrough, I like this guide on flat-lay clothing photography.
Build the flat-lay from the center out
Start with the main garment. Put it down first, then shape it before adding anything else.
For formal dresses:
- Let the skirt breathe a little.
- Add a slight curve at the waist if the silhouette benefits from it.
- Keep straps symmetrical.
For blazers:
- Button one button if the cut needs definition.
- Pull the lapels evenly.
- Straighten sleeves so they don’t look twisted.
For shirts or tuxedo tops:
- Align the collar points.
- Smooth the placket.
- Decide whether cuffs are open, folded, or buttoned, then keep both sides consistent.
Light from one side, soften from the other
Window light is usually enough. Set up near a large window, but not in direct sun.
The best beginner arrangement is simple:
- Garment position: On the floor or a large board
- Window: To one side
- Phone: Directly overhead
- Shadow control: A white sheet, foam board, or plain poster board on the darker side
This gives shape without harsh shadow lines. If the light is too contrasty, move farther from the window.
Soft light reveals fabric. Hard light exaggerates every wrinkle and makes satin look chaotic.
Style the garment so it still feels alive
Many flat-lays fail because they’re technically neat but visually dead.
Formalwear needs a little movement, even when it’s flat. That doesn’t mean fake drama. It means subtle shaping.
Try these small adjustments:
- For a gown: Let the hem fan gently instead of forming a rectangle.
- For suit trousers: Add a natural bend at the knee area rather than forcing a stiff straight line.
- For a blazer sleeve: Slightly angle one sleeve so the image feels less like a document scan.
- For accessories: Add one or two pieces at most, such as cuff links or a clutch, if they clarify the outfit rather than distract from it.
Shoot directly overhead
The camera angle matters more than people think. If the phone tilts, the garment starts looking warped.
Use a chair, step stool, ladder, or even hold the phone with both hands above the setup. Keep the lens parallel to the floor.
A few overhead shooting habits make a big difference:
- Use the grid: Turn on your phone’s grid lines.
- Center the garment: Leave some breathing room around the edges.
- Take several heights: One wider, one tighter, one detail-focused.
- Check corners: Crooked hems and cut-off sleeves happen there first.
What works and what doesn’t
Here’s the short version I use when reviewing flat-lays:
| Works | Usually fails |
|---|---|
| Neutral background | Patterned blanket or textured rug |
| Overhead angle | Standing at the foot of the garment |
| Steamed fabric | “I’ll fix the wrinkles in editing” |
| Gentle shaping | Over-styled folds that hide the cut |
| Side window light | Ceiling light mixed with daylight |
Shooting On-Model and Mannequin Photos
Flat-lays are excellent for clarity. On-model and mannequin photos are excellent for personality.
If you want to show drape, movement, sleeve break, train length, or how a jacket opens when worn, this format helps. It also introduces more variables, which is why it needs more discipline.
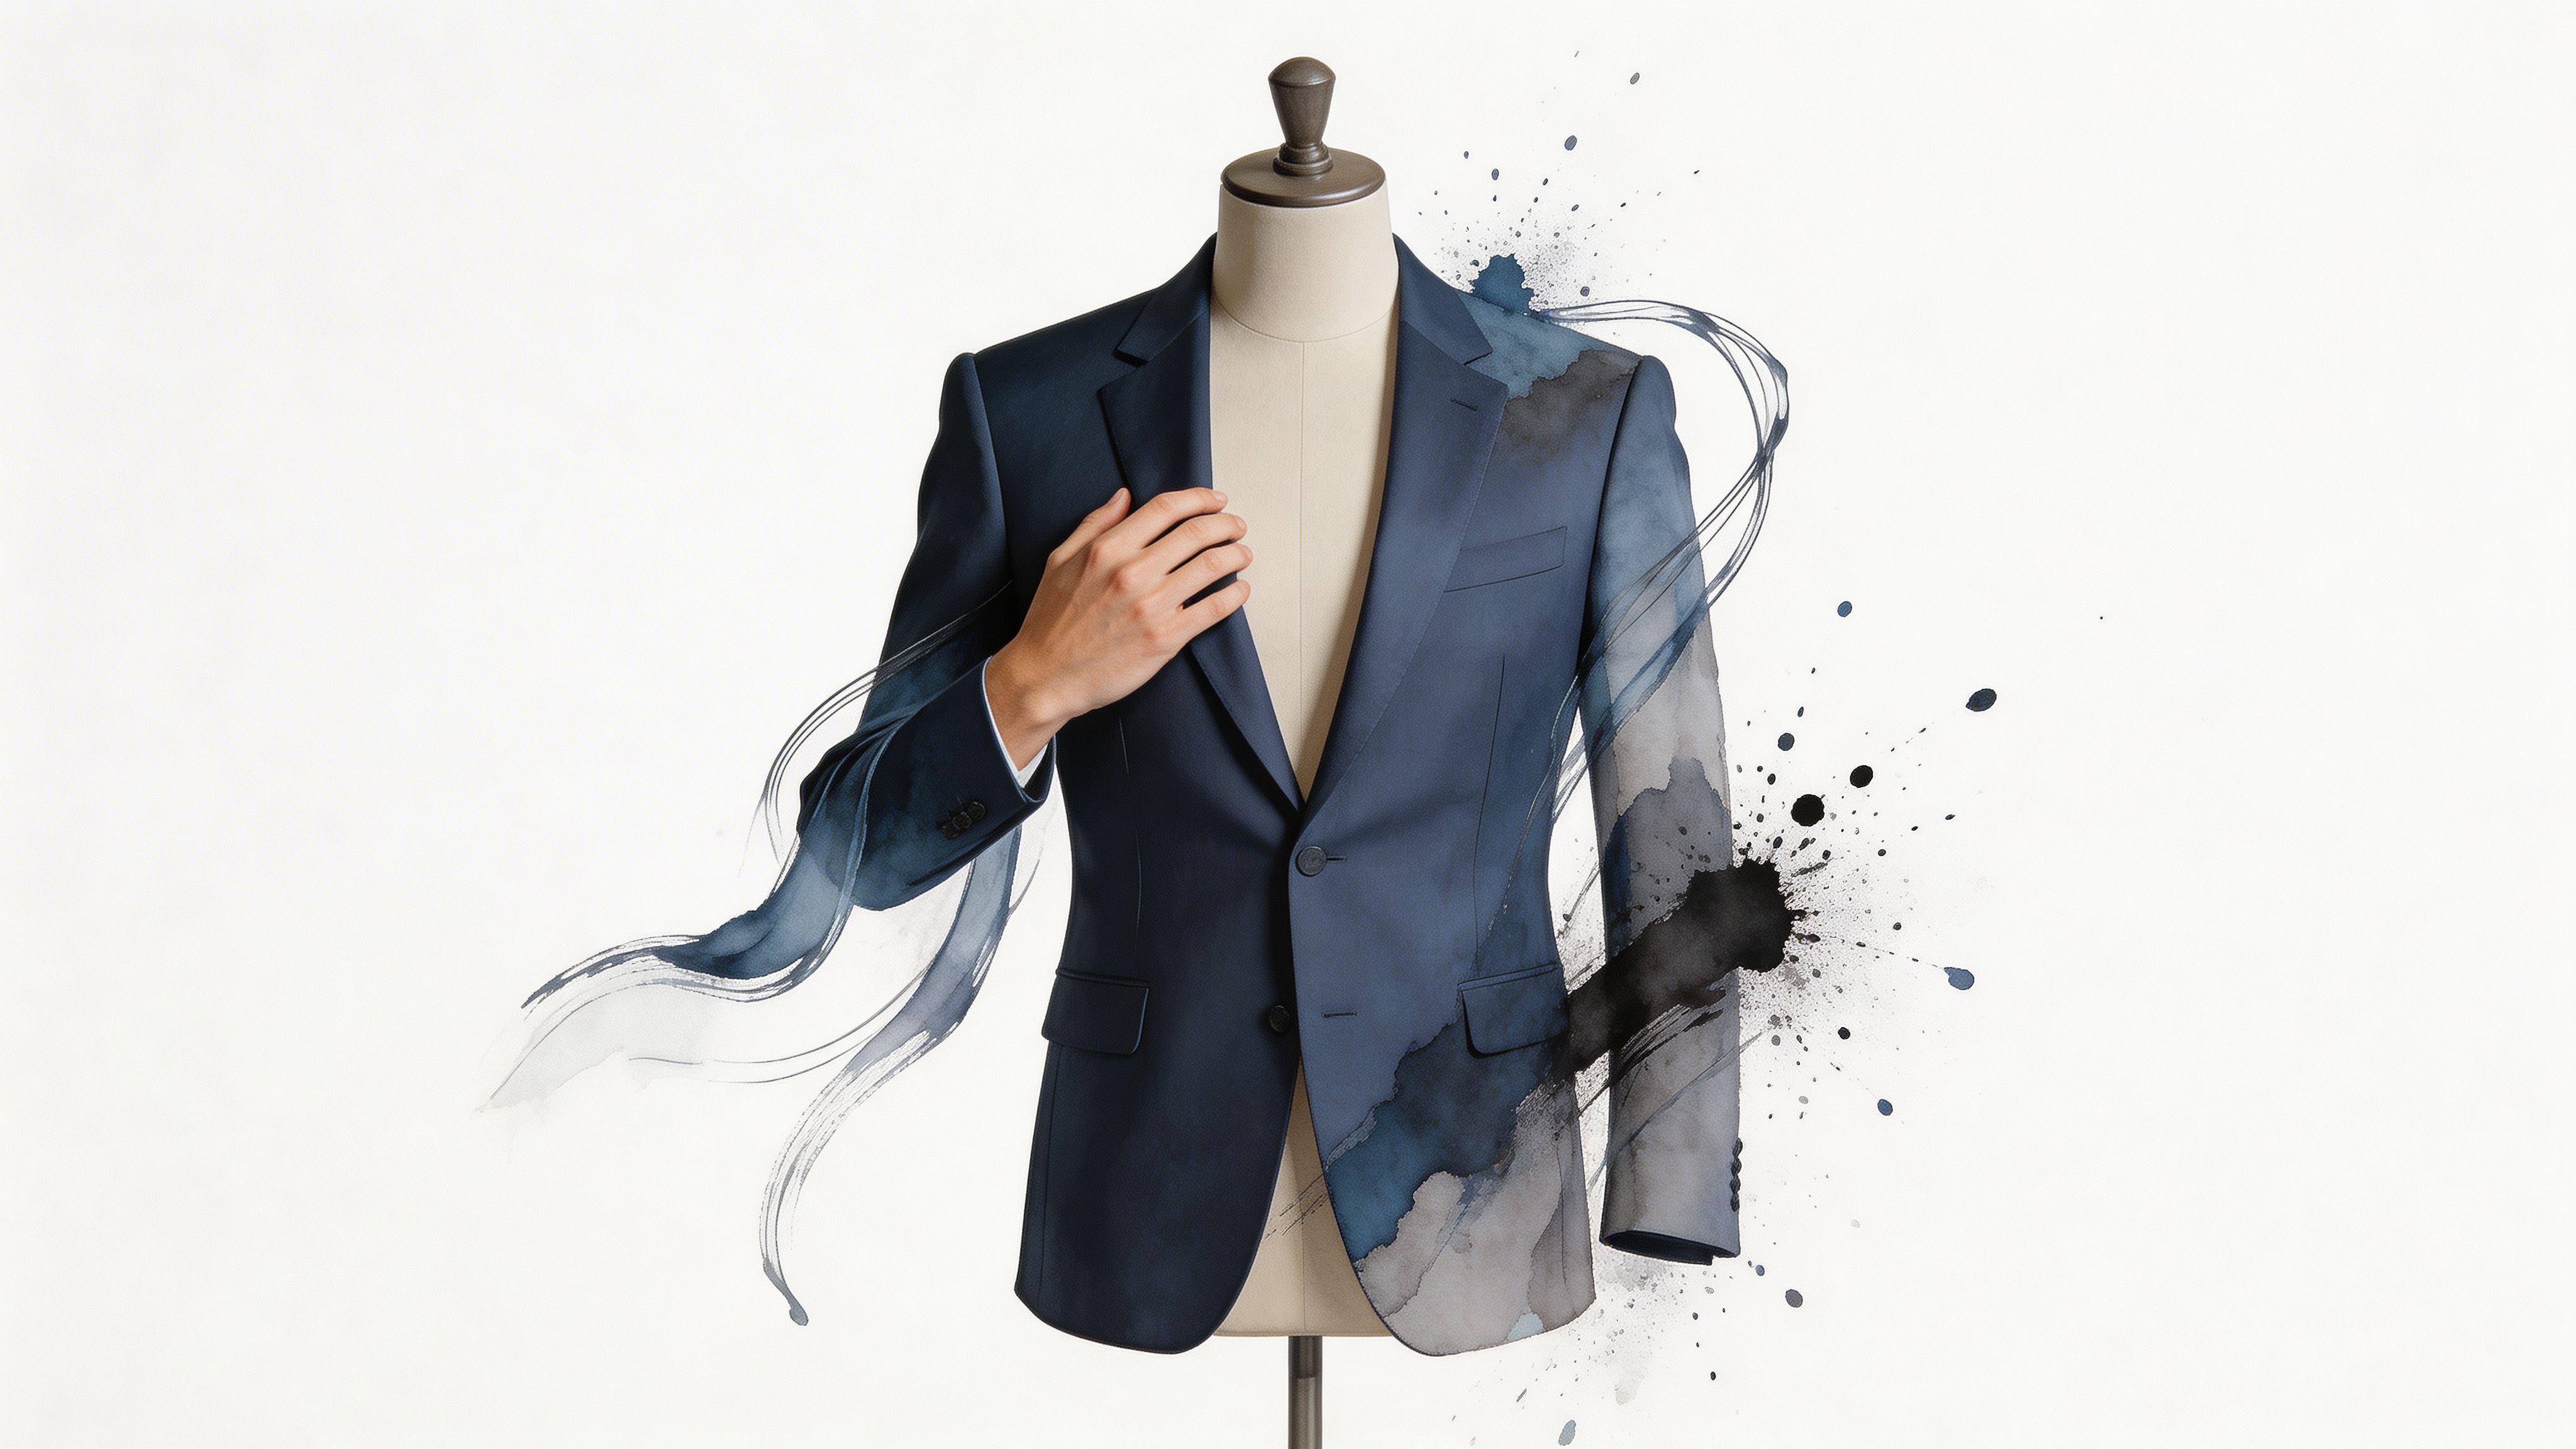
On-model versus mannequin
The trade-off is simple.
| Option | Best for | Watch out for |
|---|---|---|
| On-model | Energy, movement, styling context | Pose distortion, body-specific presentation |
| Mannequin | Consistency, speed, repeatable catalog shots | Stiffness, visible stand parts, awkward shoulders |
The representation gap matters here too. The visual shopping problem is bigger than photography style alone. The source notes tied to Unsplash’s casual wear search page highlight that stock libraries often skew toward idealized figures, and 68% of consumers abandon carts due to poor visualization for diverse body types.
That’s one reason on-model photos can help and hurt at the same time. They add life, but they also lock the garment to one body.
If you use a person, direct the pose carefully
Few friends know how to model clothing. That’s fine. They don’t need to.
Ask for simple, quiet poses:
- Stand tall: Weight balanced, shoulders relaxed
- Hands lightly active: One hand near a pocket, lapel, or clutch
- Turn slightly: A small angle shows shape better than a full front-on stance every time
- Walk slowly for motion: Especially for skirts, coats, and wide-leg trousers
Avoid dramatic fashion poses unless you know exactly why you’re using them. They can distort hems, pull seams, and hide tailoring.
For candid event-style posing ideas, essential event photography tips can be useful because they focus on natural body language and clean composition.
A good clothing pose shows the garment first and the person second.
Mannequins solve a lot of home-shoot problems
A mannequin gives you consistency when you’re photographing multiple formal pieces in one session. It’s also easier than asking someone to change outfits repeatedly.
Use a mannequin if:
- you want matching product shots
- you’re listing several blazers or dresses
- you need repeatable framing
- you’re shooting alone
What usually goes wrong with mannequins is shoulder fit and empty-body collapse. Fill the garment lightly with tissue or soft padding if needed so the fabric doesn’t look hollow.
Add one movement shot if possible
Static front views are useful, but formalwear often needs one image that shows life.
A few examples:
- a blazer with one lapel slightly lifted by motion
- a dress mid-step
- a coat photographed from the side as the hem opens
- a seated shot for trousers, if the crease and drape still read clearly
This guide on how to model clothes is a practical reference if you’re styling your own photos at home.
A short visual demo helps if you’re learning poses and product framing:
<iframe width="100%" style="aspect-ratio: 16 / 9;" src="https://www.youtube.com/embed/TD3m6P_VWLU" frameborder="0" allow="autoplay; encrypted-media" allowfullscreen></iframe>Essential Camera and Smartphone Settings
A great phone photo is rarely about the camera brand. It’s about controlling light and consistency.
Many users let the phone guess everything. That’s why black suits turn muddy, white shirts blow out, and navy blazers shift toward gray or purple. A few manual habits fix most of that.
The three settings that matter most
You don’t need to think in technical jargon. Think in image problems.
| Setting | What it controls | Why it matters for clothing |
|---|---|---|
| Exposure | How bright the image looks | Keeps black garments detailed and whites clean |
| Focus | What looks sharp | Preserves stitching, fabric texture, and edges |
| White balance | How warm or cool color looks | Keeps the garment color believable |
On a phone, tap and hold on the garment to lock focus and exposure if your camera app allows it. Then slide slightly up or down to brighten or darken before you shoot.
Smartphone cheat sheet for indoor clothing photos
This is the simplest setup that works in most homes:
- Use the rear camera: It is better than the front camera.
- Turn on the grid: Helps keep overhead flat-lays straight.
- Avoid digital zoom: Step closer instead.
- Shoot in natural light: Window light beats mixed indoor light.
- Turn off flash: Flash creates glare on satin, sequins, and polished wool.
- Take multiple exposures: One normal, one slightly brighter, one slightly darker.
If your phone offers portrait mode, use it carefully. It can blur edges of sleeves, hems, and lapels in weird ways. For product-style formal clothes pictures, standard photo mode is often safer.
DSLR or mirrorless users should still keep it simple
If you have a dedicated camera, don’t overcomplicate the setup.
A moderate focal length and a stable position do most of the work. Keep the scene bright enough that you don’t need aggressive editing later. The cleaner the original file, the better the fabric will look.
Color accuracy matters more than drama
A cinematic image might get attention, but product-style clothing photography needs honesty.
If the tuxedo is charcoal, the viewer shouldn’t see black. If the satin dress is champagne, it shouldn’t drift yellow or silver because your room lighting was mixed.
This article on photos for clothes is a useful reference for keeping clothing shots clean and readable without overproducing them.
Don’t chase mood first. Chase clarity first. Formalwear already brings enough mood on its own.
Quick Post-Processing for a Professional Finish
Editing should polish the photo, not rescue it.
If the original image is well lit and clean, a minute or two of quick adjustments can make formal clothes pictures look significantly better. If the original image is sloppy, editing usually just makes the sloppiness sharper.
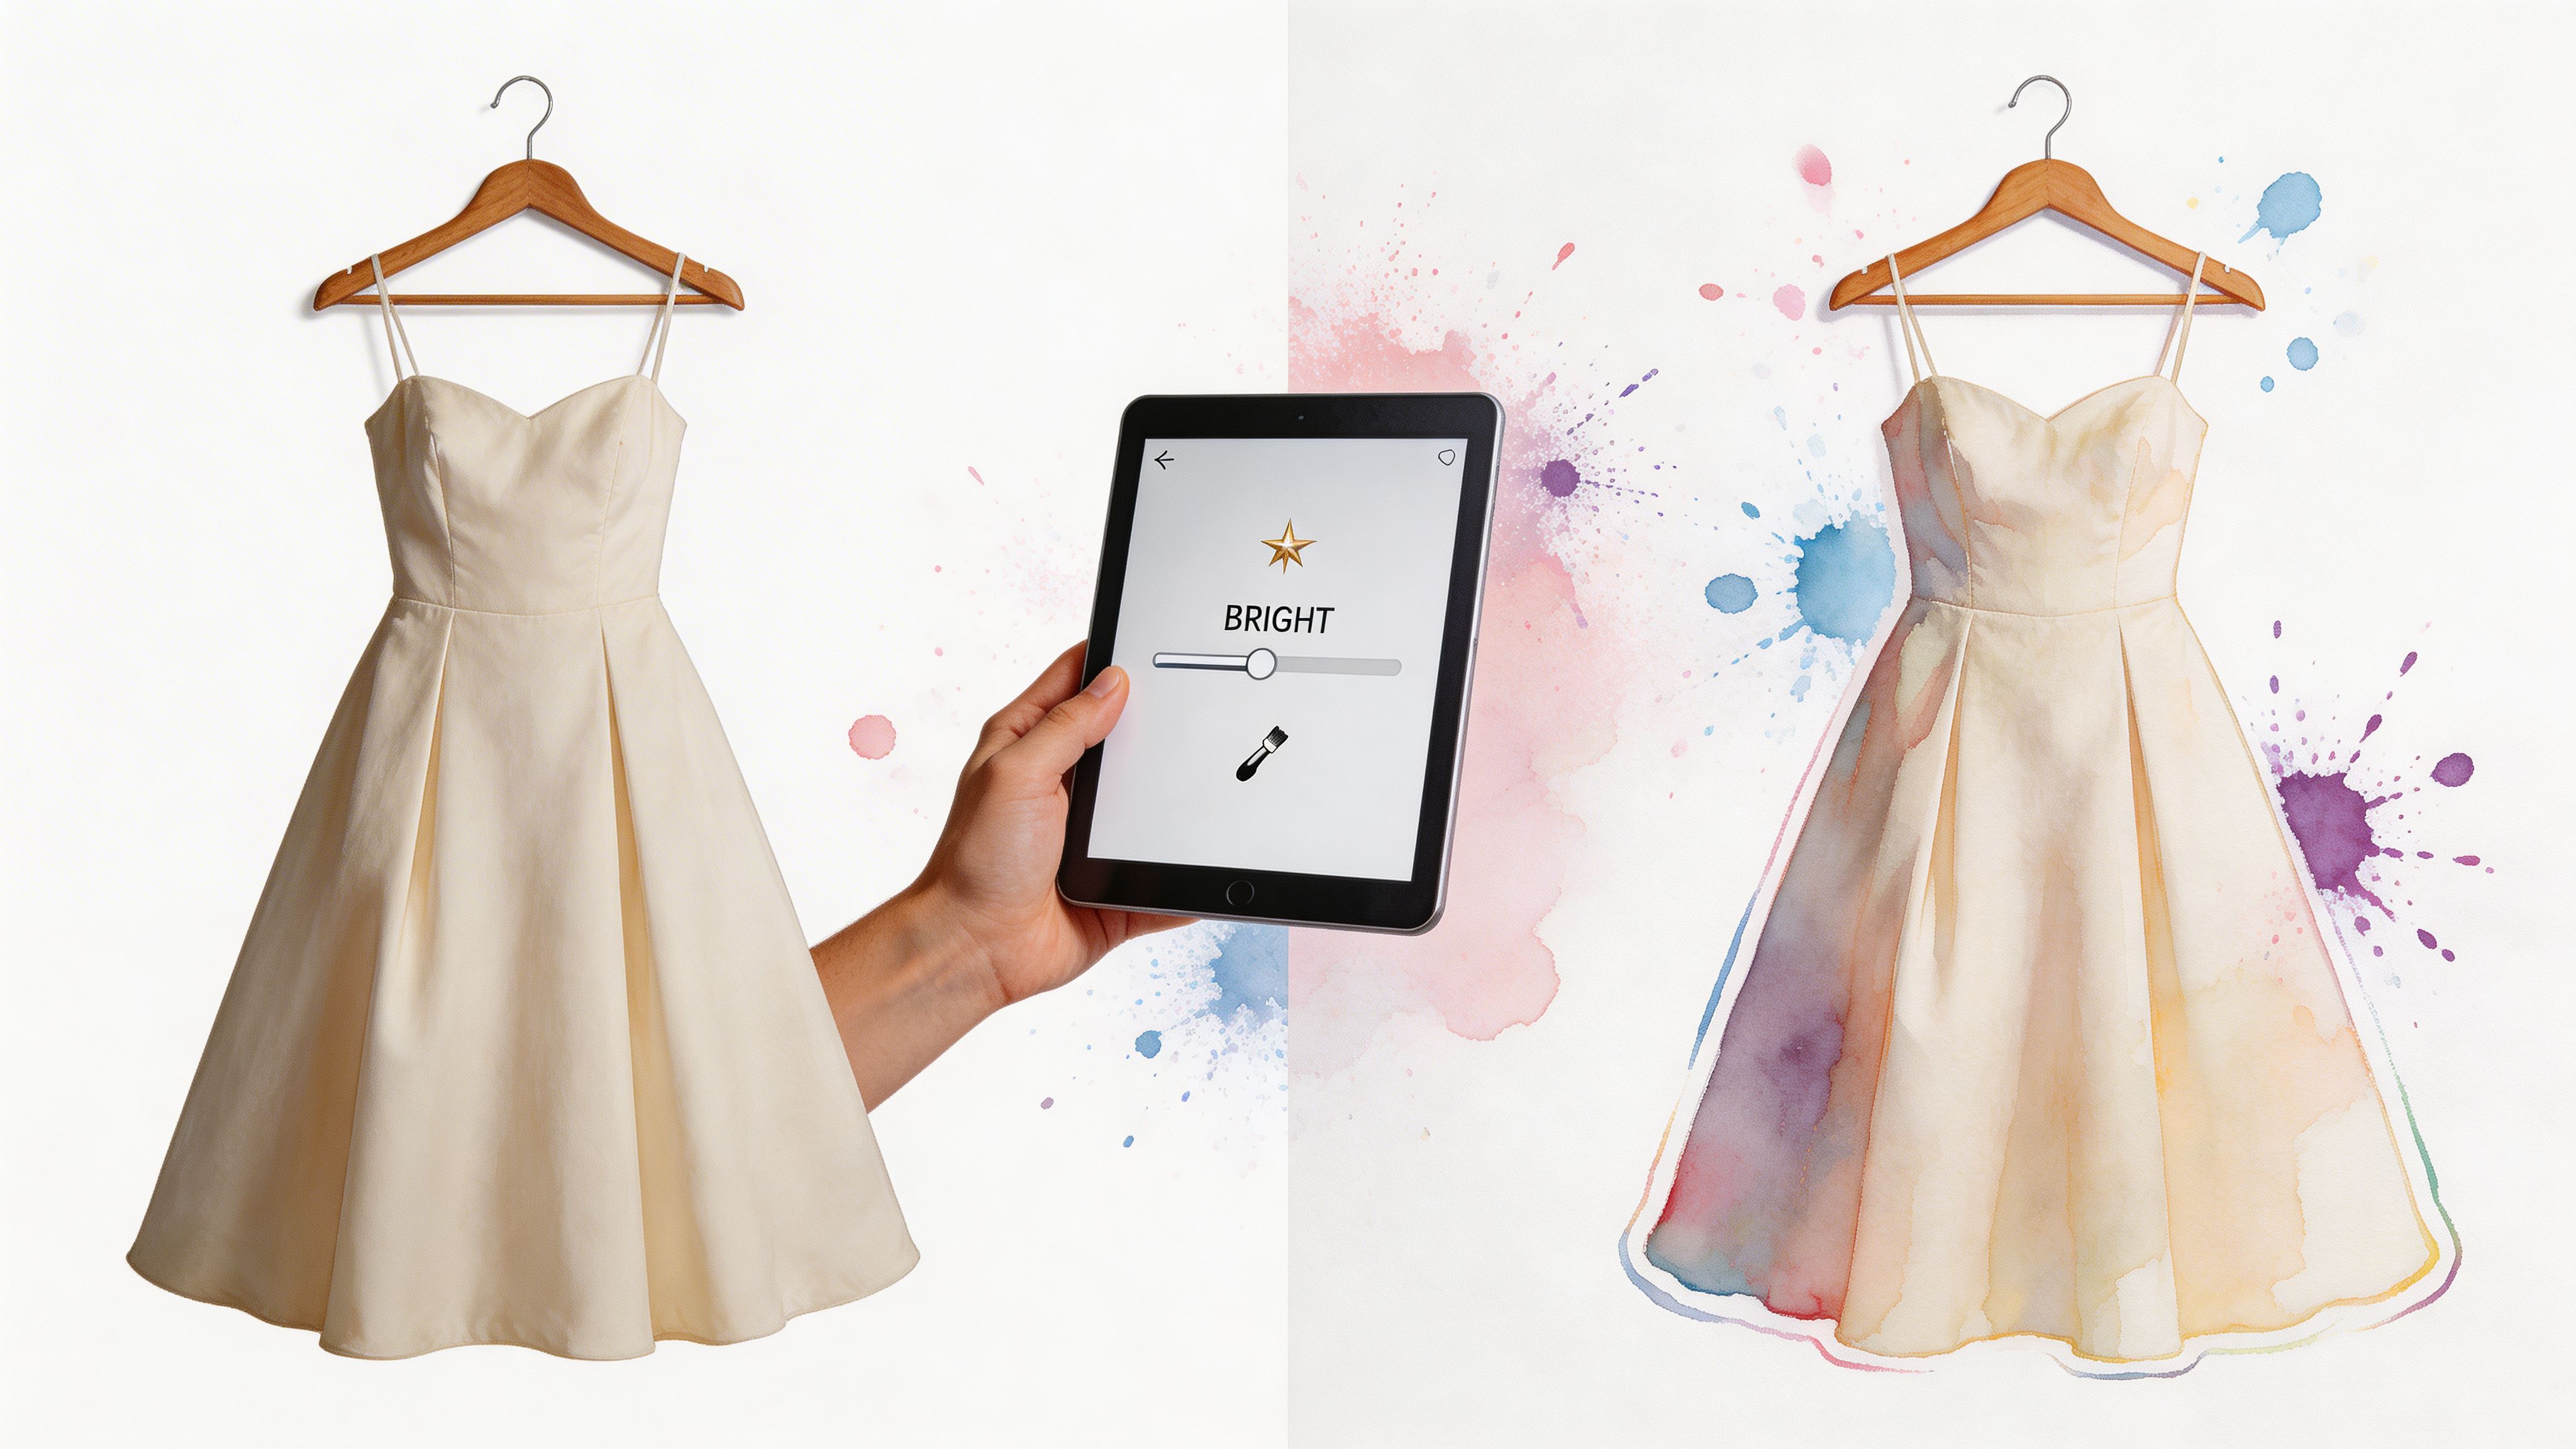
Edit the frame before the color
Cropping is the first fix I make. It changes how intentional the image feels.
For formal clothing:
- keep lines straight
- remove dead space that adds nothing
- leave enough margin so the garment doesn’t feel cramped
- use a consistent crop across multiple listings if you’re selling several items
A clean crop can make a phone photo look organized even before you touch brightness or contrast.
The three adjustments that do most of the work
You need only these:
-
Brightness Lift it slightly if the garment looks dull, but stop before whites lose detail.
-
Contrast Add a little so lapels, seams, pleats, and folds separate better.
-
White balance or warmth Correct yellow indoor cast or blue window cast so the fabric reads naturally.
The source notes associated with Dreamstime’s formal and informal attire page point out a major gap in flat-lay formal clothing imagery and note that these images can reduce returns by up to 25%. That’s one reason polished DIY photos matter so much. If the image ecosystem is weak, better self-made photos become an advantage.
Remove distractions, not reality
Lint, dust specks, tiny floor marks, and background crumbs are fair game to clean up. Changing the actual color, fabric texture, or silhouette is not.
Use built-in phone tools or simple apps to:
- spot-heal tiny distractions
- straighten the frame
- correct slight perspective issues
- match the image more closely to real life
Keep your edits consistent across a set
If you’re listing a dress with front, back, and detail shots, they should feel like they belong together.
Use the same:
- crop style
- brightness range
- background tone
- editing restraint
That consistency builds trust. It also makes your gallery feel more premium.
FAQs About Photographing Formal Wear
How do I photograph a black suit without losing detail
Don’t place it on a dark background. Use light gray, cream, or soft white so the edges stay visible.
Expose for the fabric, not the background. If the suit still looks like a black shape with no texture, brighten slightly and add a touch of contrast in editing.
What’s the best way to shoot satin, silk, or sequins
Avoid direct flash and direct sun. Both create ugly hot spots.
Use soft window light from the side. Then move around a little before shooting so the reflection falls off the brightest part of the garment instead of right into the lens.
How do I show texture like velvet or tweed
Texture appears when light grazes across the surface. Side light works much better than flat overhead room light.
Take one wider image for the full garment and one close-up for the fabric. Velvet, brocade, jacquard, and tweed all benefit from a dedicated detail frame.
Should I use a hanger for formal clothes pictures
Only if space is limited or the item really needs vertical drape. Hangers can work for long gowns or coats, but they often create shoulder bumps and distort the neckline.
If you use one, choose a clean hanger and shoot against a plain wall with good light.
How many photos do I need per garment
Enough to remove doubt. For most listings, that means a full front, full back, one close detail, and either a flat-lay or a drape shot depending on the garment.
Formalwear benefits from at least one image that shows construction clearly, such as lapels, bodice seams, cuffs, buttons, or hem finish.
If you want to go from a great photo to a fast style preview, try TryThisFit. You can test clothing looks in seconds, no account needed, and save favorites in your try-on history. If you shop on Zara, H&M, Vinted, Depop, Shein, or even Amazon, install the free Chrome extension. It takes a couple of seconds and lets you right-click product images to preview how the style looks.
Try Virtual Try-On Now
See how clothes look on you before you buy - works with any online store
Get Started Free