Photo Clothes Editor: See How It Looks Before You Buy
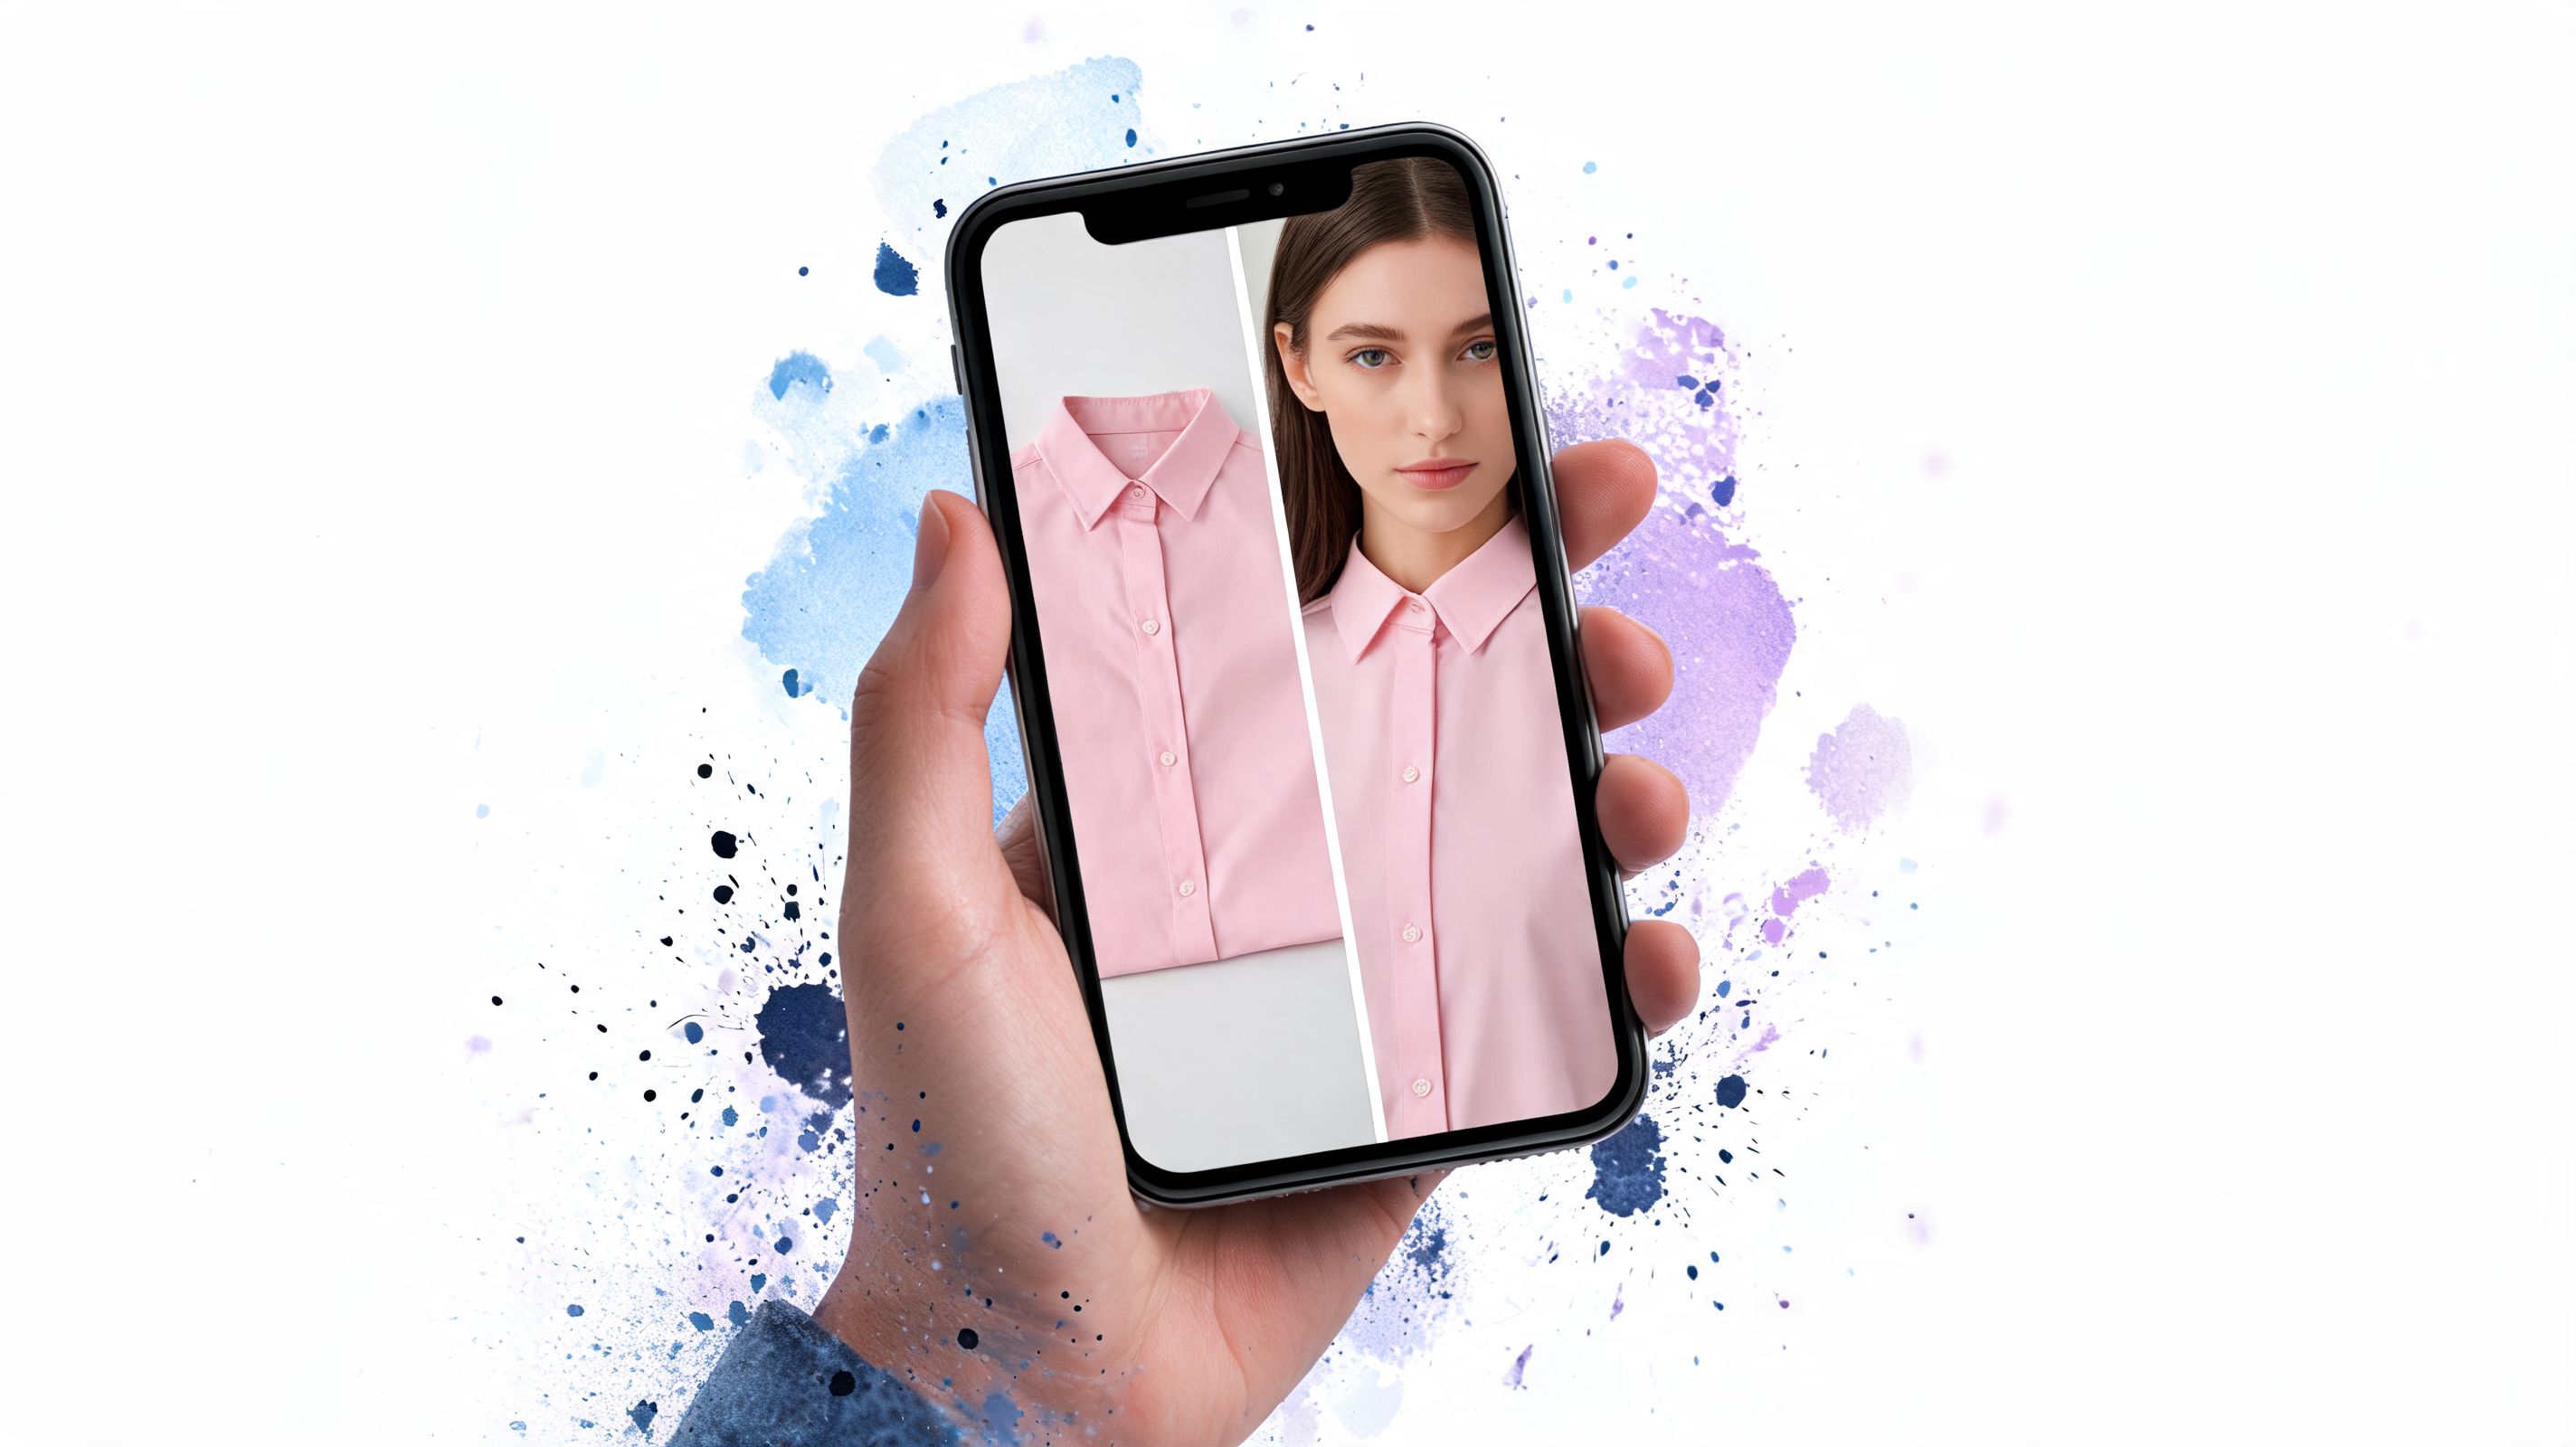
You're shopping with too many tabs open again.
There's a Zara jacket in one tab, H&M trousers in another, a pair of boots on Amazon, and a wild card from Shein that you might love or might regret. The problem isn't finding clothes. It's knowing how they'll look together before you buy anything.
That's where a photo clothes editor starts to feel less like a gimmick and more like a practical style tool. Instead of guessing from product photos, you use AI to preview the appearance of a garment on a person photo, or combine pieces from different stores to see the vibe before checkout.
The End of Online Shopping Guesswork
You open a listing on Vinted. The seller has laid the dress flat on a bed, taken one mirror shot, and added no styling notes. The color looks promising. The shape is harder to read. Then you jump to another tab, compare it with trousers from a big retailer, and realize the true question is not “Is this cute?” It is “Will this work in my wardrobe?”
That is the moment a photo clothes editor starts to make sense.
A product photo only shows one slice of the story. Retail sites usually show polished model images. Secondhand marketplaces like Vinted and Depop often give you flat-lays, hanger shots, or quick bedroom photos. Useful, yes. Easy to translate into a real outfit, not always. You are left doing the styling math in your head, trying to picture drape, proportion, and vibe across several tabs at once.
A photo clothes editor helps by turning separate clothing images into a preview that feels closer to a real outfit. You add a garment image, pair it with a person photo, and the tool builds a visual answer to the question your brain has been wrestling with.
It solves a very practical workflow problem. If you shop across Chrome tabs, mixing retail finds with secondhand pieces, the hardest item to judge is often the one photographed flat. A blazer on a mannequin is already halfway to a styling decision. A skirt folded on a carpet is not. Seeing that secondhand piece worn, or at least rendered on a body, gives you context fast.
That context changes how you buy. Analysts covering AI product photography and photo editing statistics project the AI photo editing market will grow from $2.1 billion in 2024 to $8.9 billion by 2034, and the same source notes that AI-enhanced on-model images have been linked to higher conversion in fashion retail. The reason is pretty intuitive. People make better shopping decisions when they can see how an item might live inside an outfit, not just sit alone in a listing.
You do not need perfect fashion instincts to shop well online. You need a clearer preview.
That preview is useful for ordinary decisions. Does the oversized coat swallow your frame? Does the bright knit fight with the trousers in another tab? Does the flat-lay Depop top read sleek once worn, or does it suddenly look boxy and stiff?
People sometimes hear “photo clothes editor” and picture slow, manual design software. In practice, many of these tools work more like a styling layer placed over your shopping routine. You collect images from different sites, drop them into the editor, and get a fast visual check before you spend money.
Two Paths to a Digital Wardrobe
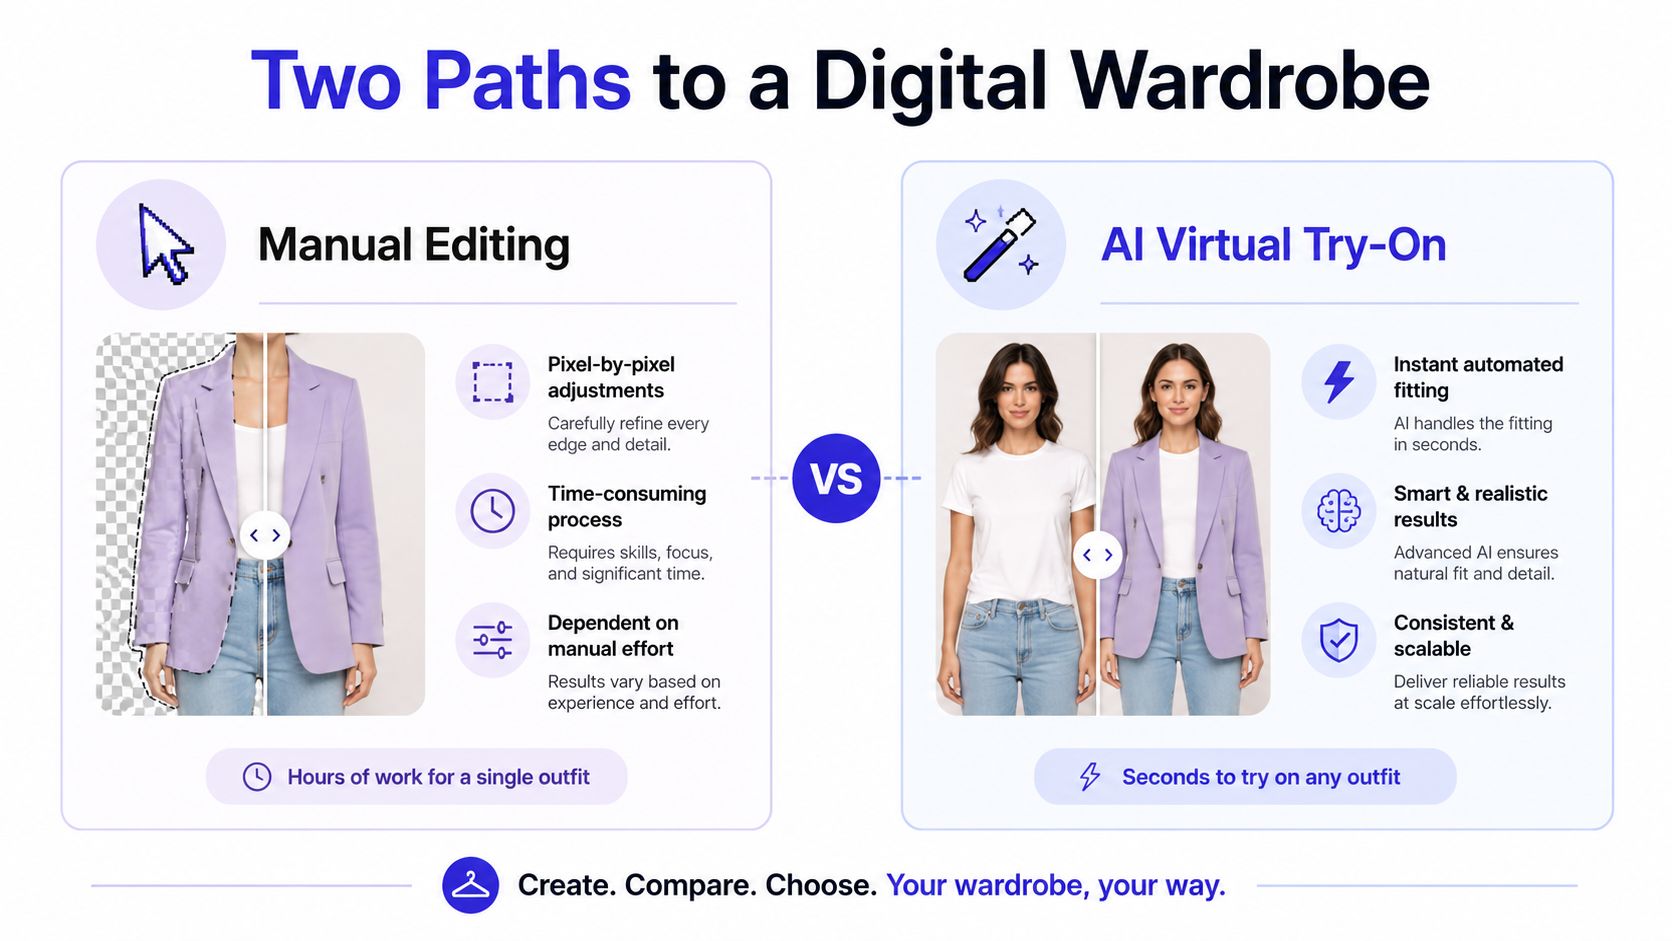
There are really two different things people mean when they say photo clothes editor. One is the old-school path of manual image editing. The other is AI-powered virtual try-on.
They can both change clothing in a photo. They just solve different problems.
Manual editing
Manual editing is what you'd do in Photoshop, Photopea, or another image editor. You cut around sleeves, erase backgrounds, warp fabric, fix shadows, and nudge everything into place by hand.
That approach can be great for controlled creative work. If you're making a moodboard, a campaign comp, or a stylized concept image, manual control is useful. But for active shopping, it's slow and fiddly.
AI virtual try-on
AI virtual try-on is closer to a digital styling assistant. You give it a person photo and a clothing image, and it handles the hard parts automatically, like spotting garment boundaries, reading pose, and blending the new outfit into the image.
Online fashion is full of visual content. In 2024, fashion eCommerce brands averaged 8 images per product, and AI fashion editing cuts post-production costs by up to 80% while speeding delivery 3x, according to fashion photography and photo editing statistics for ecommerce. If brands are producing that much imagery, shoppers now have a huge stream of clothing photos that AI tools can work with.
| Feature | Manual Editing (e.g. Photoshop) | AI Virtual Try-On (e.g. TryThisFit) |
|---|---|---|
| Speed | Slower. Often many small edits. | Fast. Built for instant previews. |
| Skill required | High. You need masking and retouching skills. | Low. Upload and generate. |
| Best use | Creative comps and detailed image control | Everyday shopping and outfit previews |
| Real-time comparison | Awkward during live browsing | Much easier for quick decisions |
| Clothing source | Works, but needs prep work | Handles product images more naturally |
| Convenience | Usually multiple steps and tools | Feels closer to point-and-click |
Quick rule: If you're shopping, AI beats manual editing. If you're art-directing a campaign, manual tools still have a place.
A lot of confusion comes from expecting both paths to do the same job. They don't. Manual editing is like tailoring a costume by hand. AI virtual try-on is like holding a smart mirror up to a product photo and getting a rapid preview.
That's why the phrase “digital wardrobe” makes sense now. You're not just collecting screenshots anymore. You're building a visual way to compare, reject, and refine your style before anything arrives at your door.
How AI Visualizes Your Perfect Style
You copy a flat-lay blouse from Vinted, open a product page on Depop, then tap your Chrome extension to compare both pieces on the same photo of yourself. A few seconds later, the clothes stop looking like disconnected listings and start looking like real outfit options. That shift is the whole point of AI try-on.
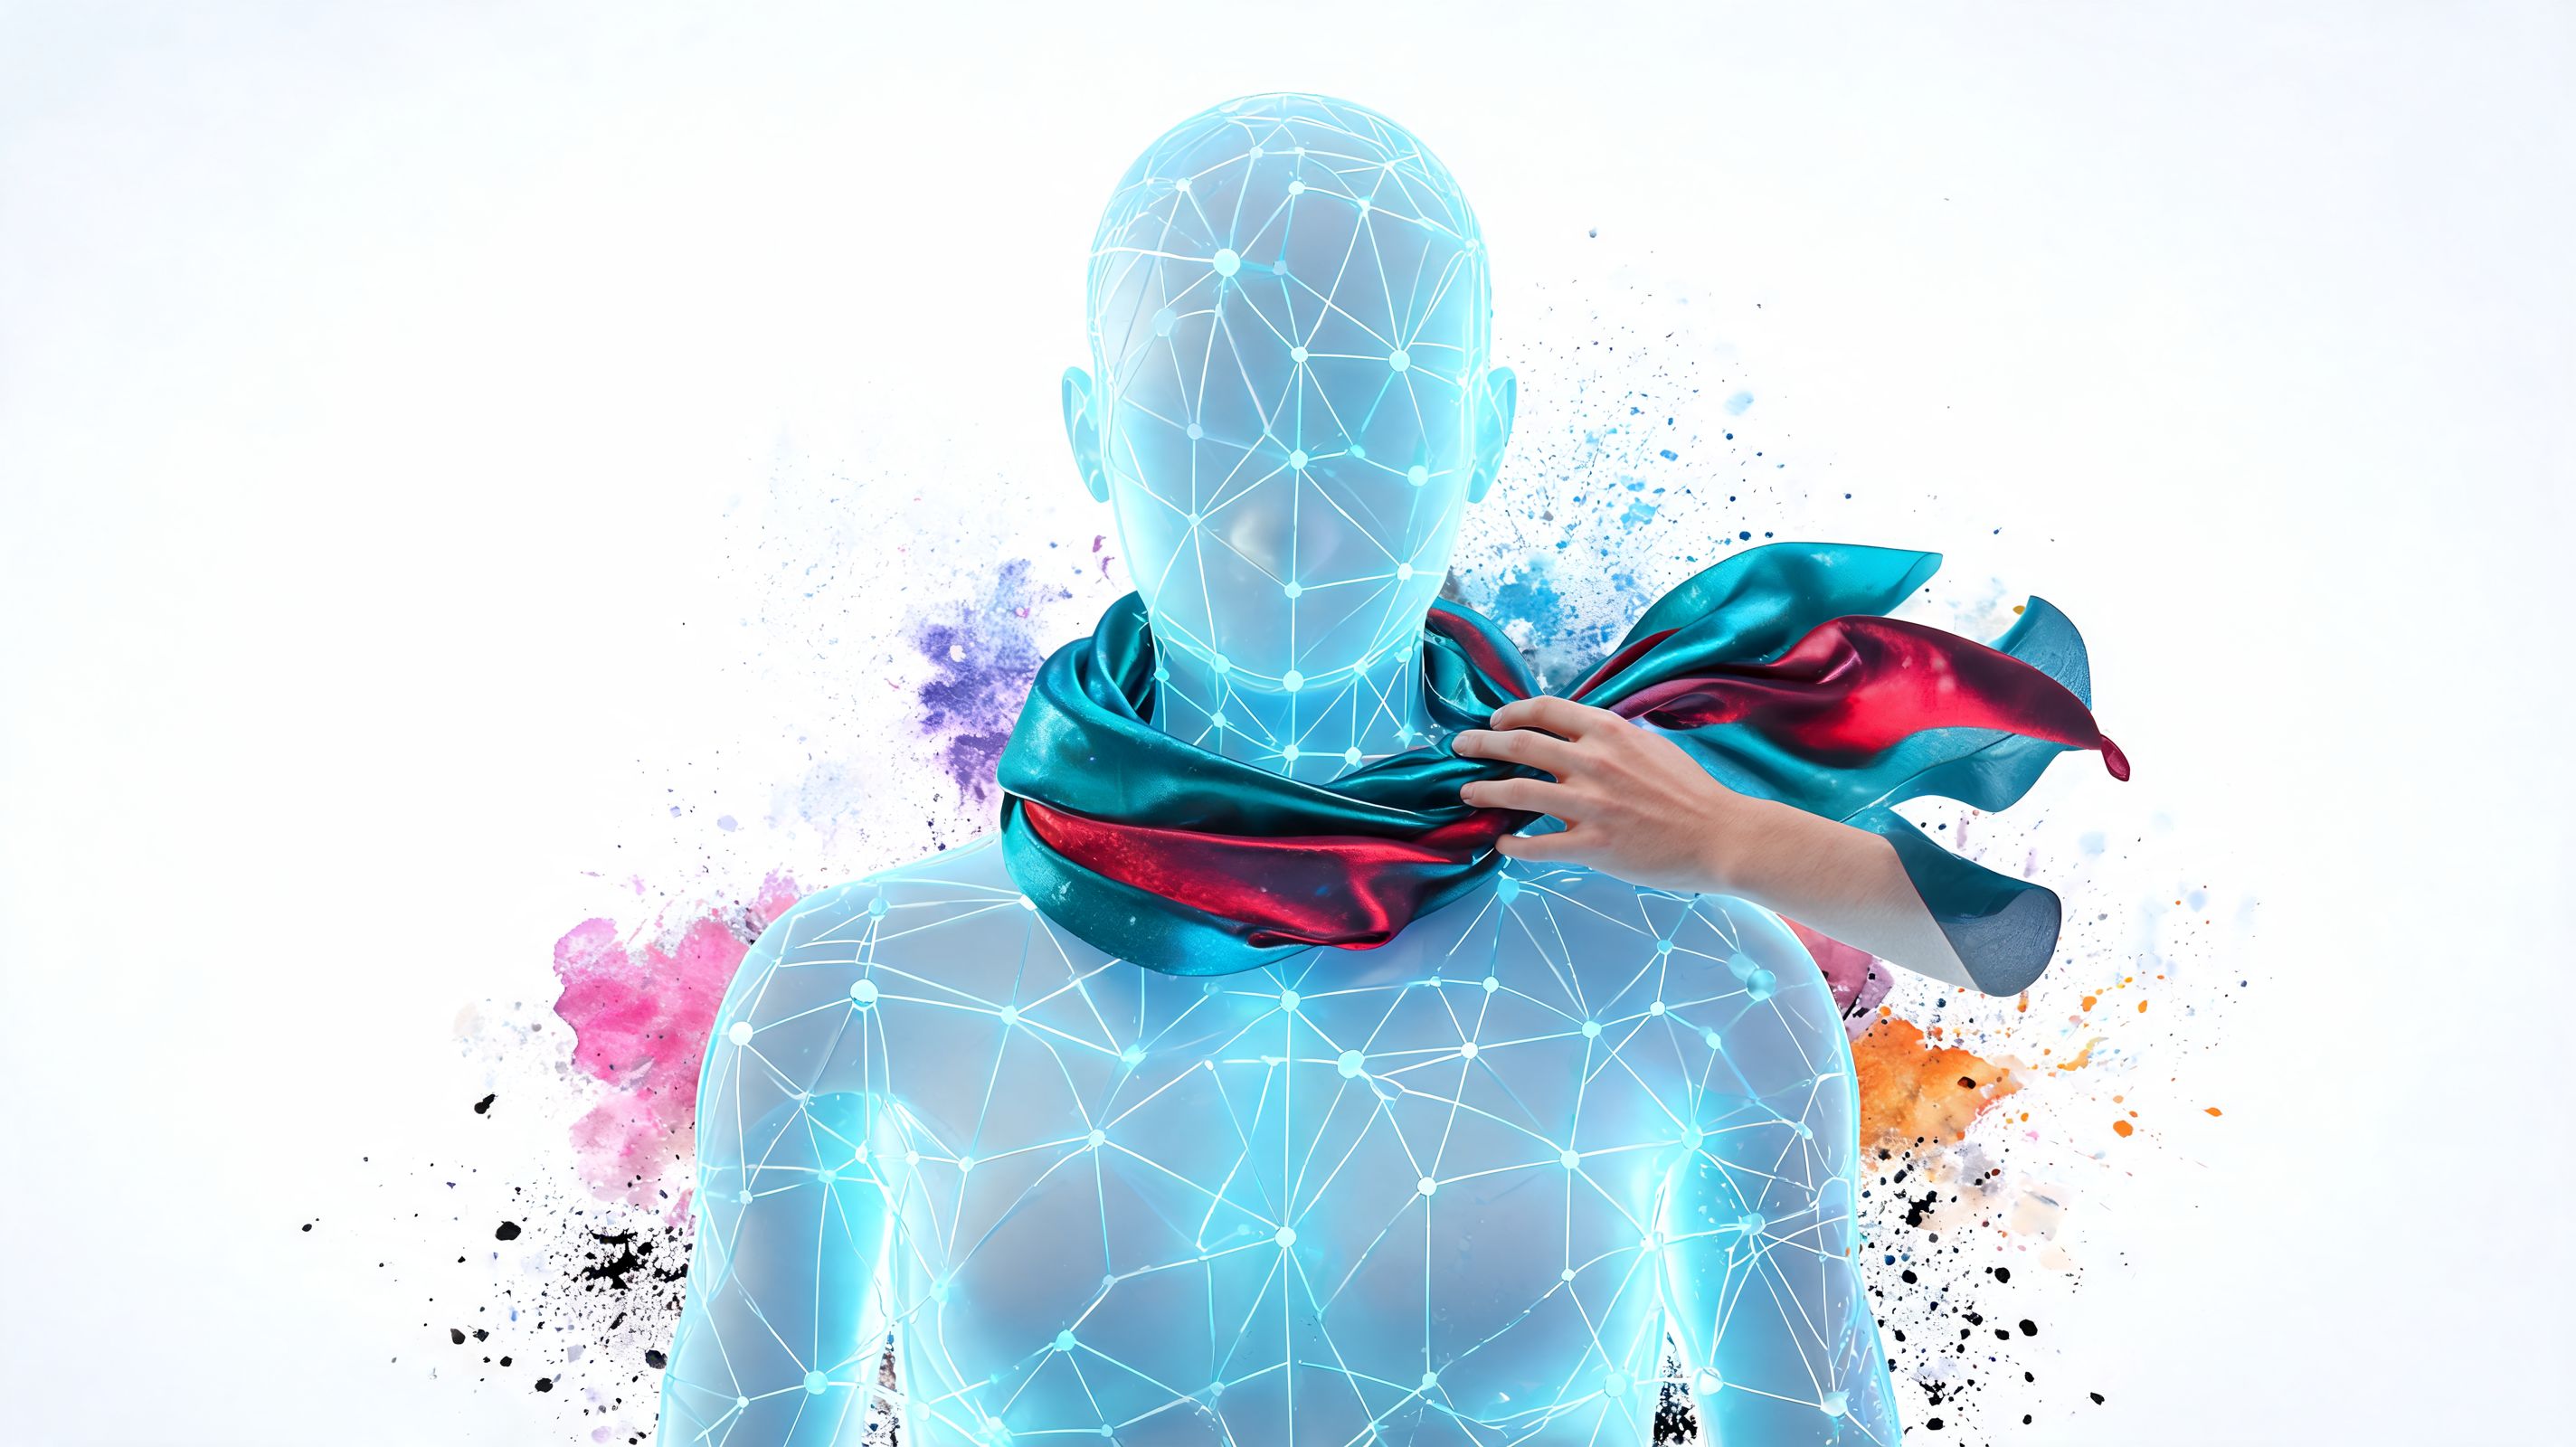
AI try-on works by reading two images at once. One image shows you. The other shows the garment. The system maps your pose, finds the clothing shape, then rebuilds the item so it follows your body instead of sitting on top of it like a sticker.
What the AI notices first
The first job is body and pose detection. The tool marks where your shoulders, arms, chest, waist, and hips appear in the photo, almost like sketching a faint outline before painting inside it.
Next, it studies the clothing image. A strong system separates the garment from the background, traces the silhouette, and keeps details that matter for shopping decisions, like a sharp collar, puff sleeve, cropped hem, or long drape.
As explained in this overview of AI clothes changers and image extenders, these tools identify clothing boundaries and body position, then reconstruct the outfit while preserving shape, folds, and lighting. That matters because manual editing can take much longer and usually asks for far more precision from the shopper.
Why some try-ons look convincing
A believable result usually comes from three things lining up at the same time:
- Pose matching keeps the garment aligned with your stance and arm position.
- Light matching helps the new clothing belong in the same scene as your photo.
- Fabric interpretation gives sleeves, waistlines, and folds a shape that feels wearable.
If one part slips, the preview starts to wobble. A jacket may look too stiff. A dress may lose its drape. A sweater cuff may float slightly away from the wrist. Small misses create the uncanny feeling shoppers notice right away.
The goal is not perfect physics. The goal is a preview you can trust for style, proportion, and overall balance.
Why flat-lay images matter so much
Flat-lay photos are a quiet superpower here. For secondhand shopping on Vinted and Depop, they often work better than busy mirror selfies or lifestyle shots because the item is laid out clearly, like a pattern piece on a table. The AI can read the outline faster, spot the sleeves and hem more cleanly, and make fewer bad guesses.
That is especially useful in a Chrome extension workflow where you are jumping across multiple resale listings, saving options, and testing them against one base photo of yourself. Instead of needing polished brand photography, you can use the kinds of images secondhand marketplaces already have. That makes the tool feel practical, not futuristic.
If you like seeing how product images get reused across different visual workflows, it's also worth exploring ways to streamline merch creation with AI, since the same image transformation logic shows up there too.
For a hands-on example, an AI image-to-image try-on tool for outfit previews shows how one person photo and one clothing photo can turn a flat listing into something much closer to a real shopping decision.
Your Guide to Getting Amazing Try-Ons
You are halfway through a late-night shopping spiral. A great blazer pops up on Zara, then a similar one on Depop, then a cheaper version on Vinted. The hard part is no longer finding options. The hard part is seeing which listing photo will turn into a try-on you can trust.
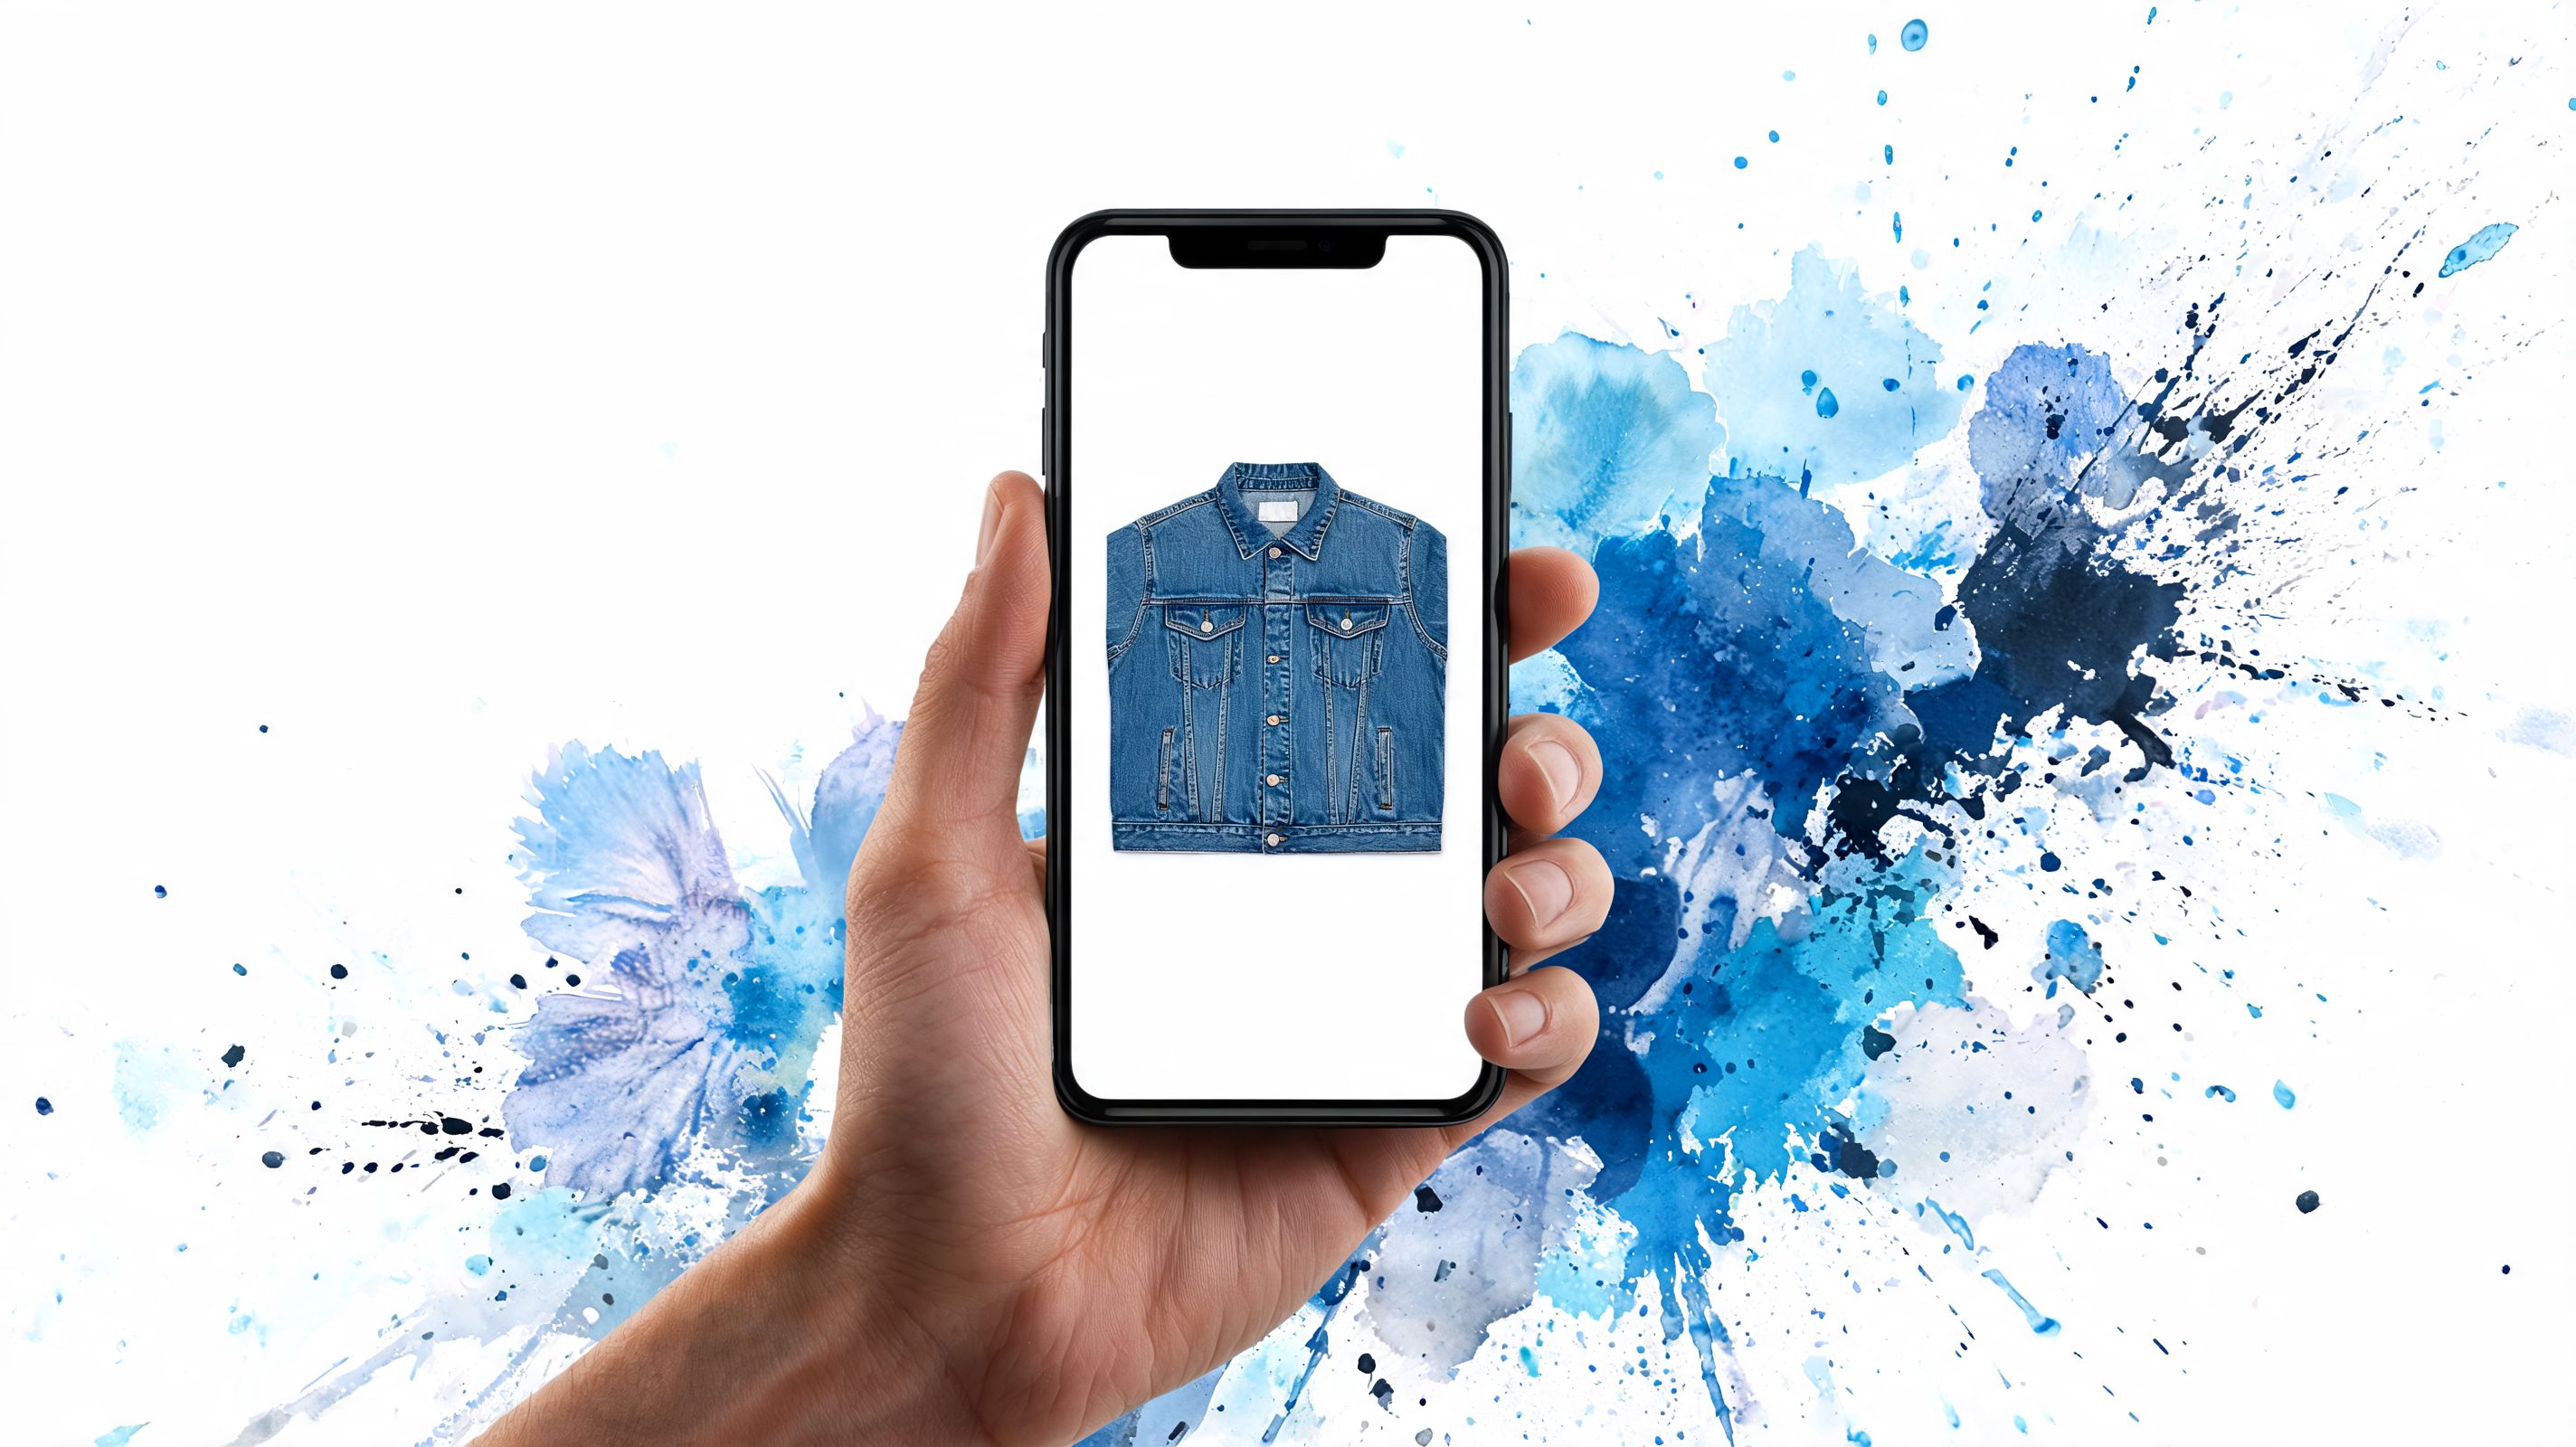
Getting a strong result starts with inputs, the same way a recipe starts with ingredients. A clear photo of you and a clear photo of the garment give the AI enough structure to build a believable preview. If either image is messy, the output usually gets muddy fast.
Start with a better photo of yourself
Your base photo is the mannequin the AI dresses. It does not need studio polish. It does need a readable shape.
A simple front-facing photo usually works best because the system can trace your shoulders, waist, hips, and leg line without guessing too much. If the pose is twisted, cropped, or hidden in shadow, the tool has to fill in missing information, and that is where proportions start to drift.
Use this quick checklist:
- Good lighting: Stand near a window or in even indoor light so your outline stays clear.
- Simple background: A plain wall helps more than a busy room full of furniture and shadows.
- Natural pose: Keep your arms relaxed and your body mostly forward.
- Visible outfit area: Leave enough room in frame for coats, dresses, and longer tops.
If you want a cleaner starting point, this full body picture guide for better try-ons shows the kind of photo that tends to give more reliable previews.
Pick the clothing image the AI can read fastest
This step matters most on secondhand marketplaces. Seller photos on Vinted and Depop are often flat-lays, hanger shots, or quick bed photos, not polished brand images. That sounds limiting, but it can help.
A flat-lay works like a paper pattern laid on a table. The sleeves, neckline, and hem are visible in one view, so the AI has a clearer map of the garment. Other tools often skip guidance for converting these 2D listing photos into fitted previews, even though that is a common resale-shopping problem, according to this discussion of AI clothes changer limitations.
Here's what usually works best:
- Flat-lay photos: Often the best choice when the full item is visible and not folded over.
- Mannequin shots: Good when the background is plain and the garment shape is easy to separate.
- Packshots on white: Strong for jackets, tops, skirts, and dresses.
- Messy seller photos: Sometimes usable, but harder if the item is wrinkled into a pile or partly blocked.
A styled campaign image may look prettier. A flat-lay often gives the more dependable try-on.
Match the workflow to the way you shop
Some shoppers save images into a folder and compare them later. That works well for slower decision-making, color checks, or outfit planning around one event.
The more practical setup for active shopping is a Chrome extension. You stay on the product page, right-click the item photo, and test it against your base image while you browse across different stores and resale apps. That matters because shopping decisions often happen in motion. You are comparing one jacket on H&M, one dress on Depop, and one coat on Vinted in the same ten-minute window.
If you're more curious about adjacent image tools for product updates, ButterflAI for product clothes updates is another useful reference point because it shows how people are reworking garment visuals from existing images rather than reshooting everything.
A short demo makes the workflow easier to picture:
<iframe width="100%" style="aspect-ratio: 16 / 9;" src="https://www.youtube.com/embed/Kc7xo710I2U" frameborder="0" allow="autoplay; encrypted-media" allowfullscreen></iframe>That cross-site, right-click workflow solves a problem many articles miss. It is not just about generating one nice image. It is about turning the exact photos secondhand sellers already upload, especially flat-lays, into fast previews while you move between tabs and narrow down what is worth buying.
What to Look For in a Photo Clothes Editor
A good photo clothes editor shouldn't just generate an image. It should make shopping easier.
That sounds obvious, but lots of tools are built like demos. They can produce a flashy result once, yet they interrupt the exact workflow people care about most, which is browsing clothes across multiple sites and deciding quickly.
Speed matters more than perfection
During active shopping, speed wins. If a tool takes too long, asks for too much setup, or forces downloads before you can test one item, it will not see continued use.
That's especially true when you're in comparison mode. You're not trying to create gallery art. You're trying to answer, “Do I like this look enough to keep considering it?”
Cross-site browsing is the hidden feature
One of the biggest practical gaps in the category is cross-platform shopping. According to this analysis of clothing changer workflows, other AI clothes changers don't address the live workflow of browsing Zara, H&M, and Amazon at the same time without downloading images or switching tabs. A browser extension solves that gap directly.
That's a bigger deal than it sounds. Style decisions often happen in contrast. The jacket only makes sense once you compare it with the trousers from somewhere else. The costume idea only clicks when you see the boots, coat, and hat together.
A tool that works on one site is a demo. A tool that works wherever you shop starts to feel like part of your wardrobe process.
A practical checklist
When you compare tools, look for these qualities:
- Works with many shopping sites: You don't want to rebuild your process every time you change retailer.
- Handles flat-lay images well: This matters for secondhand shopping and marketplace listings.
- Feels instant: The best tools give you an answer while you're still deciding.
- Keeps the workflow simple: Fewer steps means you'll use it.
- Lets you compare styles easily: One item in isolation is less helpful than seeing several options.
A bonus feature is not needing an account just to test whether the idea works for you. For a style tool, low friction is part of the value. If it takes longer to get started than to lose confidence in the item, the moment is gone.
Privacy Considerations and Getting Started
People are right to pause before uploading photos anywhere. A photo clothes editor is personal because it works with your image, your style, and your shopping habits.
That's why privacy should be part of the decision, not an afterthought. Before trying any tool, check how direct the experience feels, how much information it asks for, and whether it seems designed for quick use or data collection.
For a lot of shoppers, the sweet spot is simple. They want to upload a photo, test a few looks, and move on without creating a whole new account ecosystem around one decision. They also want a way to revisit past experiments if they're comparing outfits over time.
If you like the idea of a virtual changing-room style experience, this camera-based changing room tool is one example of how that can feel more immediate and playful than traditional product browsing.
The most helpful mindset is to treat these tools as style preview assistants. They won't tell you exact sizing, and they shouldn't pretend to. What they can do is help you see how an item looks, whether the silhouette suits your taste, and whether a purchase feels exciting or easy to skip.
If you start there, the whole process becomes lighter. Less guessing. Less tab fatigue. More confidence in your own eye.
If you want to start experimenting right away, try TryThisFit for instant style previews, install the free Chrome extension in a couple of seconds for right-click try-ons on any shopping site, and check your saved looks in try-on history. If you're curious how it works before using your own photos, the main app also lets you explore sample try-ons with no account needed.
Try Virtual Try-On Now
See how clothes look on you before you buy - works with any online store
Get Started Free